
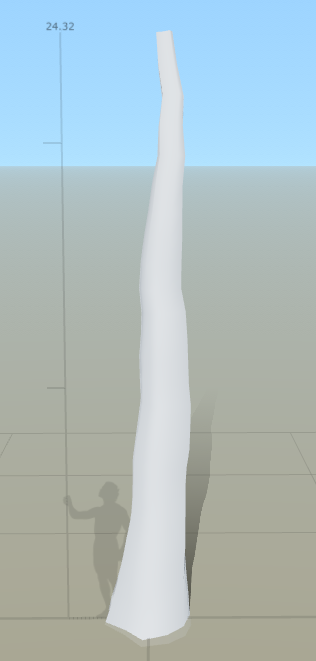
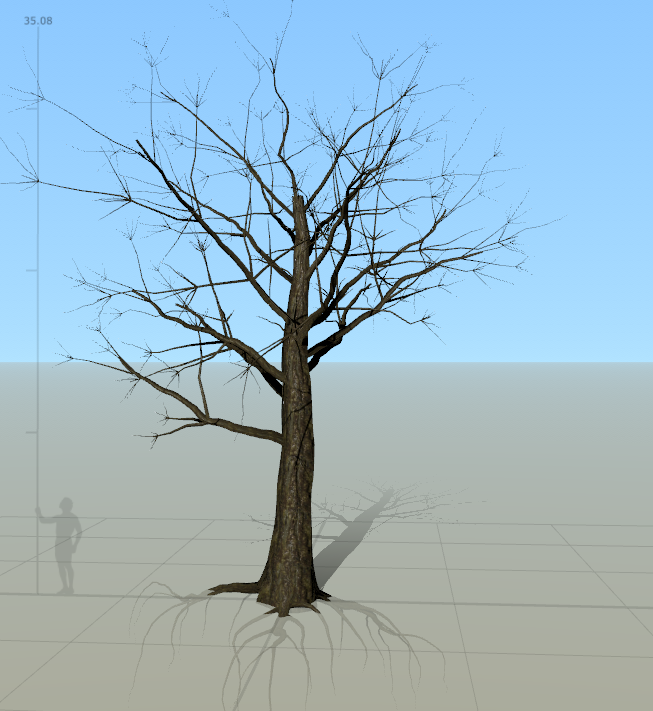
Going by the reference, a person shouldn't be able to jump and grab the branches so using the reference person in speed tree I adjusted the height and posture of the tree to match. Although this is just the base, it means everything to the tree because it is what it survives on. Adding in the random curves to create more of a form as well as having it set to 24.32 meters in height allows for a realistic feel. Normal oak trees grow to around 80 feet (24.384 meters) tall but because this one is just under its full growth it is only slightly under (talking of course about the main stump).
As you can see from our reference they have branches growing for all over, some low enough that if you were to try and climb it it wouldn't take you too long to get to the first branch. I'm going to try and emulate this but with less branches due to a high amount of polys as well as it'll take up a lot of memory for the one single tree. Although this will be one of the main asset trees it still needs to be worked around performance issues otherwise the project will start off with a fail.
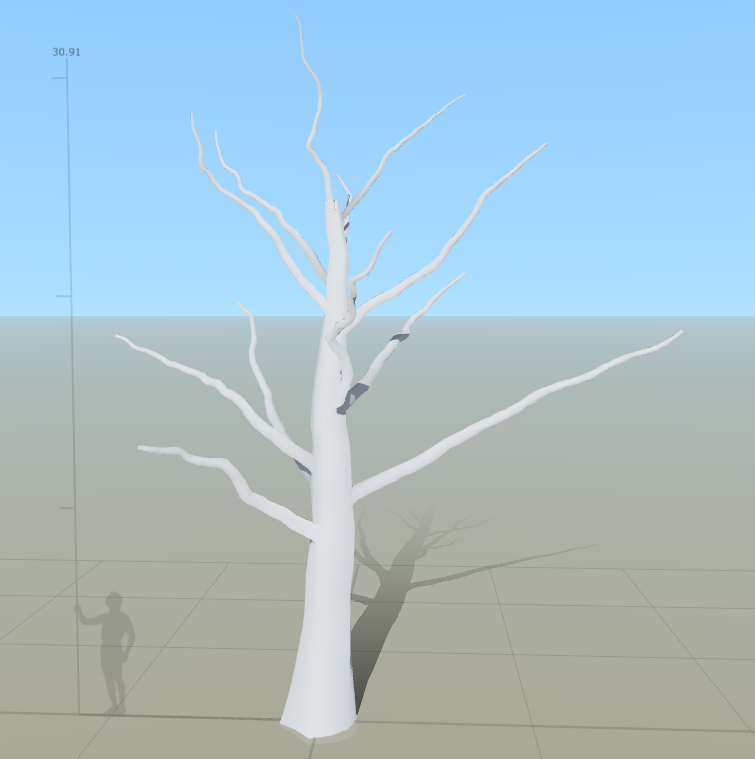
Going on from this I now need to add in the smaller branches then twigs to give off the illusion of a tree as well as having somewhere to put the tree leaves as an alpha. I will be adding onto the branches a smaller branch then a twig like branch onto those for the leaves to sit on.

I've enlarged this image to show you the smaller twigs being added onto the branches so that the leaves can sit on it all well. I now need to think about adding in some level of 'cap' onto the ends of all of the branches/stump so that there are no holes in the mesh as well as somewhere to put the leaf mesh.
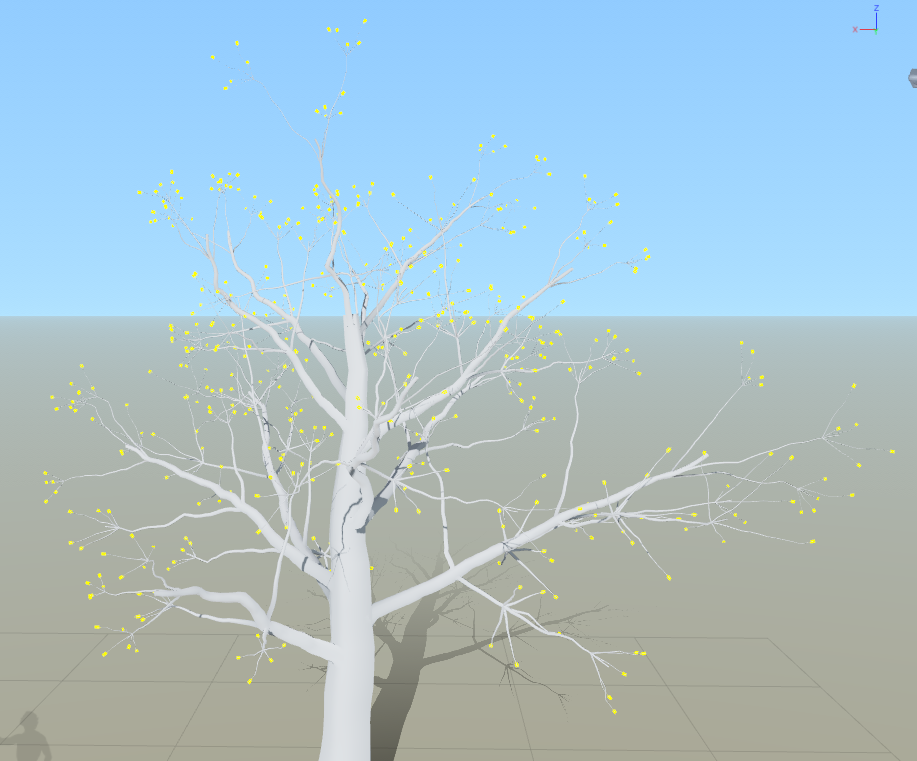
Now that I've added the caps, the yellow marks are where the caps have been added as well as where the leaf meshes are going to be added so that it looks more realistic rather than the leaf coming out of a black hole. Now to add on my material that I made previous for this exact model to see if it fits well and whether or not that needs changing.
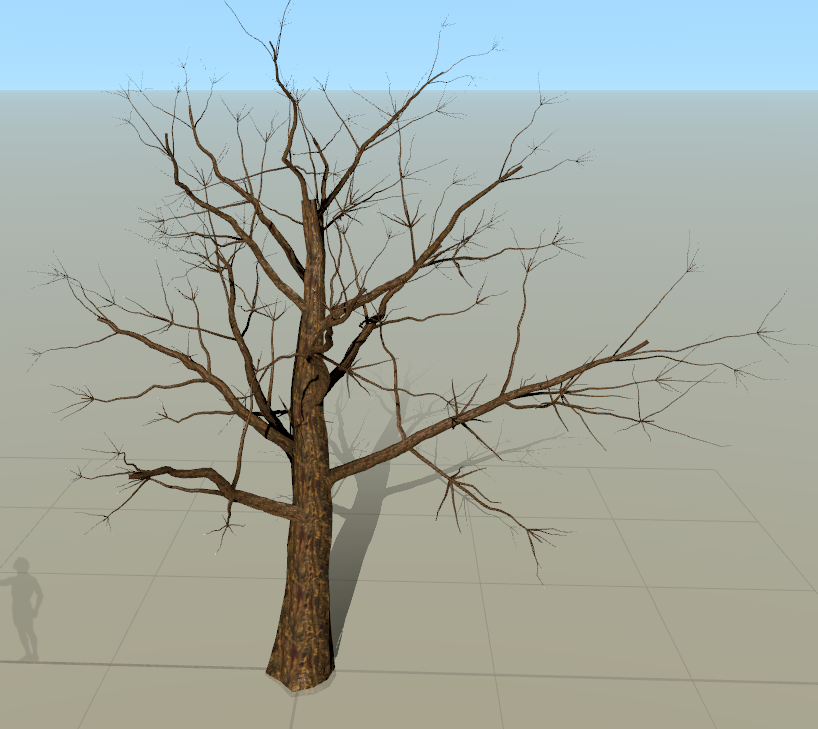
When imported as you can see the colors are slightly off, being not the same as set in Substance Designer. I will go back and manually change this but first I decided it needed a bit more tree like features so I decided to add in some roots as well as the color changes previously mentioned. Whilst doing this, I found some cool traits/options in the menu which allows for me to choose certain branches and delete them. This also allows for certain sizes of branches as well as a good way of optimizing the overall tree to a smaller tri-count. I added in the effect of a train coming through and smashing into the tree by deleting certain branches shown below. I will try to figure out how to add in stumps to give off a realistic feel.
Once we finished that, the tree looks ready to add the leaves in and then to be played with to get some final detailed results in. For now we need to find a alpha to put onto the leaves to make them look realistic. The best way I found to make alphas is through a environment artist known as Payton Varney, his ArtStation tutorial is every new artists dream (can be found: https://www.artstation.com/artwork/Z4v5N). This allowed me to get a serious understanding of how alphas are made as well as added into UE4. Following his guide I will be able to create the alphas I want, I've tried to make them souly in designer but the outcome was taking too long and was a tedious process.
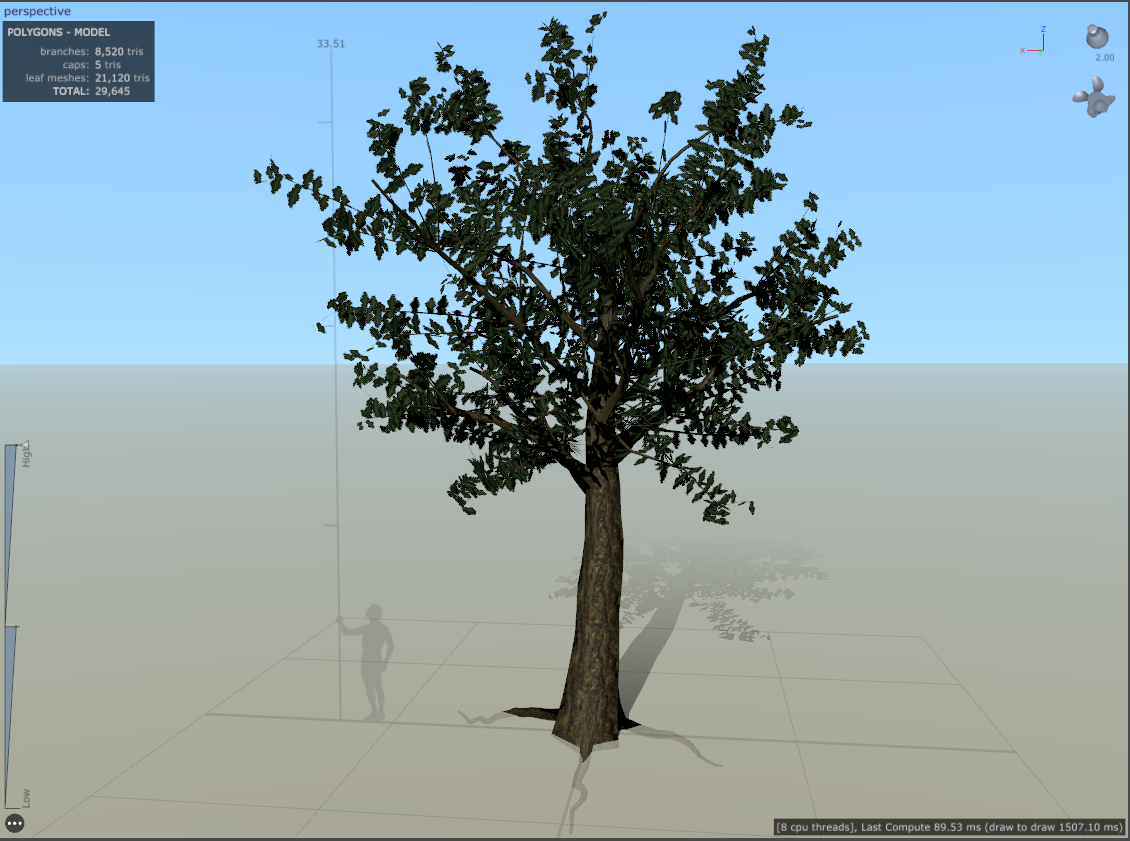
Once completing the Alpha I added the leaf mesh onto the inner branches as well as the twigs I created then applied the color, alpha, normal, gloss and subsurface from Substance designer. This is the end result, the process to make the alpha again was done by Payton Varney and following his tutorial. This ended up being around 29k Tris meaning this is my hero asset for the environment, especially seeing as it's going to take up more than 30% of my overall ending render.
No comments:
Post a Comment