
My attempts of lighting have been interesting, trying to understand where and what I want. The idea so far is to have quiet a dusty scene ready for a ambush meaning that the light shafts will be minor but still visible, the dust wont be over the top and also the scene will have a overall war-time feeling due to the lighting and dust amounts along with the overall aesthetic. My first attempt at lighting wasn't so good, I attempted to setup light propagation volumes which made the whole scene look unrealistic and white. Below is my first attempt at that. Terrible start so I decided to remove that as a whole and try setting up a whole new sequence of lighting, much like previous I wanted to use a stationary light, skylight and having light shafts working with the fog rather than having to setup the light shaft occlusion which can sometimes be more expensive than you'd think. Link to the Light Propagation Volumes post I was following can be found in the references.

After this attempt I decided to change it up and attempt a stationary piece using lightmass portals for the sky light as well as lightmass importance volumes to allow for my scene to cut up the overall power of the sun giving the shadows a softer edge and allowing the overall scene to be lit using reflective capture spheres & boxes. The image below shows off the concept of that being put into place. I also added in a different temperature for the light to give it more of a day feel so that way it felt less like a light more like a organic sun. Understanding the place it's going to be and the weathers that are casted there really helps with understanding the lighting, more importantly the temperature of the sun.

After this process I wanted to get some level of light shaft working, so I decided to add in a exponential height fog to give off the illusion of the light shafts cutting through 'dust' as well as the dust itself. The reasoning for this is that it is a busy and bombed city so there will be dust everywhere especially because it's primarily a muddy and sandy city. Below is the screenshot of that, although this method was a good add it feels to me that sometimes people want it to be more intense than I want in terms of people giving feedback but realism is kinda of key for this scene. Choosing between the two will be hard but something that I will develop over time. During this I asked Chris for feedback as he knows a few people who work for Splash Damage and understands the games concept and overall feel alongside Marks as well. Chris said I needed to add some level of fog because of the overall area of the scene, as well Mark agreed but less in particle form but more in volumetric fog form. I will attempt these areas and come back to them with the scene and ask for further feedback.

I also want to try and grab some levels of light to travel through the windows, I will be attempting to set that up next as I believe it will be a good addition to the scene, more feedback will be required for this one so I will be attempting to showcase this at another point to Chris. Feedback is key for this portion of the workflow as it's the beginning of the scenes bringing together so it's a necessity for me personally.
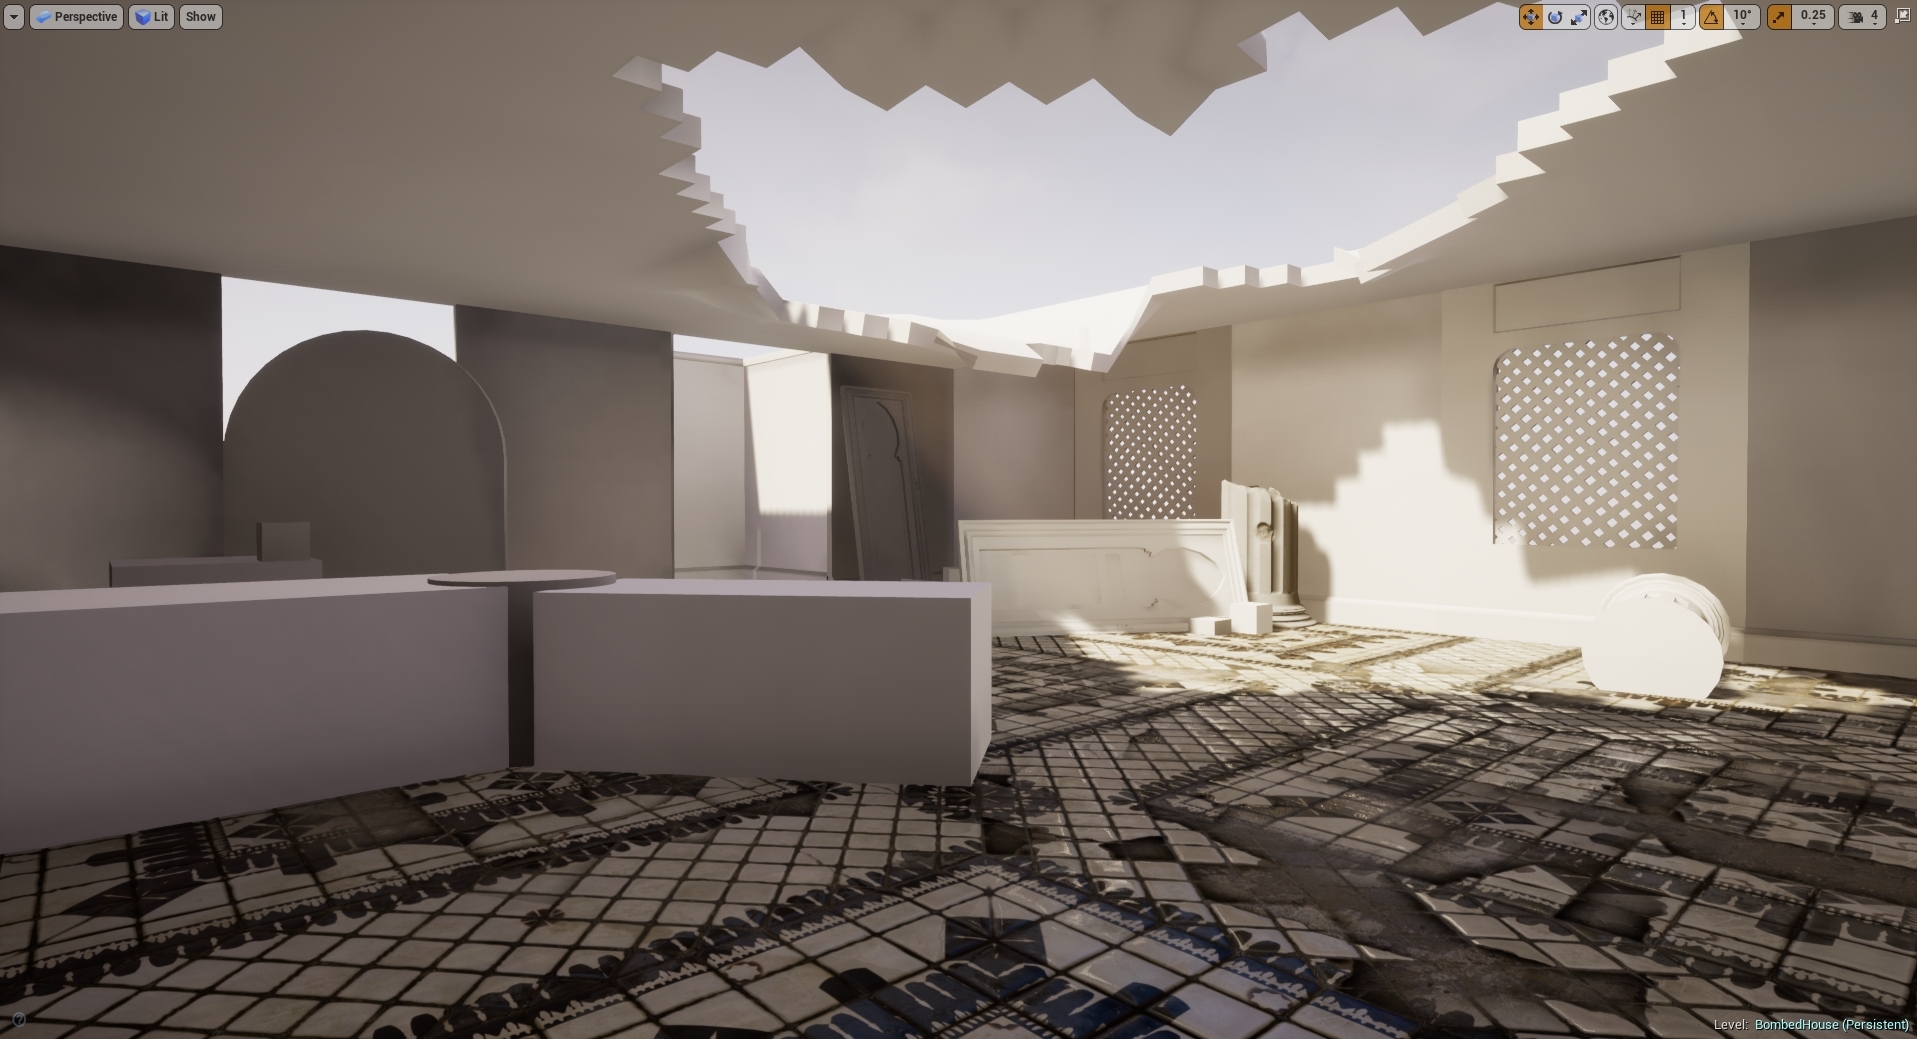
After doing some extra research and feedback given to me by peers the so called 'dust' appeared to be too much in relation to what it'd be like in real life. This example above is something that resembles it to a much clearer state. I added in light shafts using a dynamic directional light whilst also baking lighting around it using a stationary to bounce the baked lighting around the room making everything more visible. I am going to attempt to bring down the levels of light through intensity and ask for more feedback in terms of getting the lighting correct/spot on. As for now this is the sort of lighting I wish to have, the lighting seeping through the windows is also minuscule but is still there adding in more light to the scene.
During this process me and my tutor Roger have been working closely trying to get the lighting right in my scene using slightly in-depth lighting methods showing me how if I wanted to, become a lighting artist as well as lighting solutions. During this period we were trying to figure out the lighting methods used with volumetric fog to create a distilled light shaft without having to use any light shaft occlusions or shaft blooms. I had recently used this method creating it with a dynamic light which shown here works perfectly. My next idea was to try and bake the lighting in using a stationary light, but for this it wouldn't work. The fog was just too intense or even sometimes completely broken. I then spent some time looking into how volumetric fog is created and how we can go about fixing these errors. I found this blog from Ryan Brucks which explains mostly how volumetric fog works along with some level of understanding the overall outcome and how to change the outcome to exactly what you want. I will be using this to get an idea of what I want, as for now I will be testing it in a separate scene as the lighting is where I want it to be for now.
I decided to start doing small lighting studies using basic assets, Roger had started his sessions by this point so understanding how lights work and finding new ways of manipulating them was a breathe of fresh air for me because of my recent struggles with my lighting.

This image represents a non-shadow casting point light used in two directions to emulate a lamp, it is saving data from using a standard point light as it's only cast two light sources whereas a point like would normally cast 6.

Although this doesn't look quiet right this was my first attempt at creating a light function. This was created in photoshop and I used the lens blur effect to shadow-fall the edges into making the light look realistic. This was just one form of using IES and light functions to change the appearance of a single light.

This was my single light baked stationary using 64x resolution on the lightmaps. This is using one IES profile which allows the light to look more realistic and give off a softer shadow.
During this session we were asked to light a scene given to us, the scene did not originally look exactly like this but to fit my lighting I changed the scene around to give it life. Normally this would never be done as it is normally the light built around the scene but for this one chance we were offered the ability to change anything we wished to asort the scene. I contrasted a grey outside light mixed with a pink interior to create the real contrast and then added in blocked out AO planes in the corners of the room to simulate real time shadows. They are using a non-visible plane which doesn't cast shadows but lets minor light seep through to create a darkened area using a separate light channel from the other objects. This can be used on things like TVs and other light sources to imitate the glow/light from the object. As for this scene, the TV is using the emissive channel to throw out light instead.

Another idea I had for this project was to setup my own sky dome, I was told about this by Roger so I decided to research into it. Little did I know he was going to do a workshop on it at a later date, I learnt this method from the UE4 Forum. My way of understanding it allowed me to use any HDRI and stretch it across the sphere, this method was a good way of learning and understanding it but it could be made much simpler. The image below is Rogers simple version of it but my old method was using a cubemap and exposing that as a separate parameter and allowing the image to be change and stretched using the U and V co-ordinates to change around the resolution. A small detail but an extra number having to be typed in rather than just one.

After a long scroll of ideas, tricks and understanding how most lighting techniques work I decided to give it another go, only this time using it on my final scene and trying to get the best I can out of the final lighting before handing it in. I decided here to fix all my lighting issues with all the knowledge gained as well as set up for the finale. My first issue was sorting out my light bleeding errors I was getting, there must of been a much simpler way of doing this but researching into it on the UE4 forums people suggested a number of things, up-scaling the light-map resolution seemed to be the only option. I didn't want to do this as if I want to get a high level result using low-resolution light maps I need to find a way around it. I decided to do what I used for my project back in secondary school which is called 'block lighting' which uses a box to determine where the light should bounce and where it should travel. The images below show my process.
Light bleeding under walls:

Box Blockers added in:

Final results:

Although I am yet to test out the results of both I'd imagine in terms of games this is a lot cheaper using small geometry rather than up-scaling a light-map resolution in the overall scheme of things. I will need to investigate this further to ensure I am correct.
As for that fix, I am moving onto changing my overall lighting of the scene now. I decided that I really need to rethink how I wanted my lighting to go. I was stupidly just sticking in two directionals, one volumetric and one stationary. The idea I had here was a low intensity bounce light and one powerful one that allows my light to pass through and create light shafts in the volumetric fog. I decided this was not a smart choice, rather than using a second directional why not imitate the same thing using spot lights? It'll be cheaper and maybe even give off a better effect. Here are both results, one taken from a old screenshot because I left the lighting for a while.
Before:

After:

As you can see the light itself bounces around the room more cleanly in the newer versions with less black shadows which allow me to get the light data around the room. I prefer this method as although it's using volumetric and almost cheating the lighting in that aspect I'm using stationary bakes from the spotlights like I did with the directional but giving myself the freedom to place them where and how I wish to get the exact result I want buying myself freedom. I prefer this method as I personally think it gave a much better result, although these screenshots aren't much to go by in terms of overall development I can see it myself that it looks a whole lot better and from feedback given by Roger he also agrees with me.
The last thing that needed to be done was to sort out the lightmap resolution so that way it all met to around the same texel density. The way I went about this was generating some of the lightmaps to make them fit the same texel density in the editor, some had to be overridden because of their placement and then some were just changed in the asset editor. I would go and create my own separate light maps but for this project that would be too time consuming and UE4 has a amazing auto generation in place for this reason.

Lighting References:
https://docs.unrealengine.com/en-US/Engine/Rendering/LightingAndShadows/LightPropagationVolumes
Skydome help:
https://forums.unrealengine.com/development-discussion/content-creation/2714-how-to-implement-a-standard-cubemapped-skybox?2568-How-to-implement-a-standard-cubemapped-skybox=&viewfull=1
Ryan Brucks Blog:
https://shaderbits.com/blog/ue4-volumetric-fog-techniques
No comments:
Post a Comment