My task was to make this a hero looking asset under 8k. Although this may not be amazingly efficient I wanted to test myself none the less.
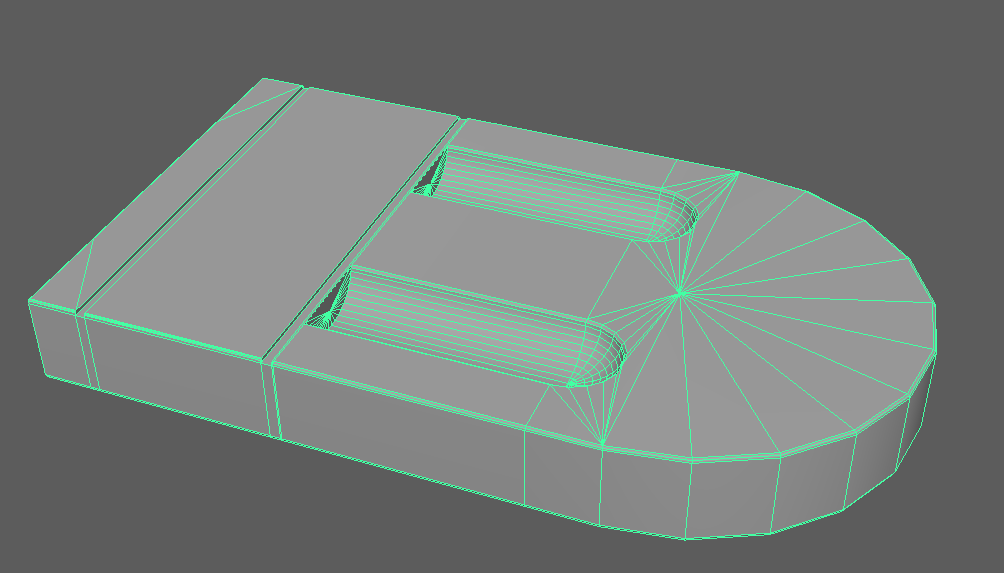
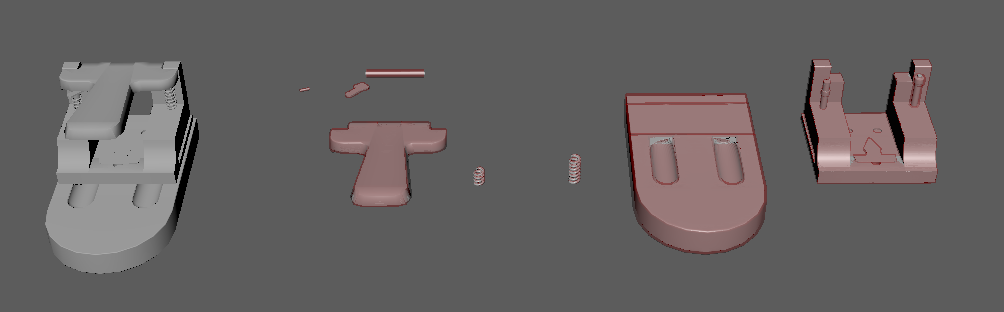
The hole punch was a interesting object to make seeing as previously I've never really had to create such a complex object due to lack of necessity. I started off by modelling the base of the object using a standard cylinder and making it from there. Adding in the holes and edges was simple after doing this process seeing as it already had the initial shape. Using Booleans I created the shapes in the middle of the object but cutting a sphere in half and extruding it then for the smaller gaps I just went in and adding edge loops and moved them from there. A very simple process for a very simple base piece.
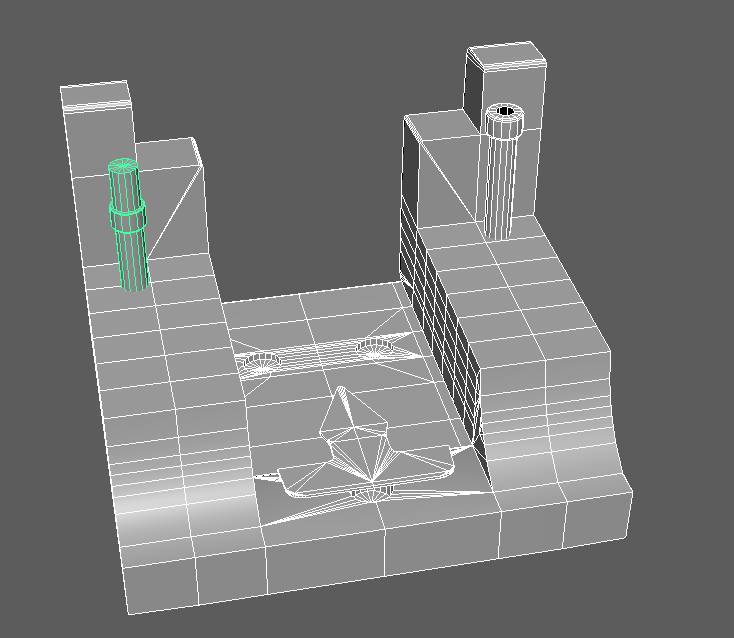
The next piece was one that I split into 4 different objects, although the idea is to explosive bake this I wanted to keep these together as it would make for a nicer bake as well as keep their initial positions on the base itself. This again has a few minor booleans in it as well as odd shapes, I started this by making a flat square and adding in edge loops from there to create the overall shape then using the least amount of geometry to make sure the low-poly stays low.
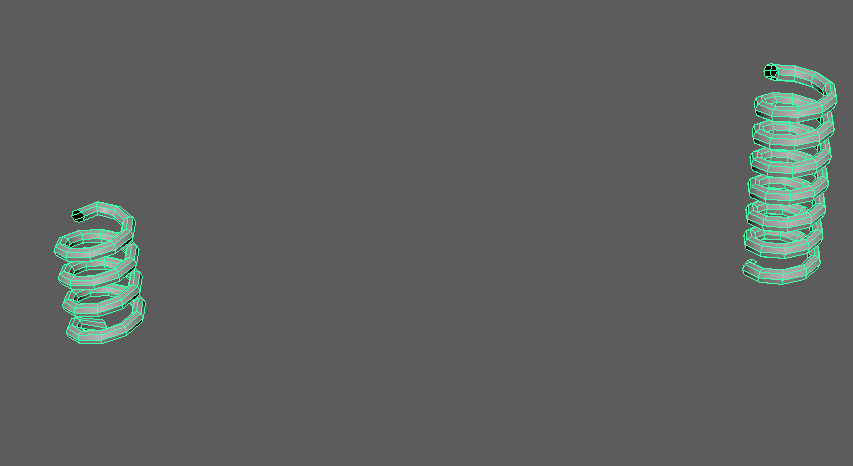
The springs that wrap around the holders were very simple, I just made a Helix and from there adding in the correct sizing as well as less geometry to ensure that the low-poly is under 8k tri-count. Very simple, very effective.
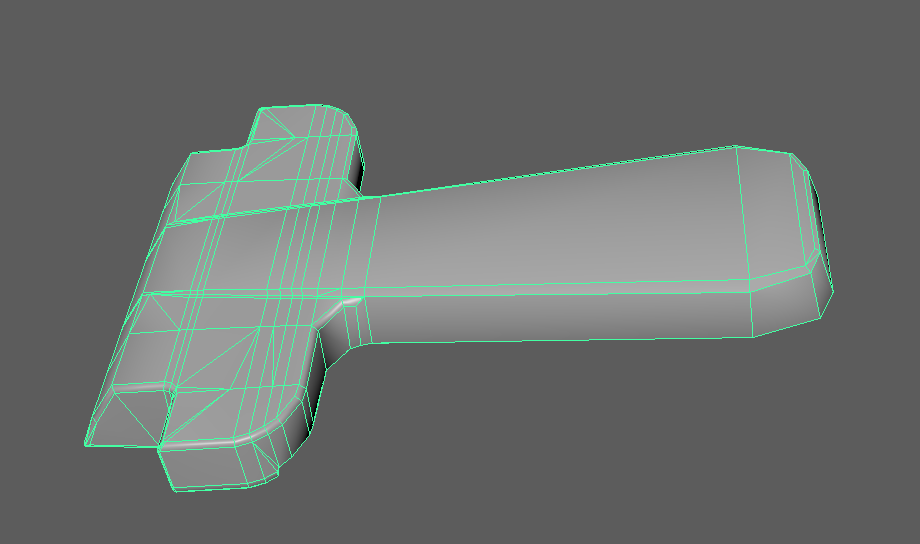
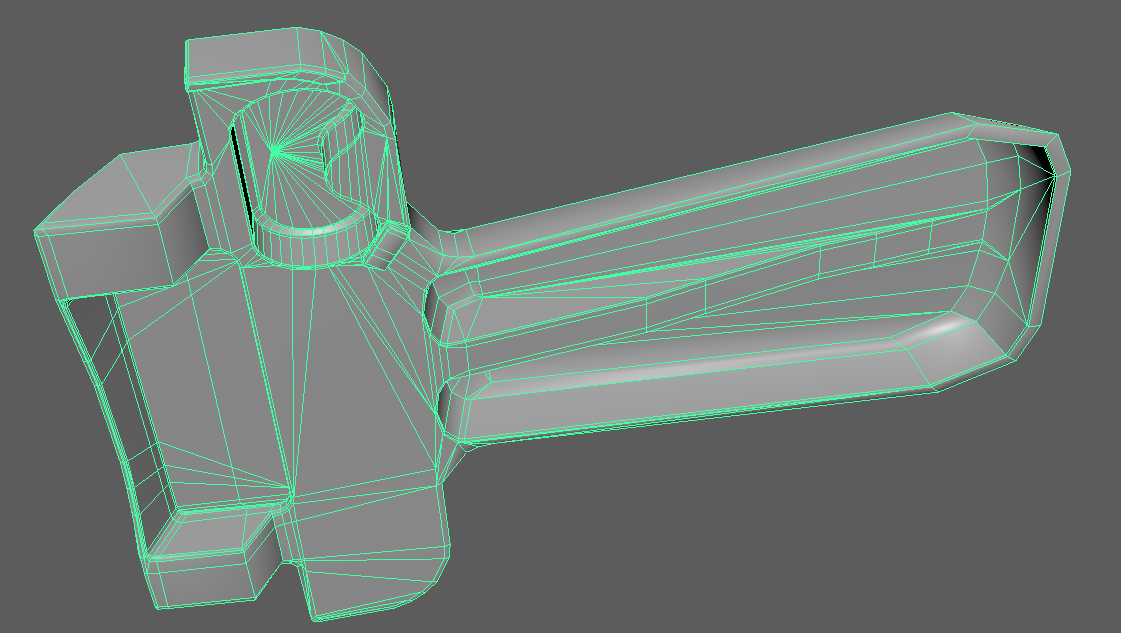
Next is the handle, this was done by firstly box modelling it and then from there using extrudes and bevels to create the curvature and the overall model itself. This part was the most tricky for me due to the high level of detail as well as the complexity of the handle (being angled and curved). This method took longer than expected, meaning this is a good amount of geometry because I couldn't quiet get it right and how I want it. Using 2.1k tris.
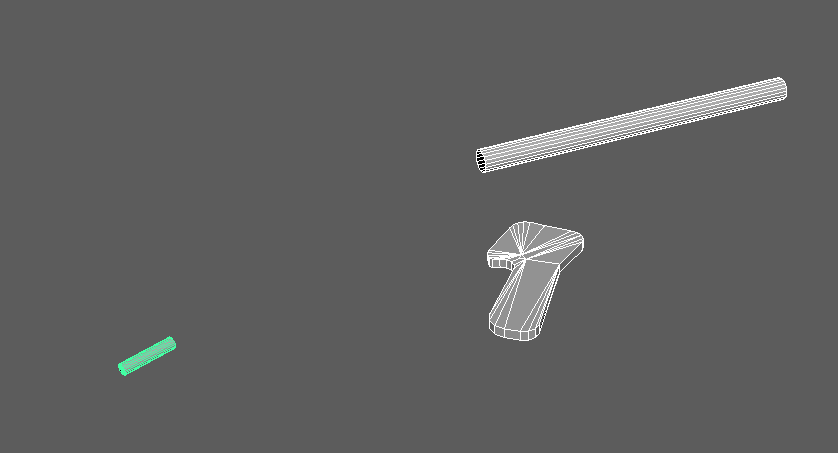
Lastly are the short but sweet pieces, the detail objects that if not put in would be a significant miss. You may not notice what they're used for now but once you put it all together you notice the detail immediately.
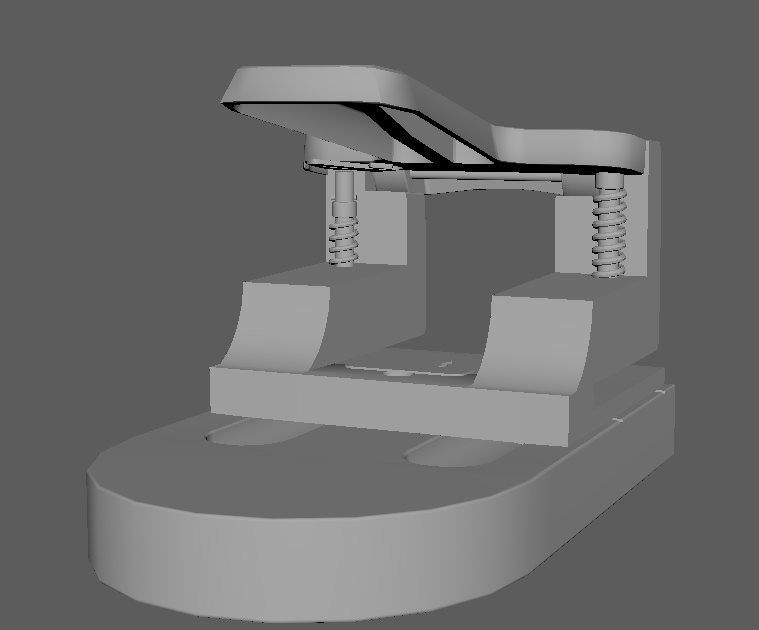
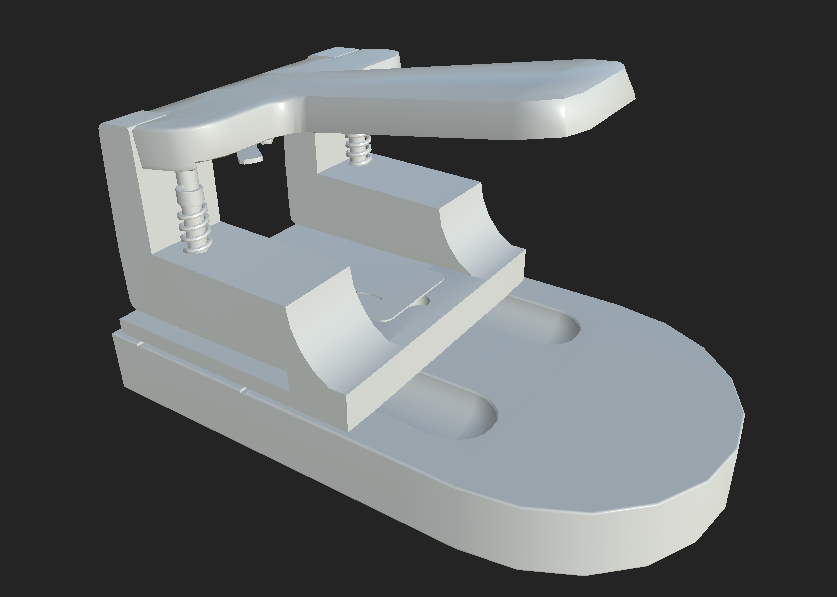
The final low-poly sitting at 7918 tri-count. To make the high-poly I just simply smoothed it by 1 division and then used that as the overall high poly for the baking process later in substance.
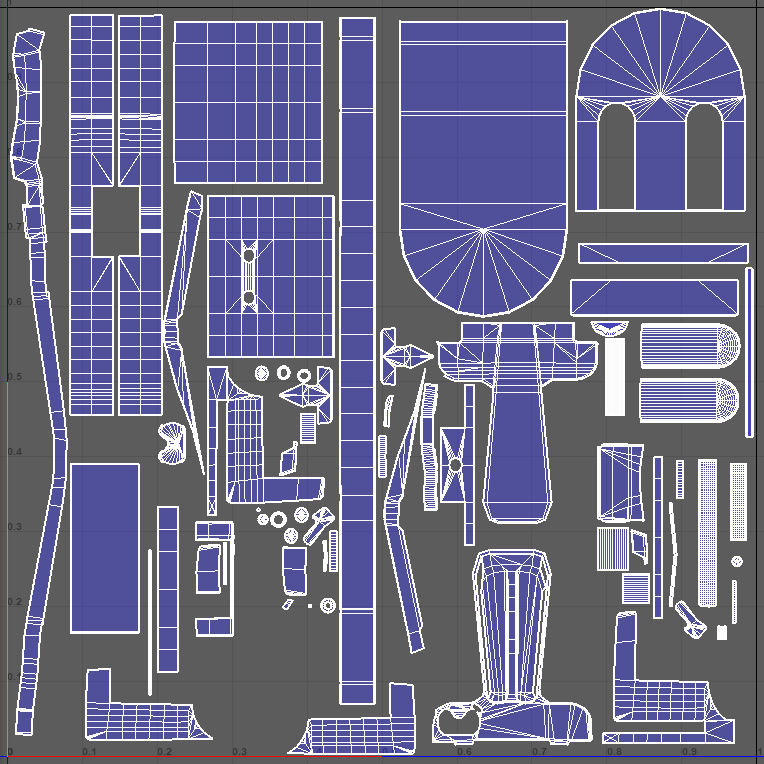
As for the UV mapping process as you can tell they're all separate objects because I'm going to be doing a explosive bake. Doing this means the objects will have to fit onto either 1 or two texture sheets, for this asset I believed one texture sheet would suffice seeing as it wont need too high of a texture resolution on each part. Below is the UVs using a 2k texture sheet as well as all sharing the same Texel Density, because the object is small the texel density had to be put higher to allow a better rate of px/unit (Pixels per unit).
Now that this was done, I made the cages from the low-polys and create the bake process alongside the completed object so that it can be put into substance painter and have the ability to bring it all together. Using this method allowed for my bake to look perfect and smooth with no errors.
With this I can now set off and texture, firstly before the bake it had to be explosive therefore once baked if you go to edit>projectconfiguartion>file and choose your combined mesh and unticking preserve and ticking create a texture set per UDIM tile it allows for you to combine the mesh according to the combined version keeping the bake and its detail. I then set off texturing, the idea was to use some of the materials in substance and then make my own in designer to get the correct detail needed.
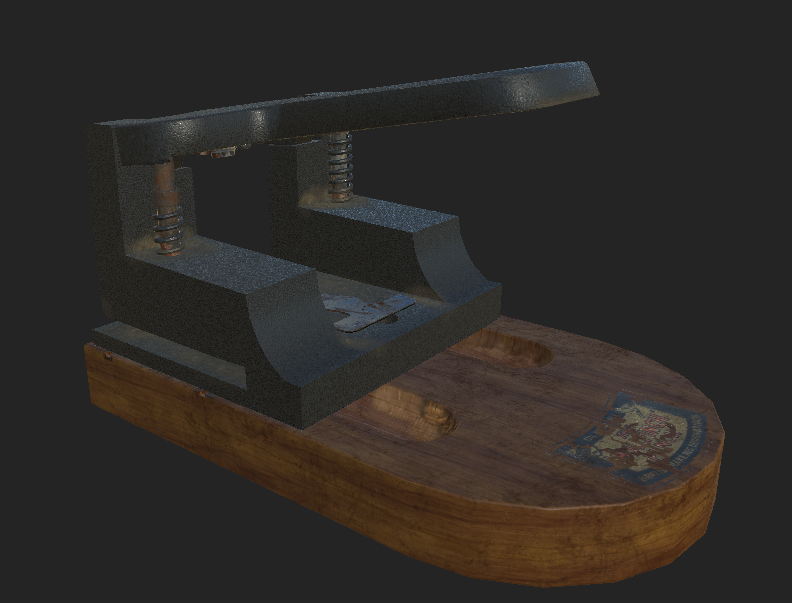
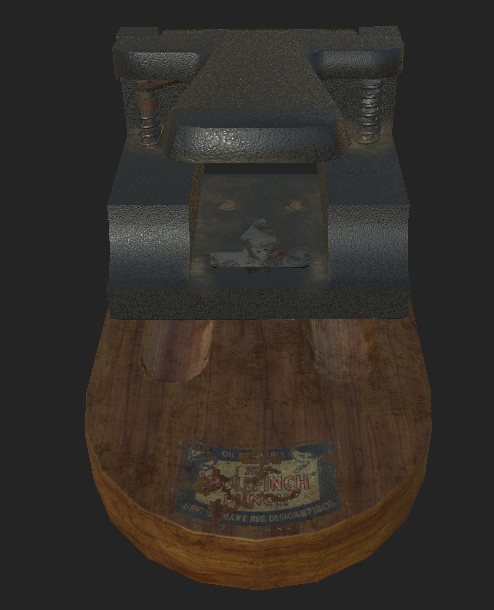
Not only did I make my own textures, I also created a few alphas from the pictures I took during the time I was working on this project. Although it didn't turn out quiet how I wanted it the overall process helped me learn more in-depth about explosive bakes and UV layouts. To give you an idea of the final product I've left a image below of the almost finished product, I will be finishing it next week and doing my final renders then.
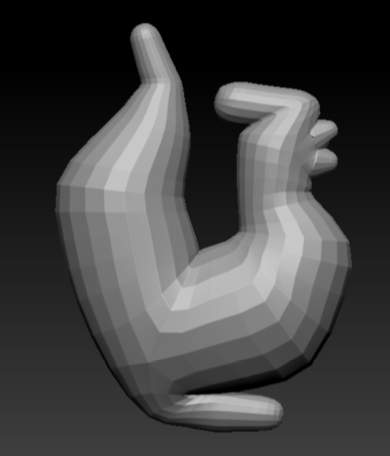
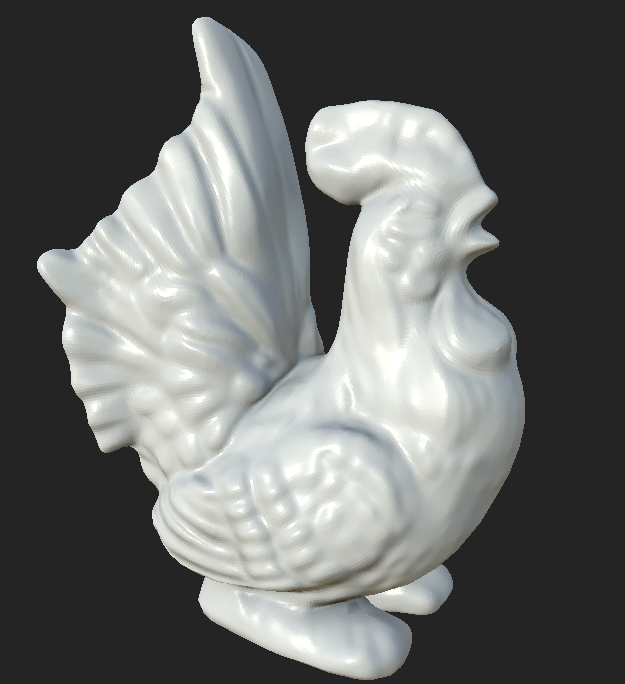
Now for the Porcelain Hen, this was something I've been wanting to do for a while seeing as this is what I done in college for one year. Using predominantly ZBrush to create the chicken and then retopoligising in Maya to create the low-poly. This process for me is the most relaxing because everything about it is easy and takes precise amounts of time. I first started straight in ZBrush by laying out the overall shape of the chicken and modelling from there, I will paste most images of details being added below so you can see my process.
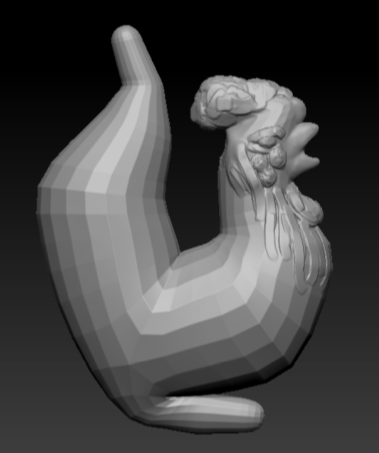
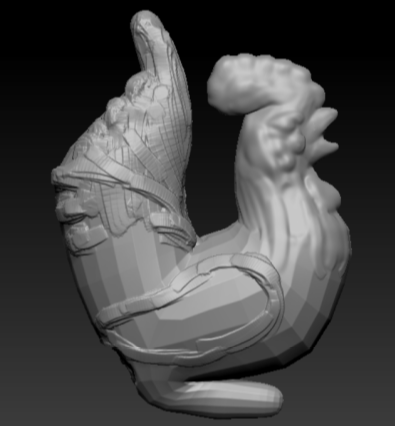
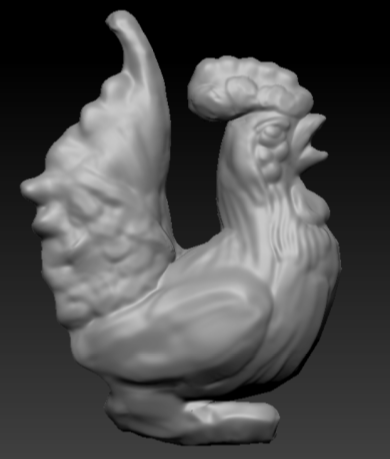
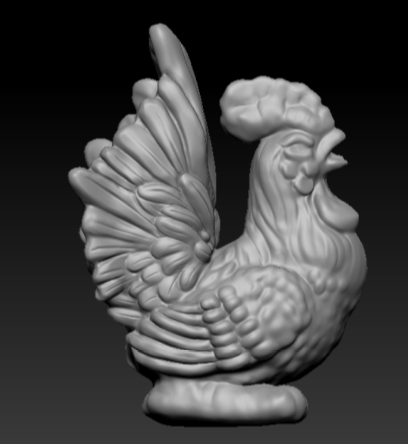
Although these are very basic in terms of creation it is what I am used to doing from previous experiences especially adding in lumped details like the wing and the feathers. This was something that I enjoyed doing and got to revisit what I had learned previously, although it may not be as good as others I believe the end result worked amazingly in terms of overall sculpt as well as in terms of overall detail. I had added a few minor details since then as well to clean up some of the mess around the feathers.
I then re-meshed it and took it into Maya where I retapologised it. This process is long and tedious so this was the part that I wanted to get through as quickly and efficiently as possible so that I can have a good looking low-poly chicken but also leaving myself enough time to texture and UV it.
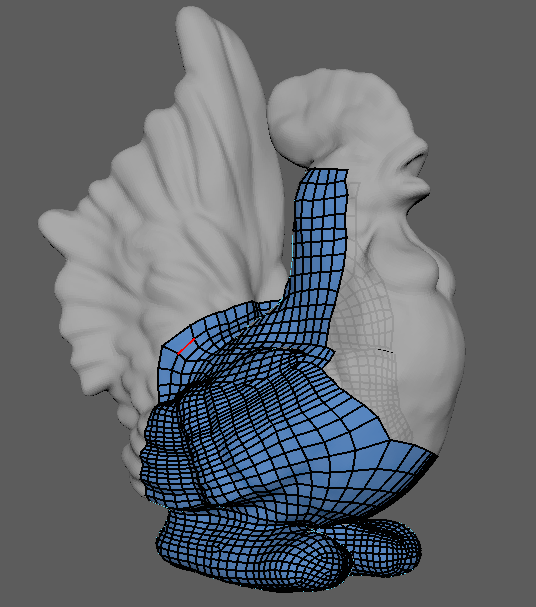
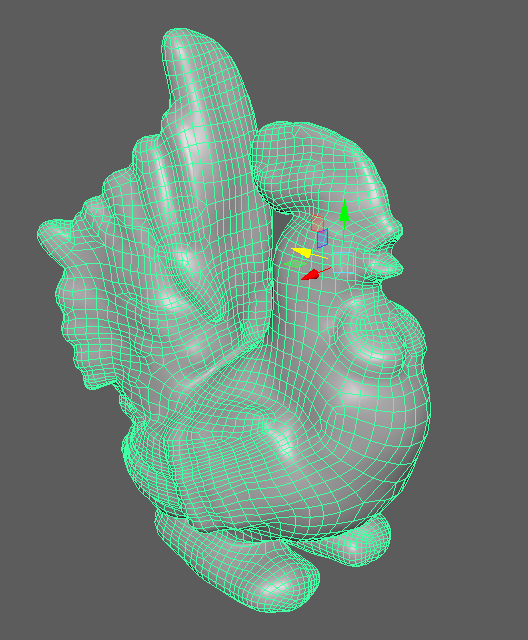
One the retapology was complete I wanted to take the tri-count down as it was sitting at around 19k, I wanted to at least try and half this for the overall experience as well as allowing myself to bake on most of the detail from the high poly. Although this isn't exactly riddled with detail I wanted to take down the tri-count none the less seeing as baking the information on will give me a much better result.
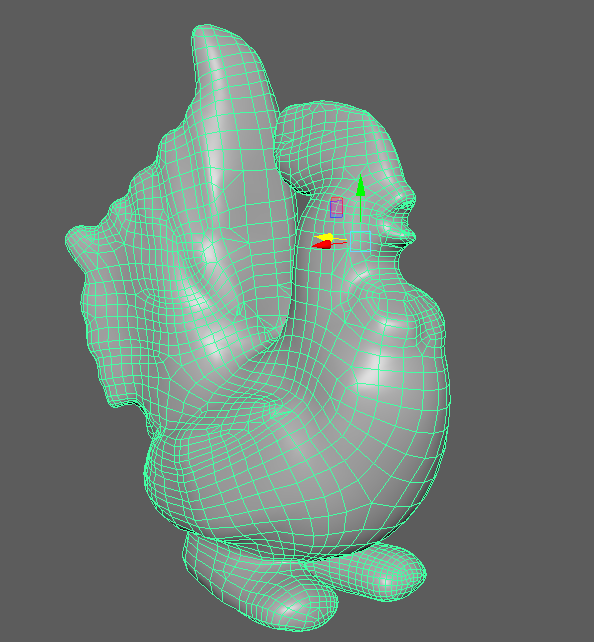
By taking down the tri-count I managed to save 10k tris, taking it down to 9912 tri-count. The overall transition and bringing down the tri-count really made me believe I understood this process more than I ever did as well as proving to myself these sorts of things can be done given the right amount of time. I then UV mapped the chicken, made the cage and was ready to take it into Substance painter.
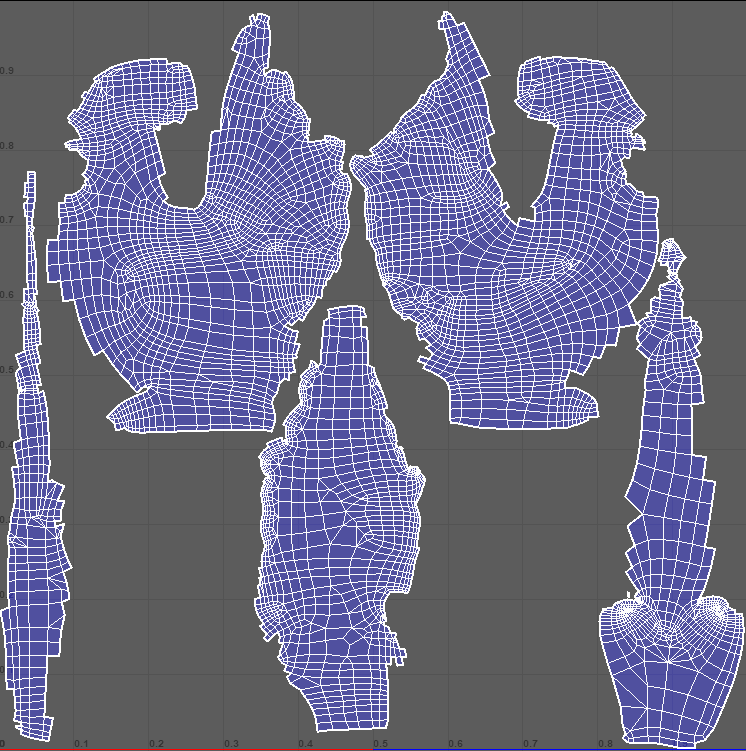
The smart thing I knew about this chicken was that it was going to be hand painted so where the seems lie I can manipulate them to work in my favor which you can see here. The tail, belly and back were all done separate and on the points of paint/curves ending so that way the chickens seems will be hidden because of the actual object and not because of my texturing. Again Texel Density was the same across the board, with it being a smaller object a higher amount was needed especially because it's on a 2k texture map.
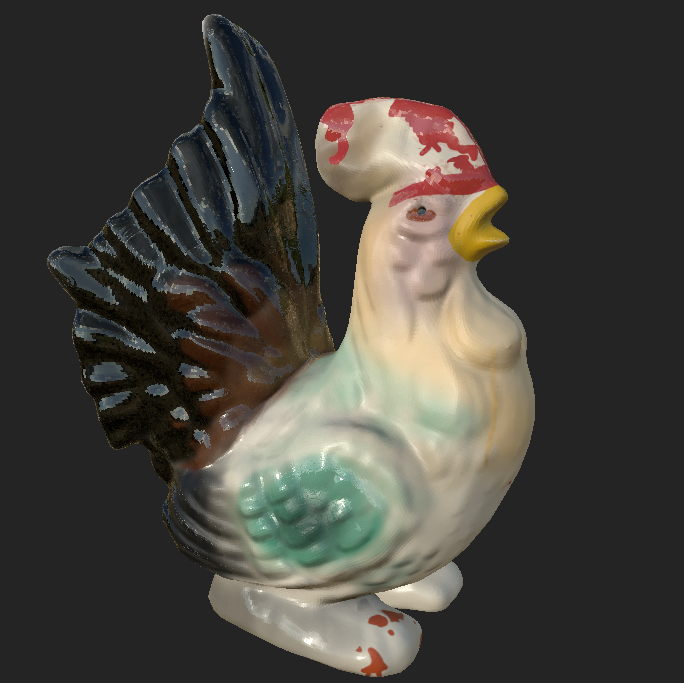
The overall bake came out exactly how I wanted it, fully of detail and perfectly UV'd so that way I can go and hand paint the chicken whilst relaxing and enjoying myself. Although not yet completely finished with the painting, below is a screen shot of where I'm at after 1 hour of texturing the Chicken and getting the base color pallet in there. The final renders again will be in my last post alongside the hole punch and the environment. Also this was all done by mouse, I would use a tablet if it was necessary but for this it would take me twice as long to do with a tablet rather than a mouse.
No comments:
Post a Comment