 = A
= A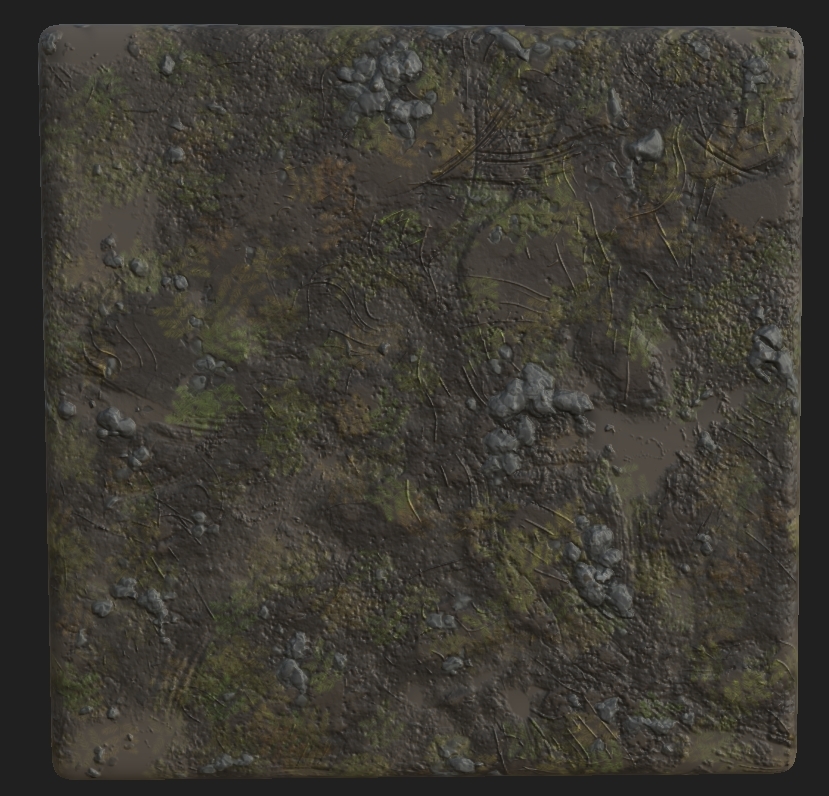 = B
= B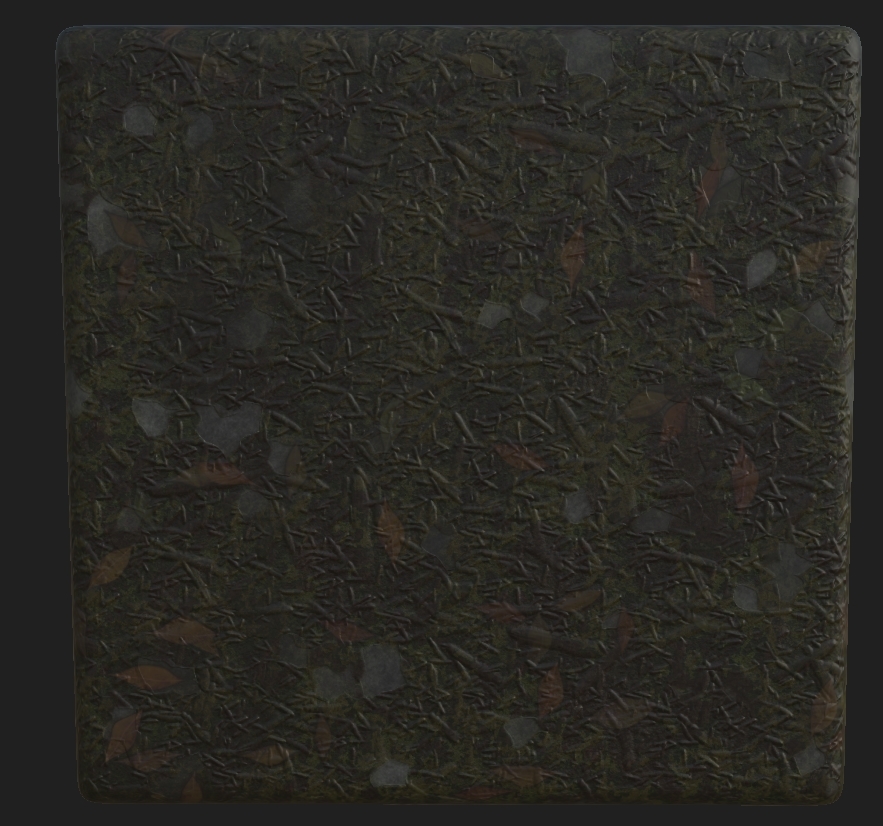 = G
= G = R
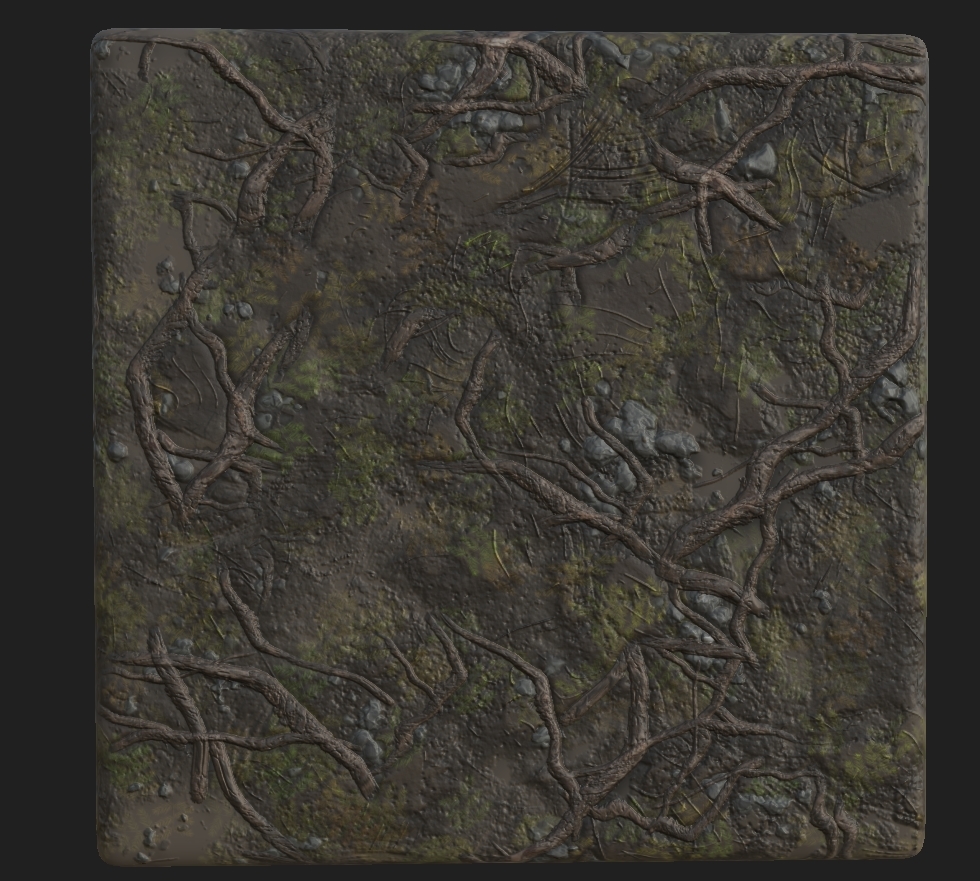
= RThe last texture had it's color changed but when doing variations I managed to save over the old file with the correct colors. Either way, these 4 textures are what make up my whole ground base. The way I set this up was by creating a vertex paint material, it may look confusing at first but you will see where and how I approached this. Before we start, I had to package all of these using RMA packages and the setting the compression settings to Masks (No sRGB).
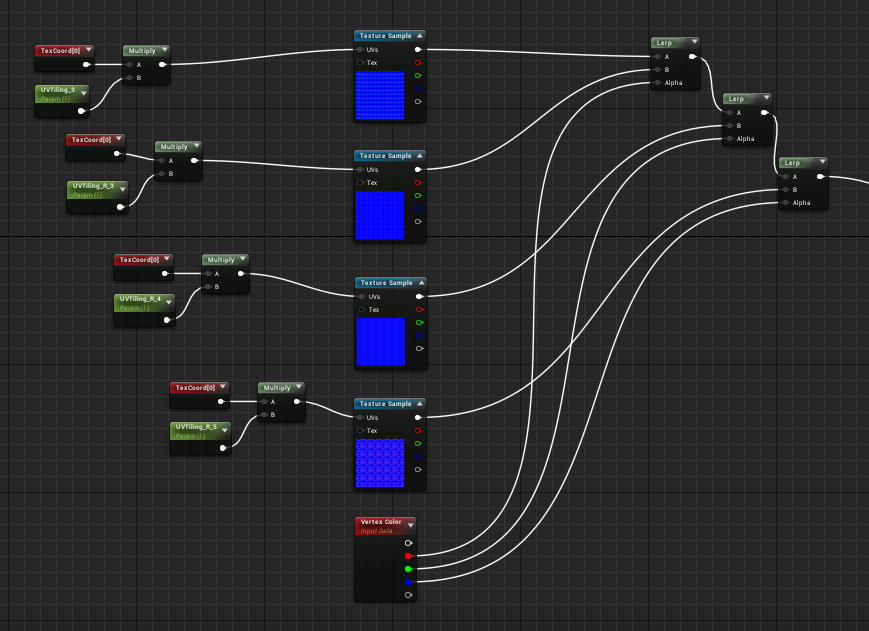
The way I first set this up was with non-packaged textures but realizing that UE4 can only hold 13 texture sets in one material I had to change this. I used a vertex color node alongside the textures which plugged into a lerp like shown below. The RGB channel from the vertex color are plugged into the lerps, but you may notice that there's 4 textures, 3 colors. The reason for this is that white (the first color) will be the initial base, as stated before I learned how to use that a little later than before because I thought it could just be painted on but instead I had to remove all the other textures and repaint it on. To the left you will see a TexCoord plugged into a multiply with a UVTilling parameter. This allows for the texture to be repeated a set amount of times and not have it be massive on the geometry. To finish this you would plug it into the base color.
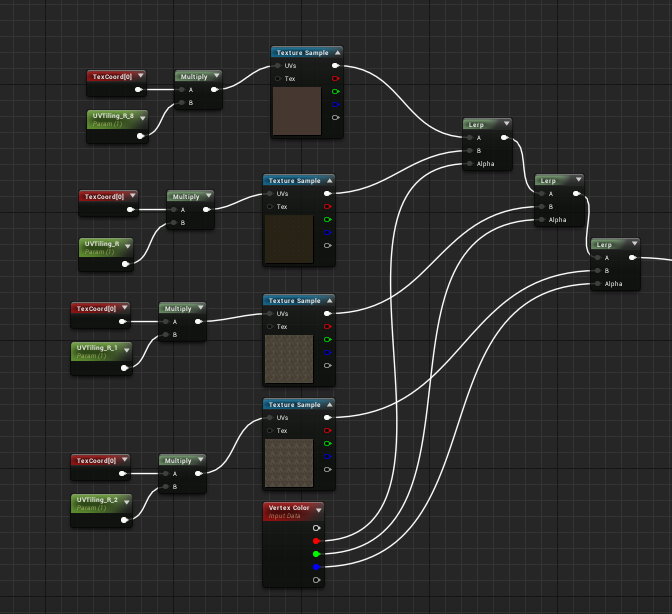
You would then repeat this process for the normals.
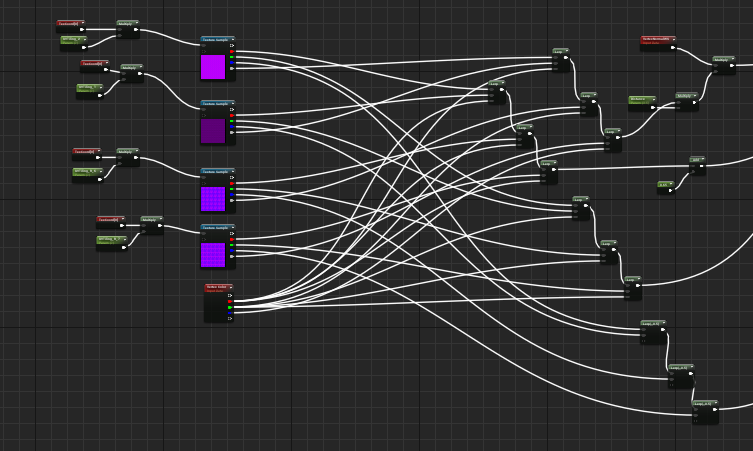
Now it begins to look complicated but actually it's very easy to understand, the way you set this up is the red channel you'd use would relate in terms of RMA(H) dependent on how you packaged it. I set mine up RMAH which is Roughness, Metallic, Ambient Occlusion and finally Height. You would then do the same process, plug the red channels into one lerp same as shown previous so that the material knows what channel to put through. The slightly difficult part was getting the height in, now the way I packaged them allowed for the white channel to be height. This doesn't effect the way the vertex color reads the material but instead the world displacement also known as tessellation. It's not really recommended to do it this way because of how heavy it could be but with such a small scene and trying to get a portfolio piece it was worth doing. So what you would do is the same way of setting up the old lerps but instead using the colors on the RMAH maps to tell the lerps which color the texture is then using the vertex color in the alpha to tell them the channel.
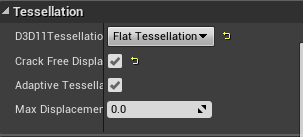
You then would make a parameter which is your tessellation multiplier and turn on tessellation in the details of the material.
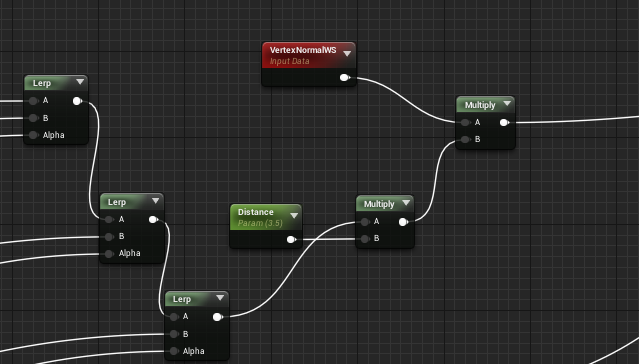
After this, you would then add in another parameter with a multiplier that comes from the last lerp to then join that to another multiplier with a vertexnormalws and plug that into world displacement. This allowed for the tesselation to work the way I wanted and the ground textures work perfectly in-engine and make the scenes composition work.
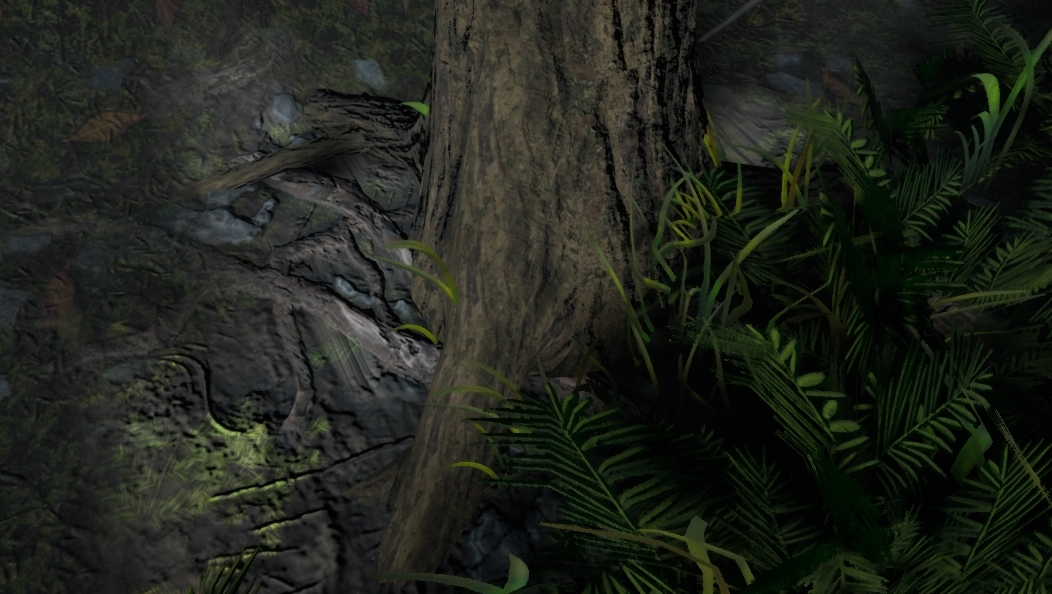
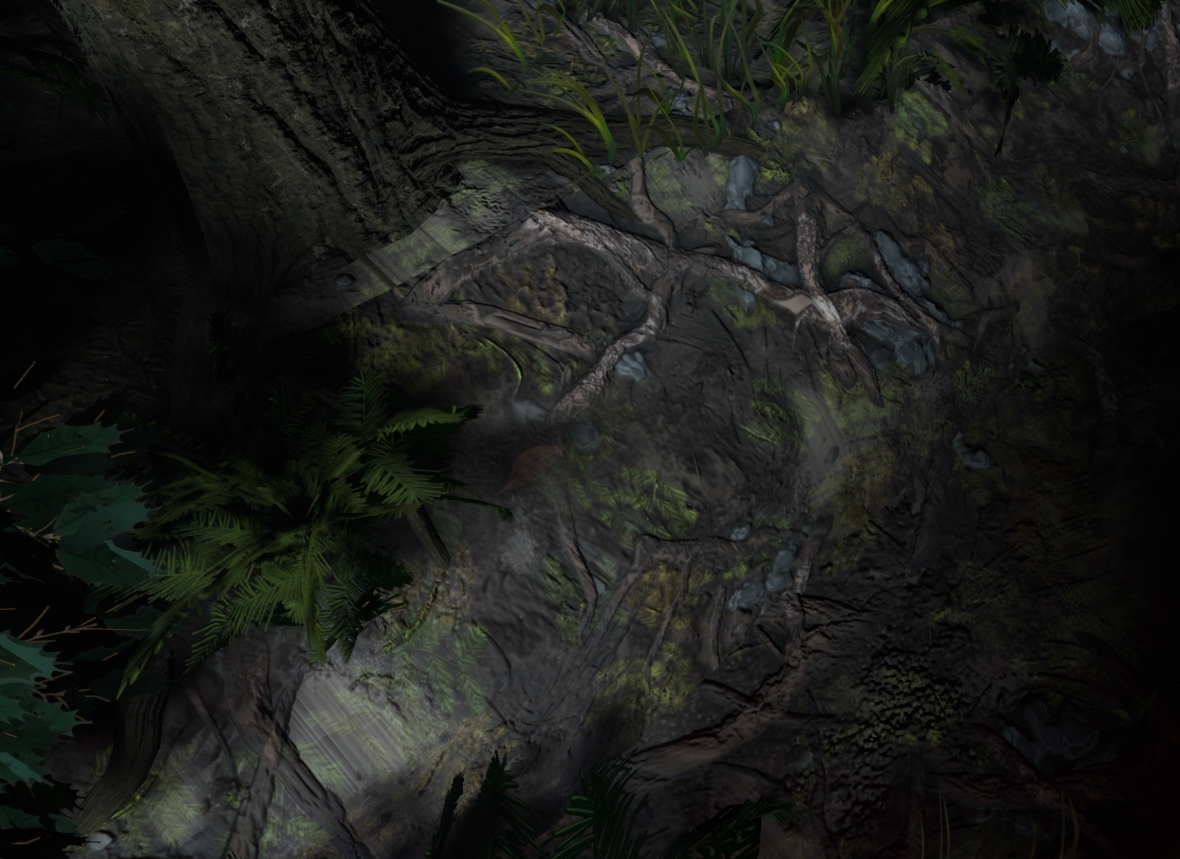
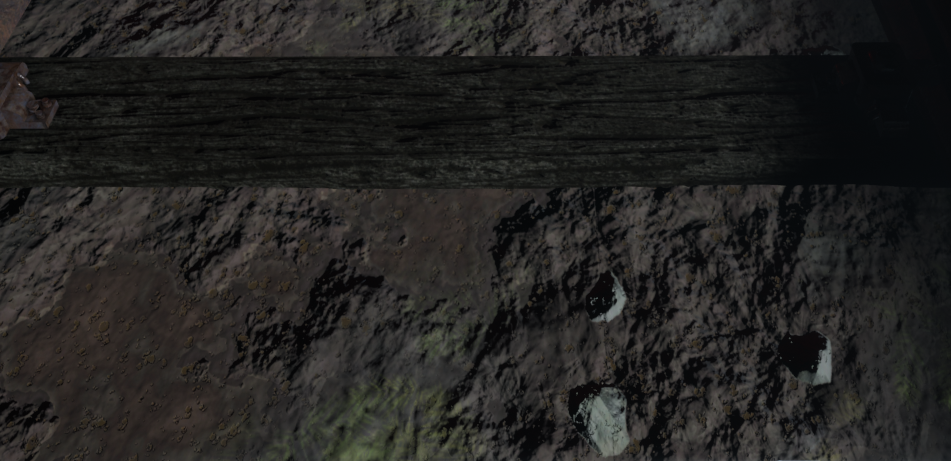
As for the final image the scene as a whole will help with that but I'll showcase some closeups of where the textures are working perfectly as well as how the overall scene works with the textures. Other than that, the vertex painting was completed by brush in-engine and from there I completed the scene as this was one of my final steps.
No comments:
Post a Comment