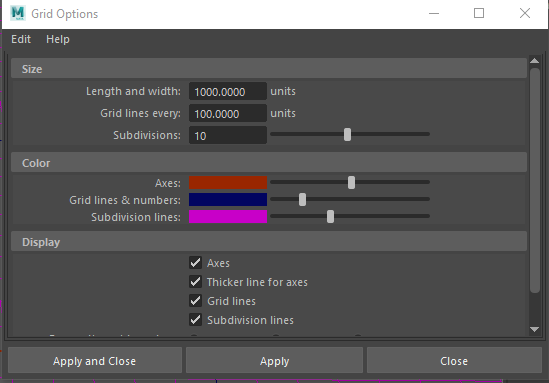
I am first going to start off by box modelling it in Maya and attempting to recreate the image that way due to the level of information, geometry can be minimal. I thought also that a good idea to make this the correct measurements for UE4 that I'd create it to scale in relation to the UE4 scaling. This measurement shown below should help you understand what I mean by this, I have setup the grid as well in maya to match these settings. The reason for these measurements is so that they're realistic as well as this could be potentially a asset I use in the future, although it can be resized in UE4 it's easier to be able to drag and drop and have a overall idea of the size etc rather than having to resize and guesstimate what size it'll be.


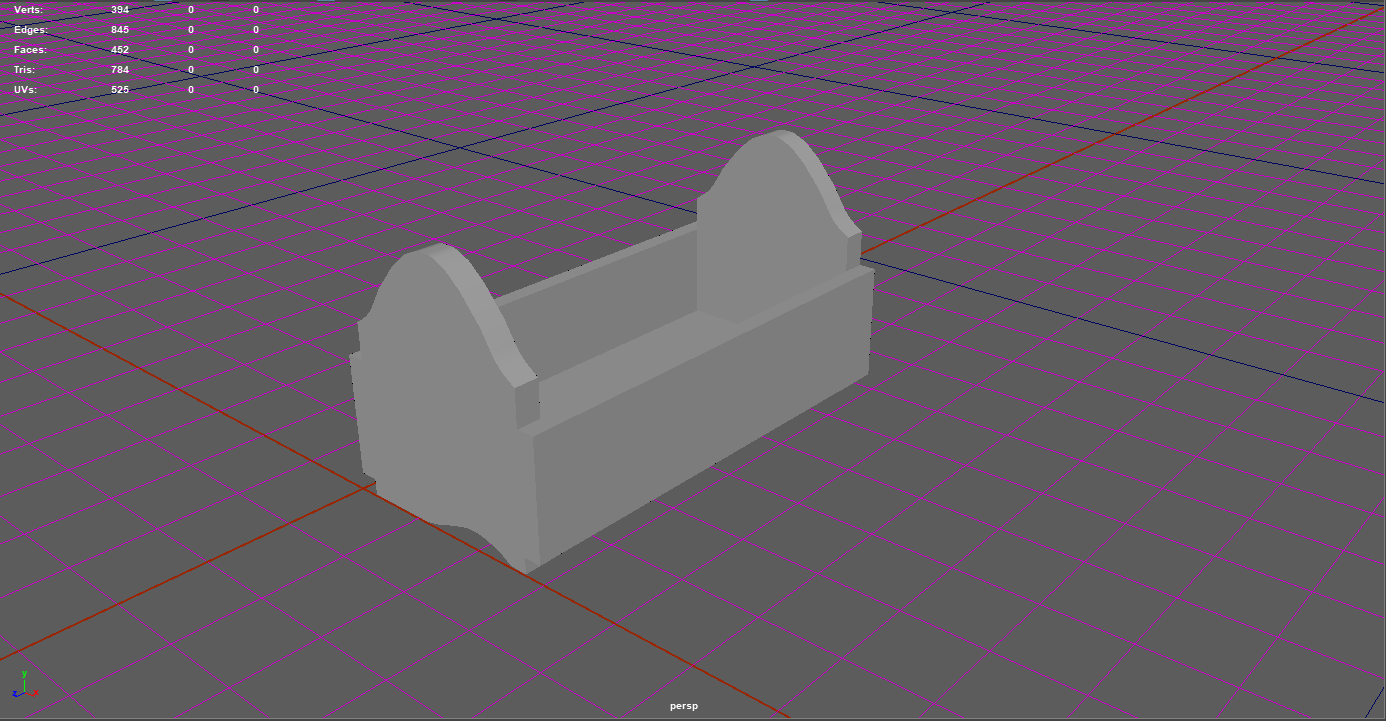
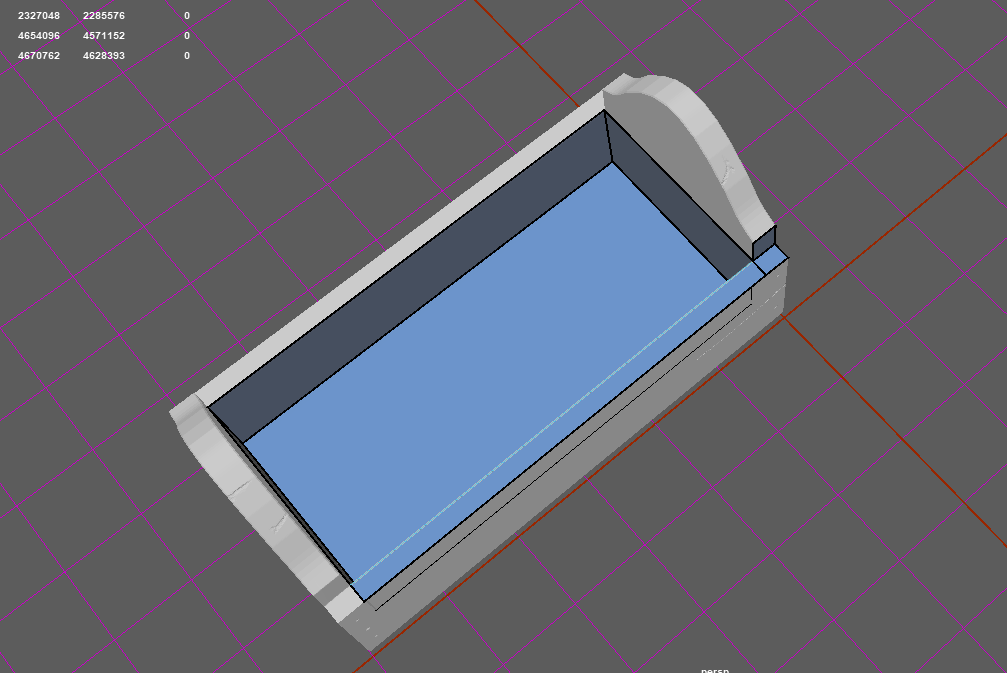
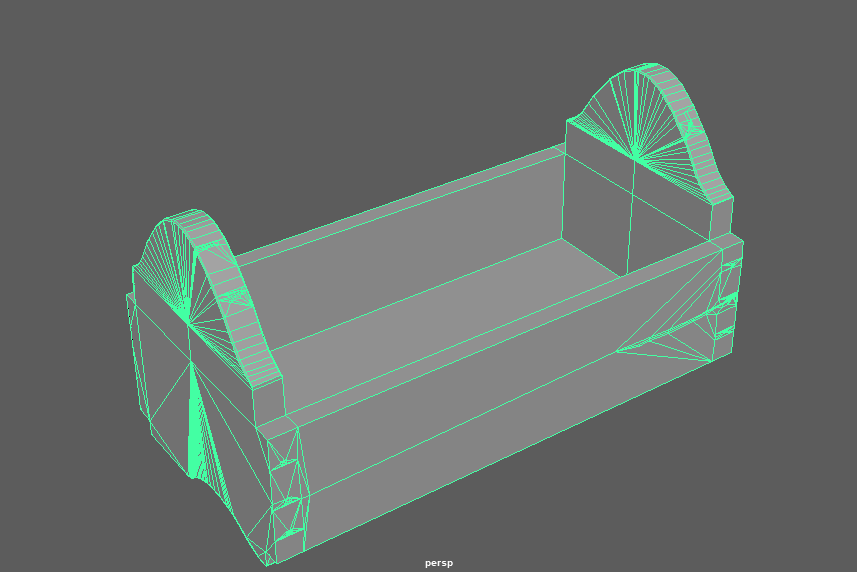
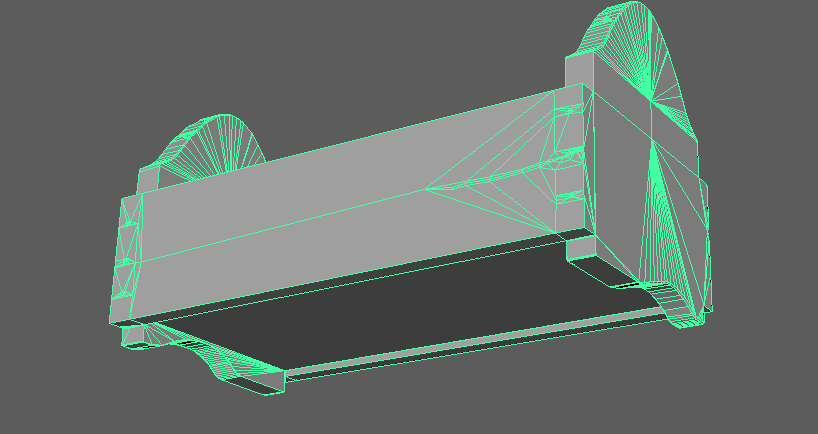
The measurements weren't exact to what looks realistic so with these included, the size of the side panels have been change from 0.45m to 0.3m instead. It gives off more of a realistic look as well as a less wider view, making it less trouble to size in UE4 again. After this, I managed to finish up the zbrush ready box model, now to create a organic feel in zbrush so I can add in wood chips, detail and even curvature. Shown below is the box modeled version of the object with the tri-count.
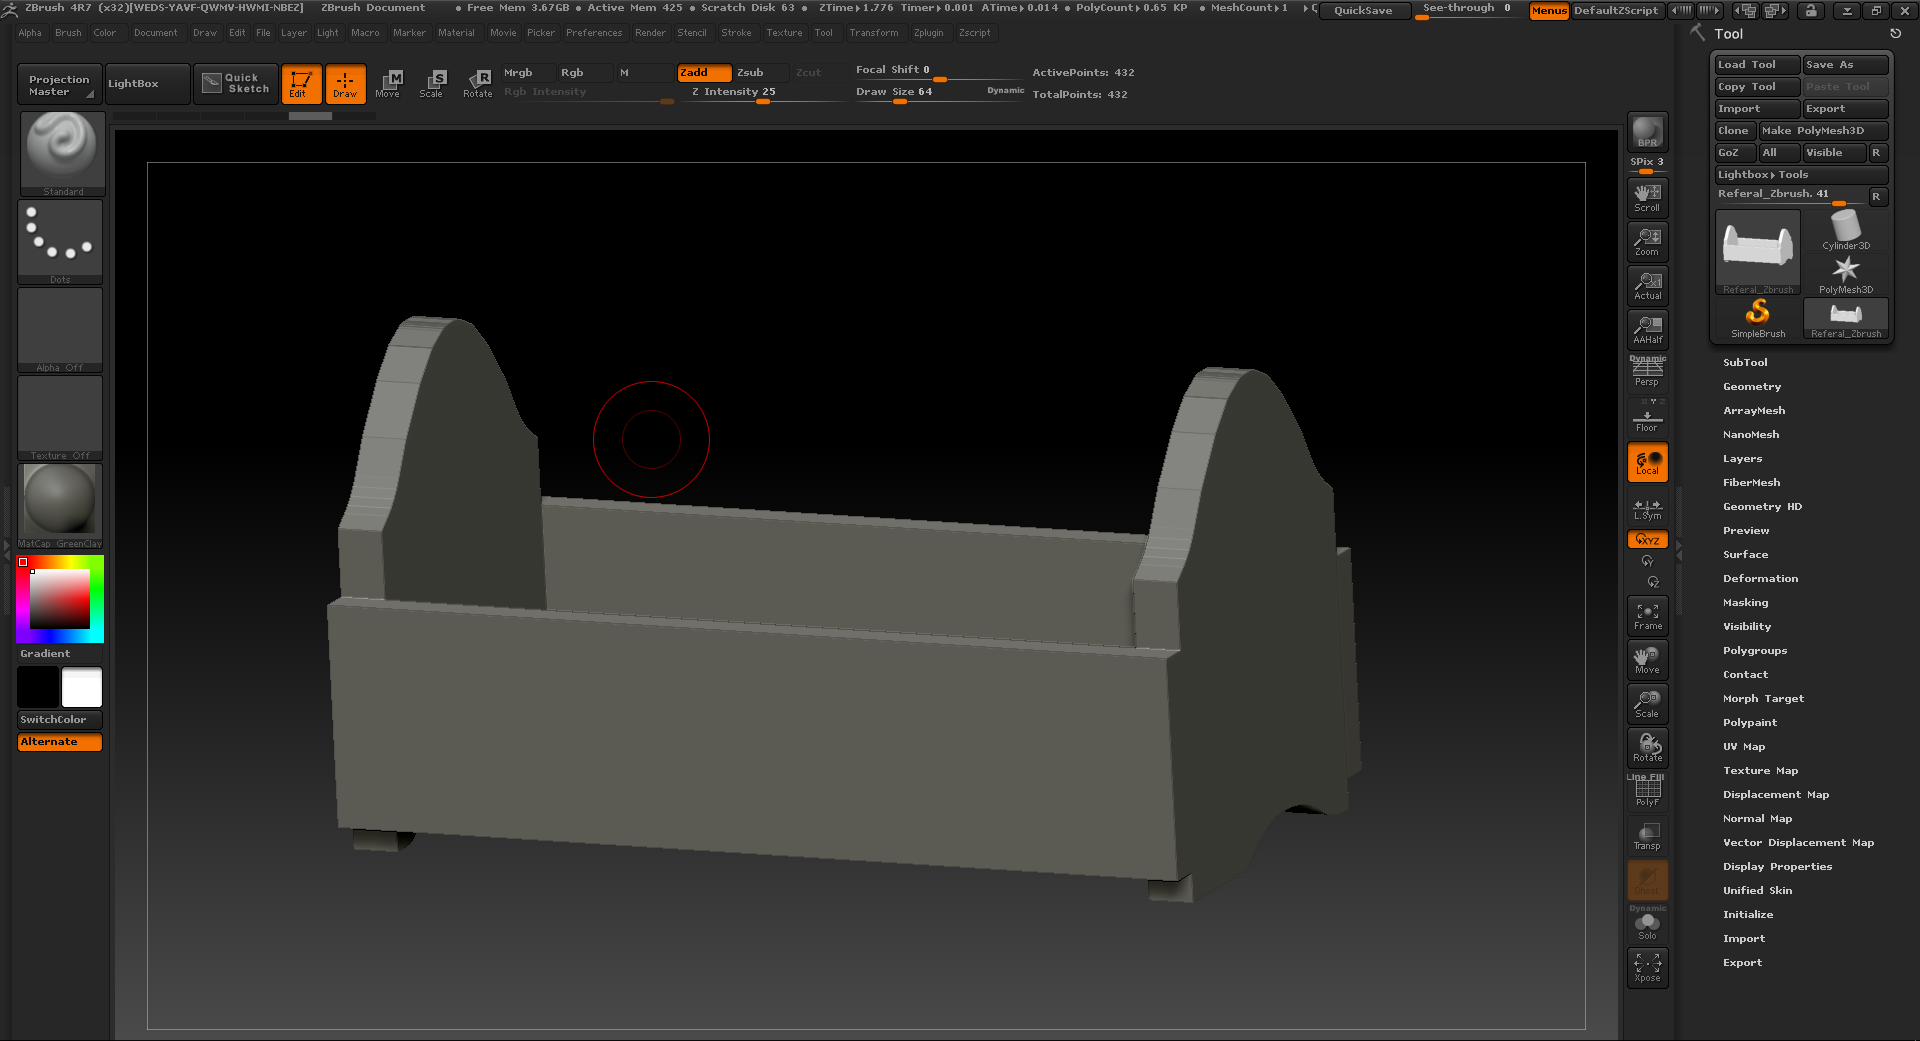
After completing this step, I then put it into zBrush and then subdivided it to add more points onto the model to allow me to draw in detail as well as when drawing in detail it doesn't ruin the whole object. What I mean by this is when you smooth off a low poly it will fold in on itself to the next point which because it's so low will be somewhere halfway down the object. Shown below is a before image of the subdividing.
After being silly and realizing that I had left some Ngons in the side panels I had to go back to maya and fix these, I realized this as I imported it into zBrush due to the Ngon warning coming up. Not only that but the mesh itself wouldn't smooth properly on those certain points which helped me indicated exactly where the problem lied.
Although this brought up the tri-count, as of now it doesn't matter much due to me going back after this with the high-poly and using quad draw to retapologise the object into a newer low-poly. Luckily I noticed this simple mistake asap and knew how to find it with ease through zBrush helping with time management. It was either that or use the cleanup tool, but the cleanup tool takes longer and makes the wire frame look horrible whereas this way I can keep it clean and precise to what I want.
Once I finished up in zBrush I re-exported the high-poly into Maya. It was originally 4m tris but I used the decimation tool in zBrush to bring it down to 2m tris. The reason I didn't want to go lower was because the object started losing shape and I knew that my PC could easily handle 2m tris in maya, but 4m was too much. Once put into maya I added the high poly to a new layer, made it a live surface and now I'm quad drawing on it to make the topology of the new low poly object. Shown below is the strating process of this, this too is the longest part of the work flow as it's my weakest so I am hoping to have this done within 1-2 days of working around 4-5 hours on it each day. I know this sounds long but it's because this is new to me still and I want to get the exact right topology for a nicer bake and easier UVs.
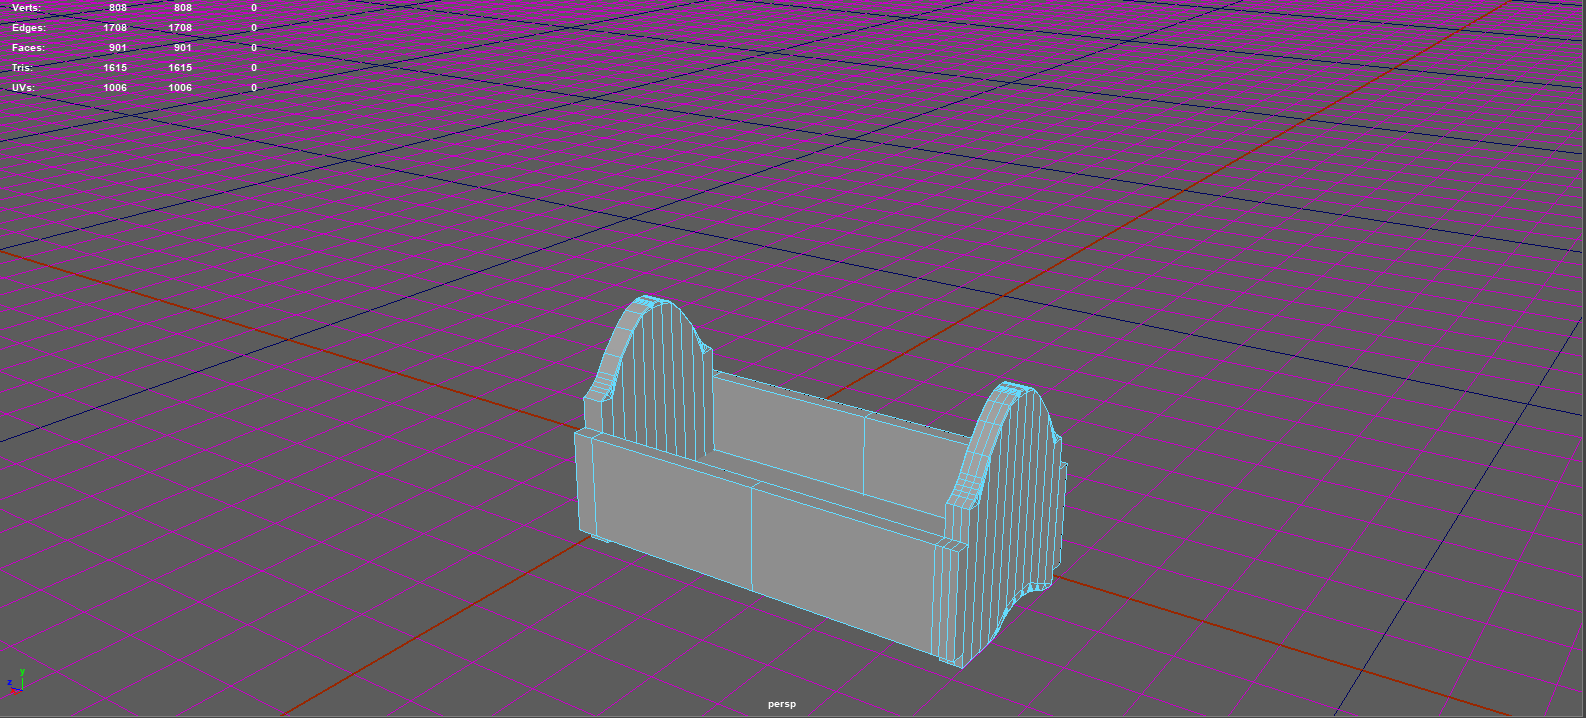
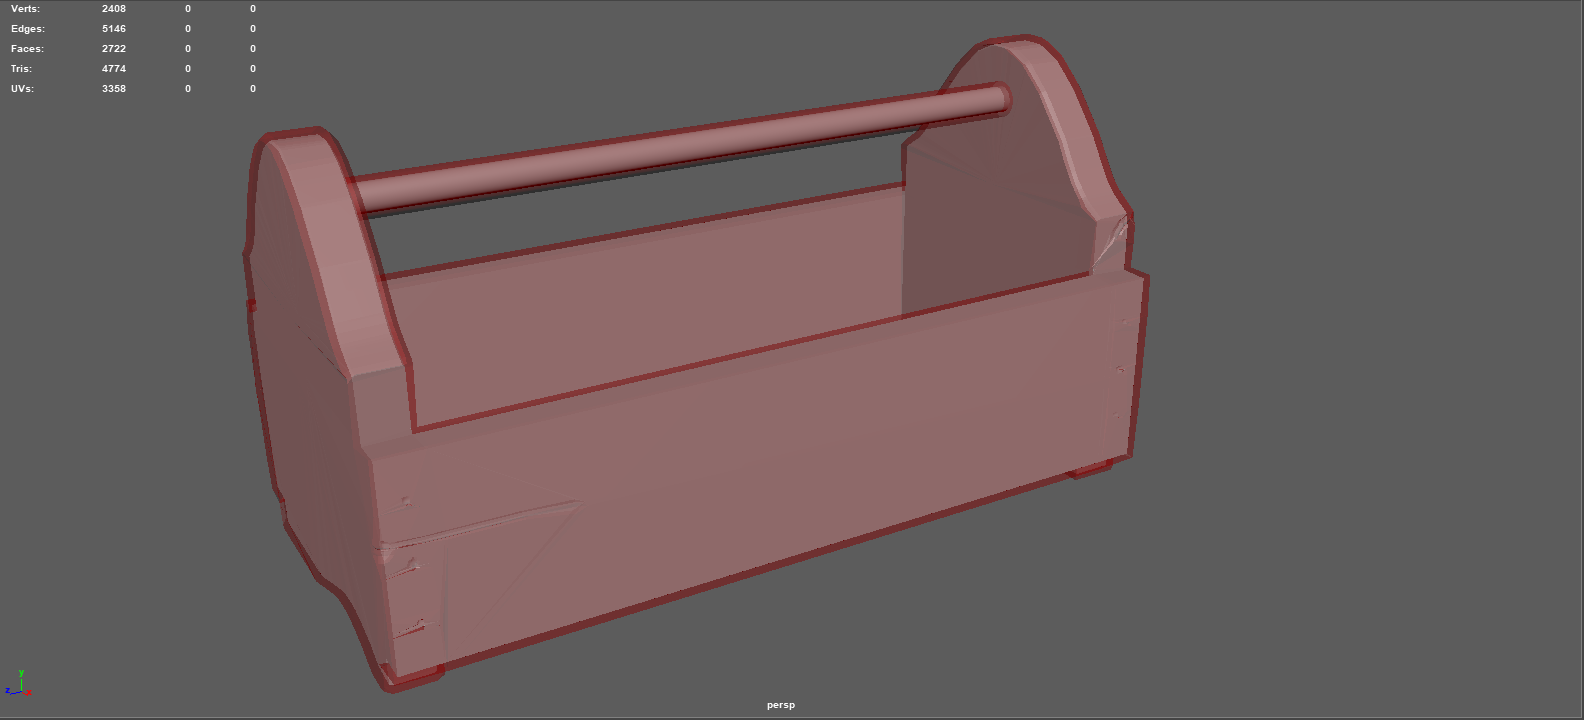
Once the retapology was complete I wanted to ensure it was done to the best of my ability before moving on and adding in a low-poly and high poly cylindrical shape to give off the illusion of the handle. Below are two images of the completed retapology. It could be cleaned up a little which I am going to attempt without ruining any detail or adding in any more geometry to keep the poly-count down for when I add in the handle.
Once completing this step, I moved onto creating the UVs which is easy for me because I had Chris show me a good way of creating UVs and how to do them clean and precise. This allows for me to chose where the seams go and where I can lay most detail on the actual object through texturing. Shown below are the basics of how I lay my UVs out to see which need flipping and to what axis/scale they need to be.
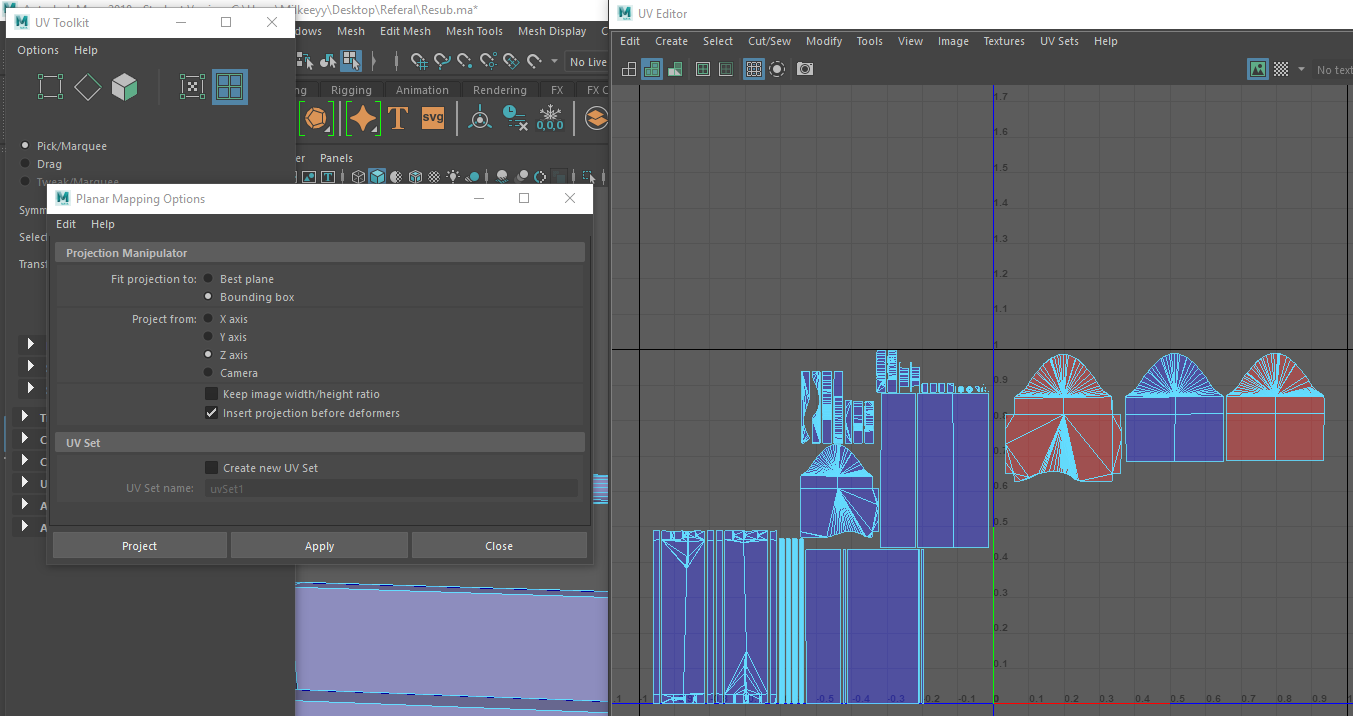
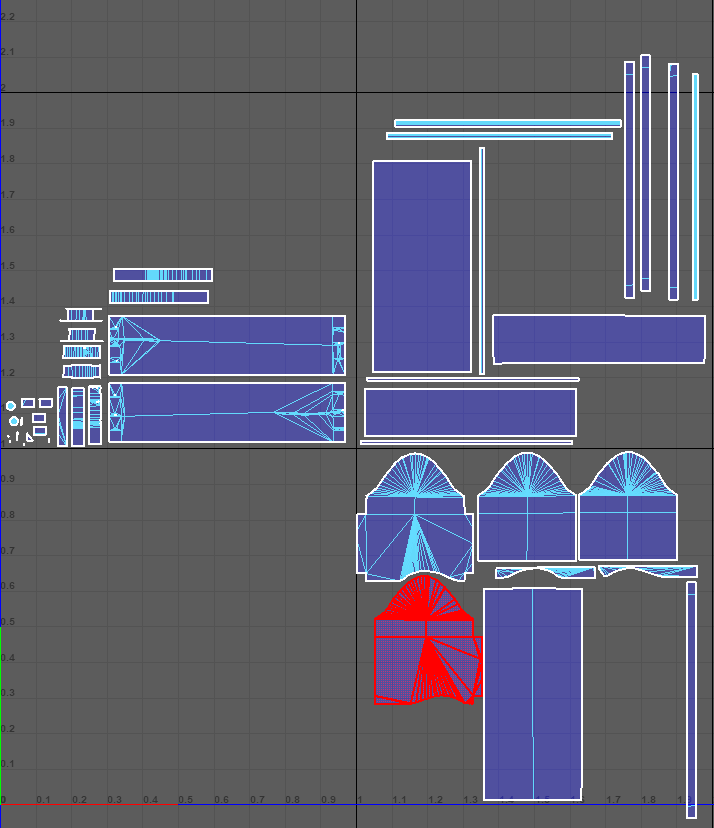
Once I've finished doing the correct scaling and planar scaling, I now am going to attempt to sow them together to create more conjoined UVs without stretching them and ruining the texture quality. Although this part is tedious it brings such a better product and easier texturing when putting it into substance painter. This part will take the longest out of the whole project because getting this correct just like the retapology if you get it wrong it will go completely wrong.
The UVs shown below are the first attempt at completing the UVs, I will test the bake and how the texturing sits to see if these are the final UVs I want.
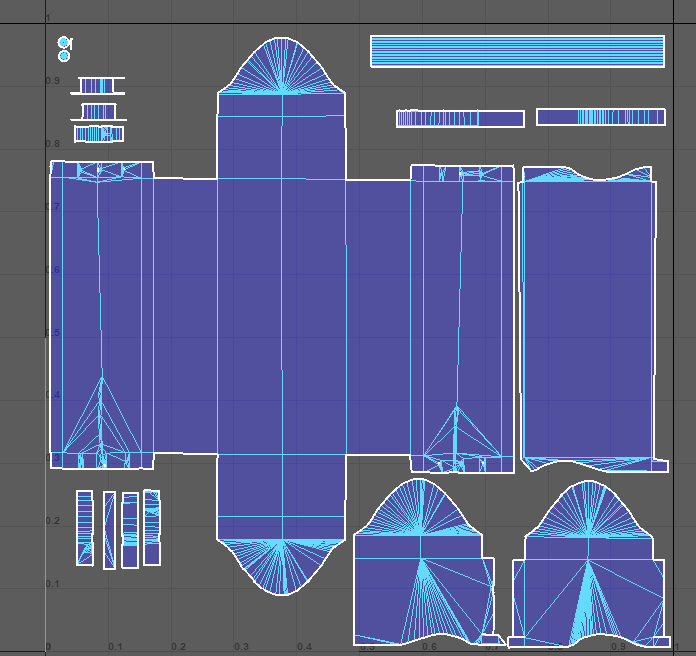
Testing these UVs I then created a cage and it was ready to go into substance painter. Lets hope first times the charm otherwise I'll have to go back and re-do the UVs.
I then showed a few friends for feedback on all the above, low-poly, high-poly and UVs and most said either small feedback or none at all. None the less feedback is feedback, the best feedback I got was to get on and texture it and see how it looks. This was the product of that. Closing down the stages towards the end of this minor project. These screenshots are from Substance Painter. The feedback given on these images was to add a fill layer, add a custom grunge then add in a lighter brown to bring out contrast (like I've done on the bottom) but instead the lighter brown will allow for more information.
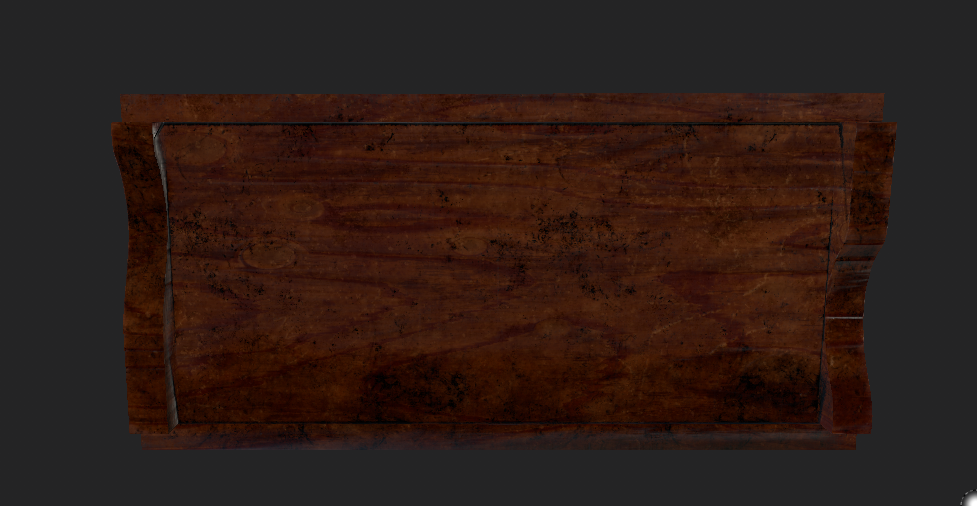
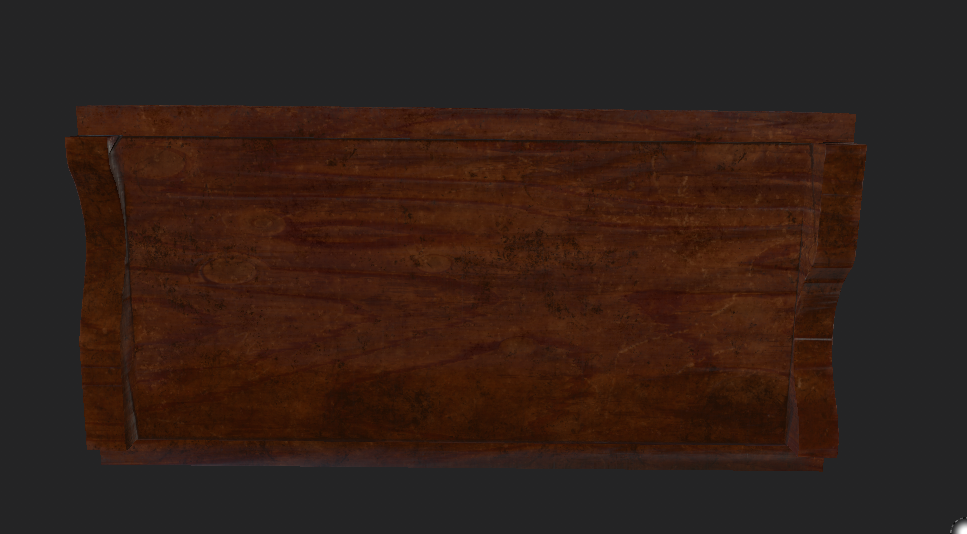
The images below are with the lighter brown.
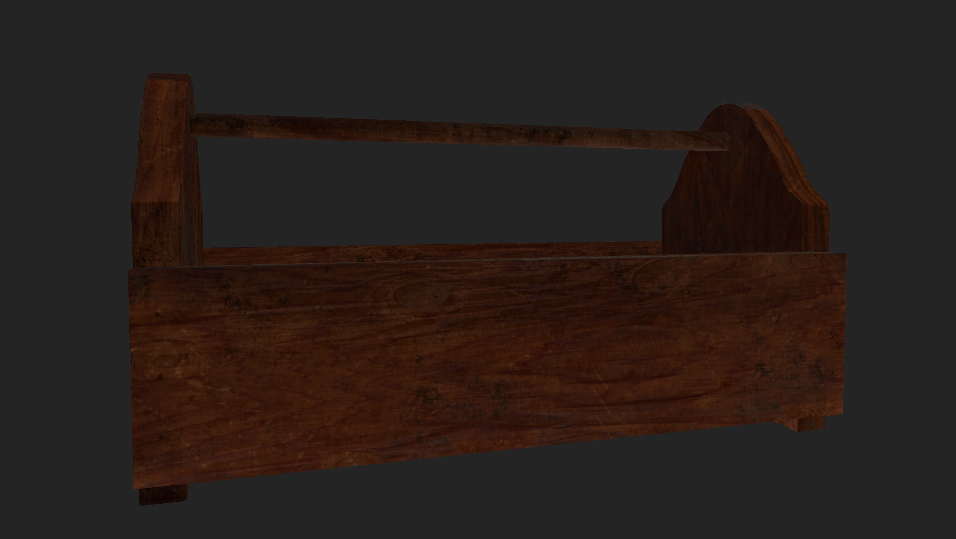
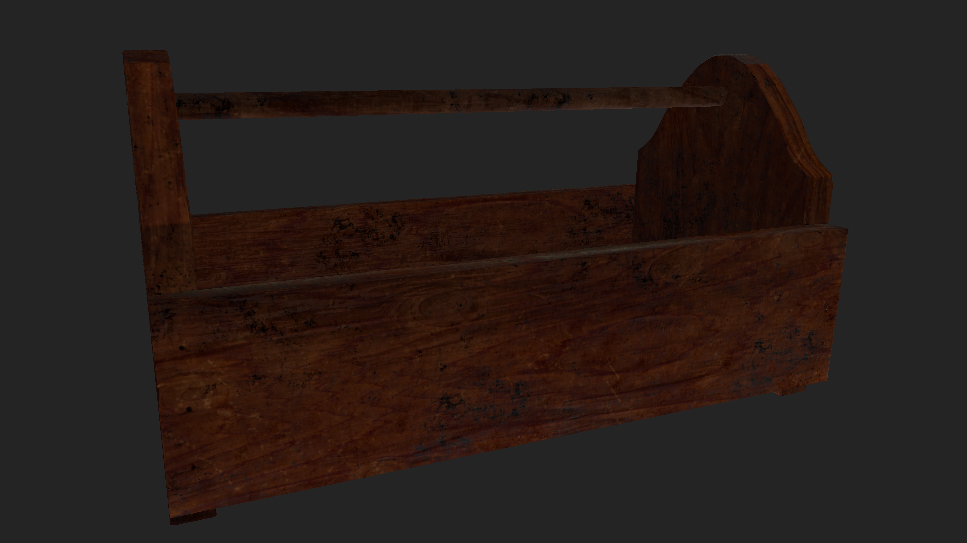
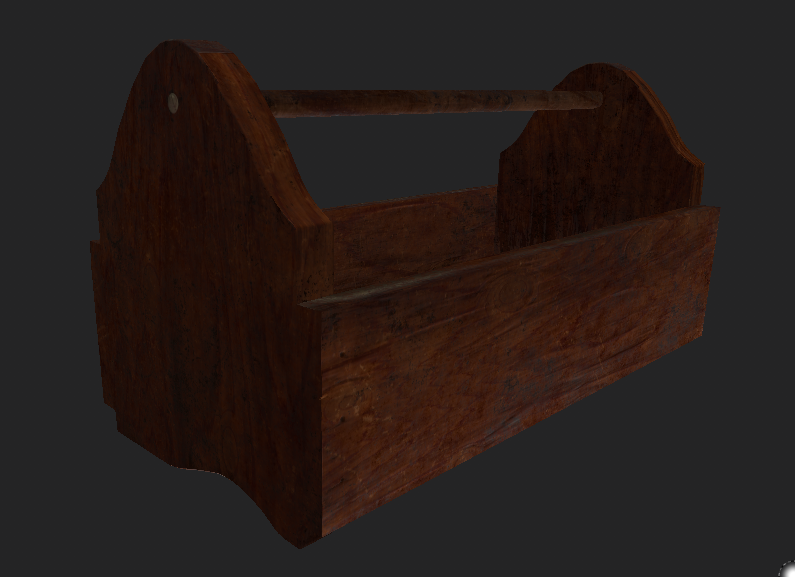
Once appropriatly choosing the color scheme I wanted and adding in all the detail I realized I didn't have to change my UVs that they were fine. This ending result I'm happy with and as for the referral it was a real kick up the backside showing me I can't take this lightly that every bit of work needs 100% effort. The final image shown below in substance designer.
No comments:
Post a Comment