Weekly upload 3 - Substance Designer
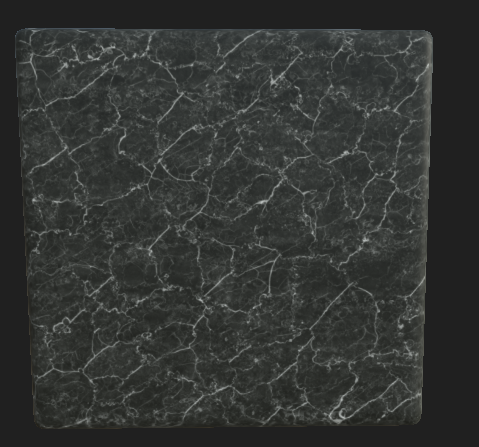
The third week of my blog is going to be covering smaller projects that were thrown together to teach us the important parts of the program. Again we were shown basic tiling shown below with the marble flooring and how to repeated the pattern with randomness adding in to make it look a lot less linear. A very basic pattern but something that is almost a necessity in any game with buildings. The simplicity of it was something that I learnt from this experience though, it has such a simple graph and pattern layout that when creating it we used minimal tools needed. Shown in both the image and graph below.
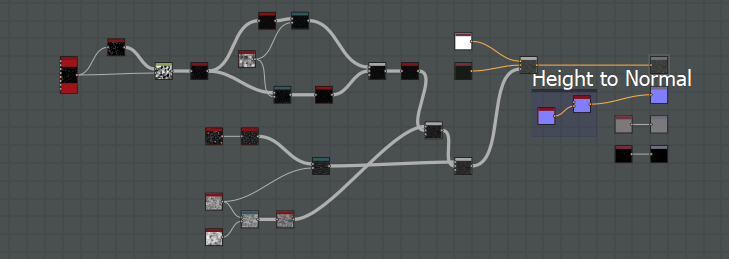
The graph below showcases the simplicity of the actual making of it all as well as the amount of work needed for such a realistic material.
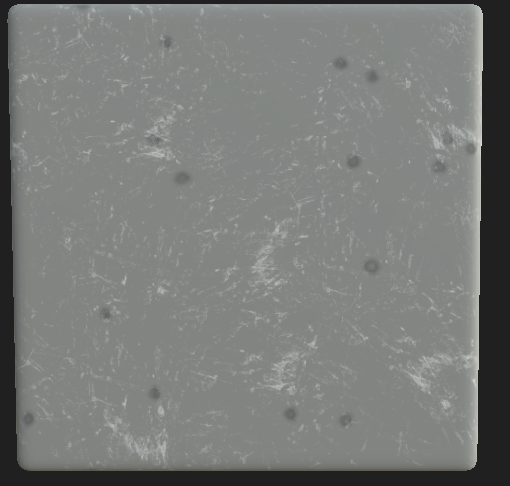
After creating this marble material we then were able to ask what sort of materials/ideas we had and the lecturer would then show us how it was done. In this case we happened to stumble onto something relating for our first year which was bullet holes/damage. The issue I had when creating this was in the university is out dated versions whereas mine is the most up to date, creating issues with the actual material. The image shown is what I have manage to import over but shamefully due to the file being corrupted in the transaction a lot of the material didn't stay.
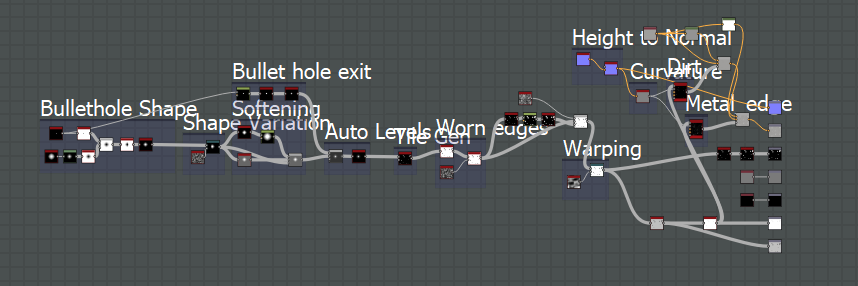
As you can see from the graph below, the height map and more was used but when converting it all over it shamefully didn't bring that information. You can see the concept of what it is meant to look like by the image shown above but not the entire finished project. I retried opening it in the university but no luck was given and the file was forever lost. Either way the template is there if I ever needed to recreate this concept. These two separate sessions were very educational and helped me with the next project.
No comments:
Post a Comment