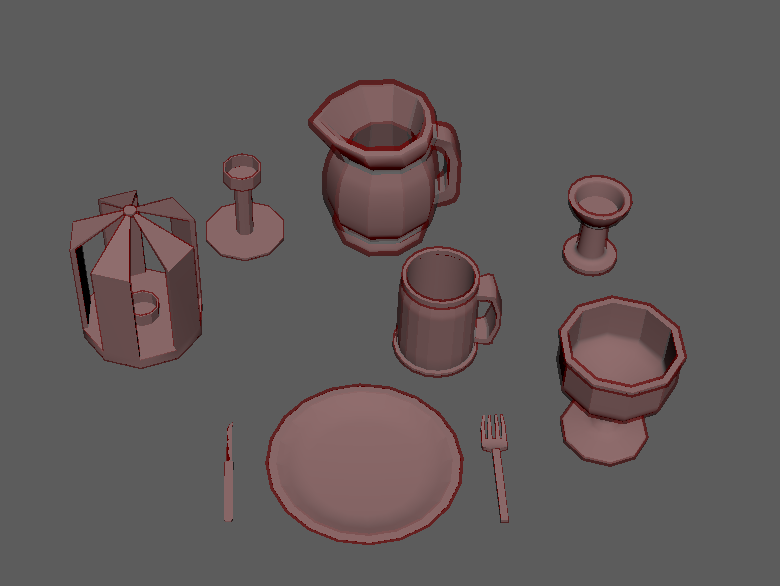
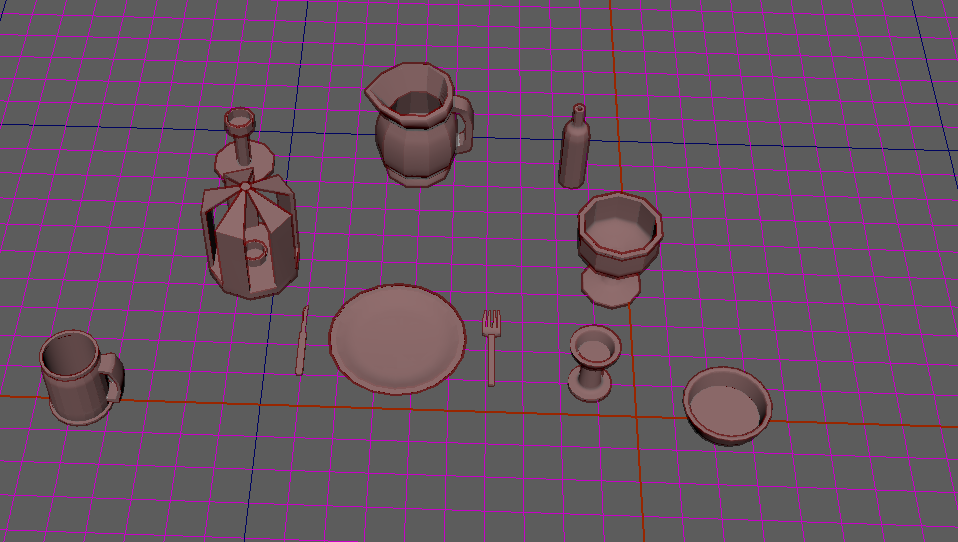
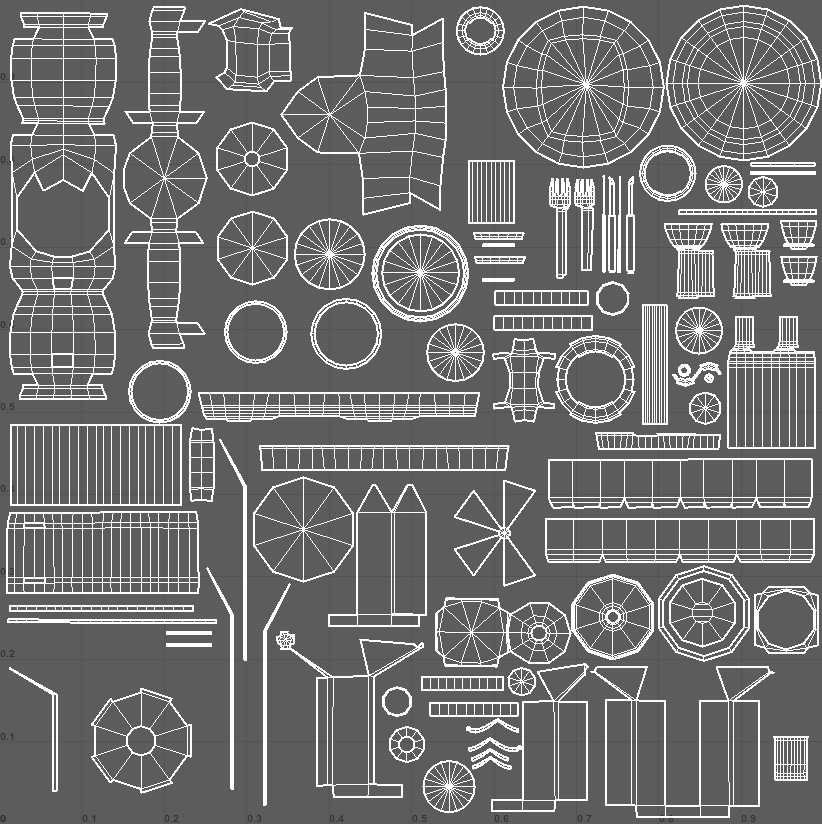
So during this week aside from textures and particle effects I wanted to attempt to create some assets seeing as they're being slowly produced and to help out the team. I've started on a candelabra for the first object, I'm going to attempt to recreate a simple candelabra with at around 8k tri-count to ensure that it wont be expensive but have enough detail to make it look realistic. Images shown below of the first Low-Poly creation, the grid layout is set to the UE4 scale we have used. This meaning that I can make the exact size for the UE4 environment as well as making sure my texture sets fit exactly to the art scheme.

This model is only 8.2k Tris for now, I will attempt to bring this down by using a high to low poly workflow meaning this will be the high-poly in hopes and then create a low-poly off of this model and using the bake option in substance to add on the curvature and detail. I will be doing the same for every single object/prop I make due to the amount of detail that can be baked on and wanting to create a realistic looking game. Hence the high level textures and realistic look on most textures.
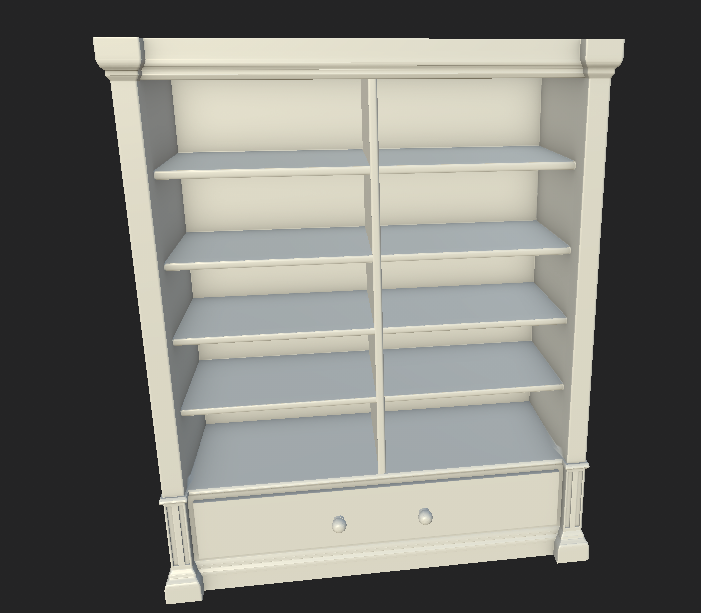
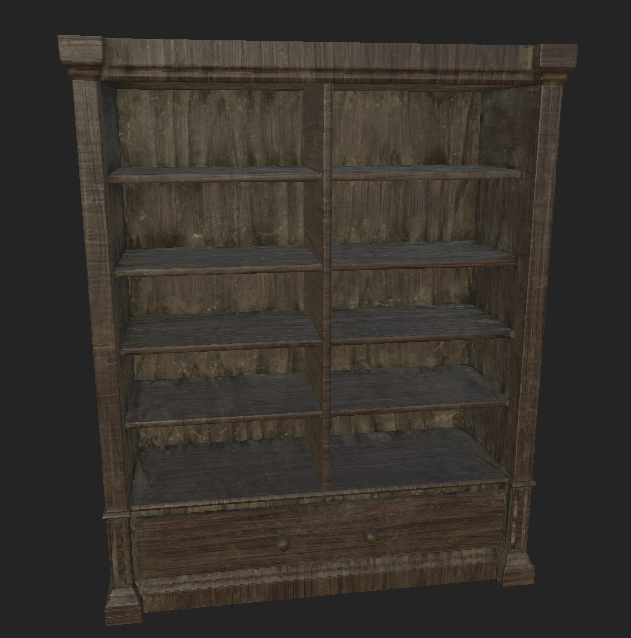
During this creation, I was given some assets to texture finally. I started off with a simple bookcase, something that would be easy to texture and allow for me to showcase what I've learnt and the textures I've created. Below is the model naked in substance. My first thought was to create a light wood texture (one I've already made) and put it from designer into painter, add a black mask and dirt generator to give off the feel of old and dusty/used. Below the first image is this.
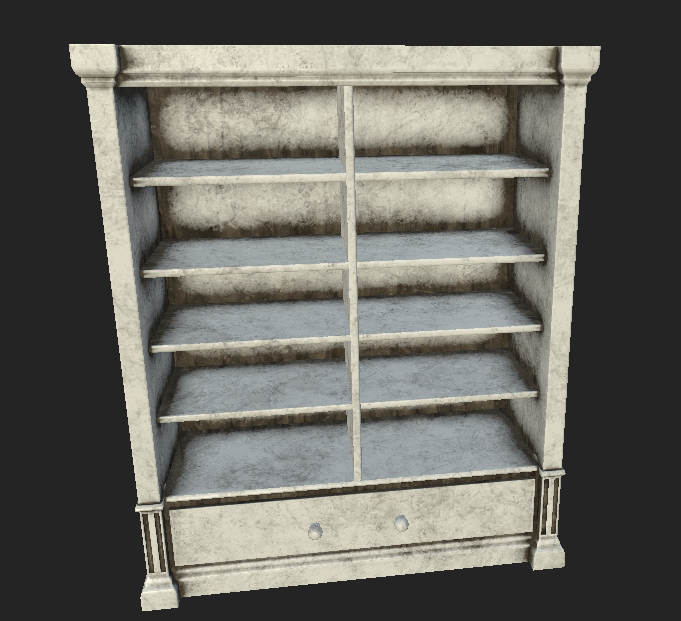
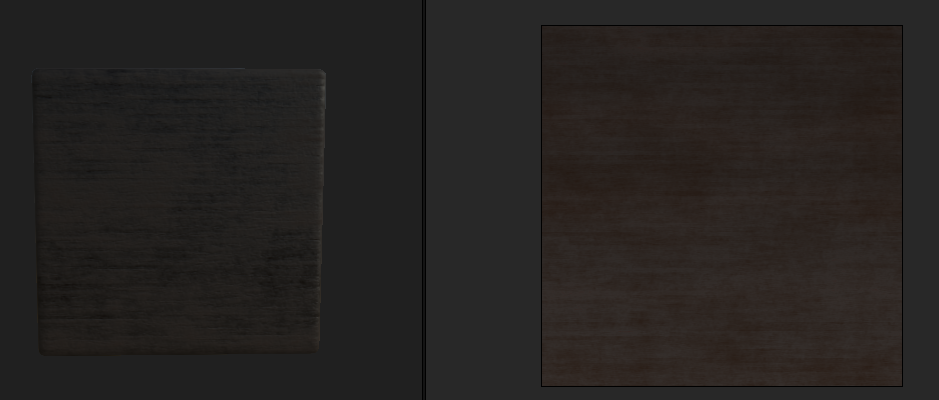
After this I wanted to create a wood for the bookcase but instead choosing to save time and use the material already in substance painter called 'Wood walnut' and then change the color of it to allow for better workflow as well as time consumption.
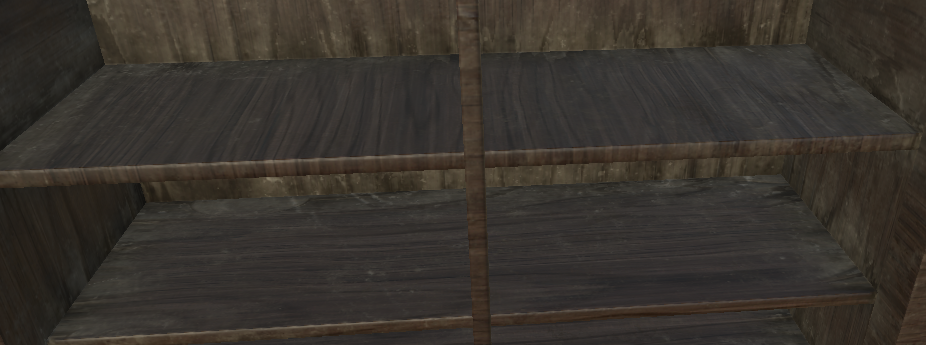
The only issue doing it this way was that the UV layout wasn't exact to what was needed. To fix this I created a separate layer above the original layer and adding a black mask/changing the UV rotation in the program and then drawing that on top to create the exact UV layout I wanted. Shown below.
The changes made are minimal but make all the difference on immersion and player feedback. This basic texture was easy to complete and didn't test me much so it only took minimal amounts of time to complete. Either way it was one step closer to being a texture artist so I will take it as a win in my books.
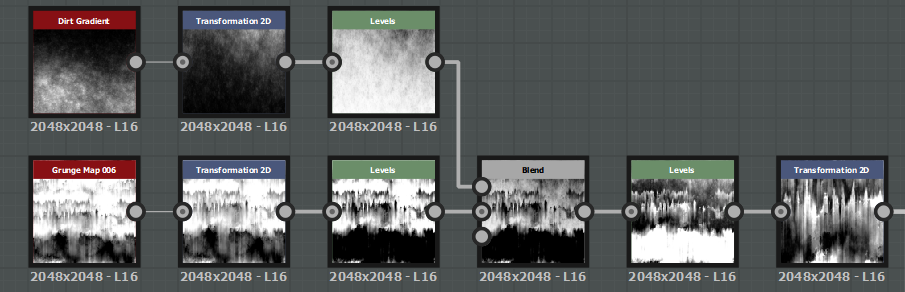
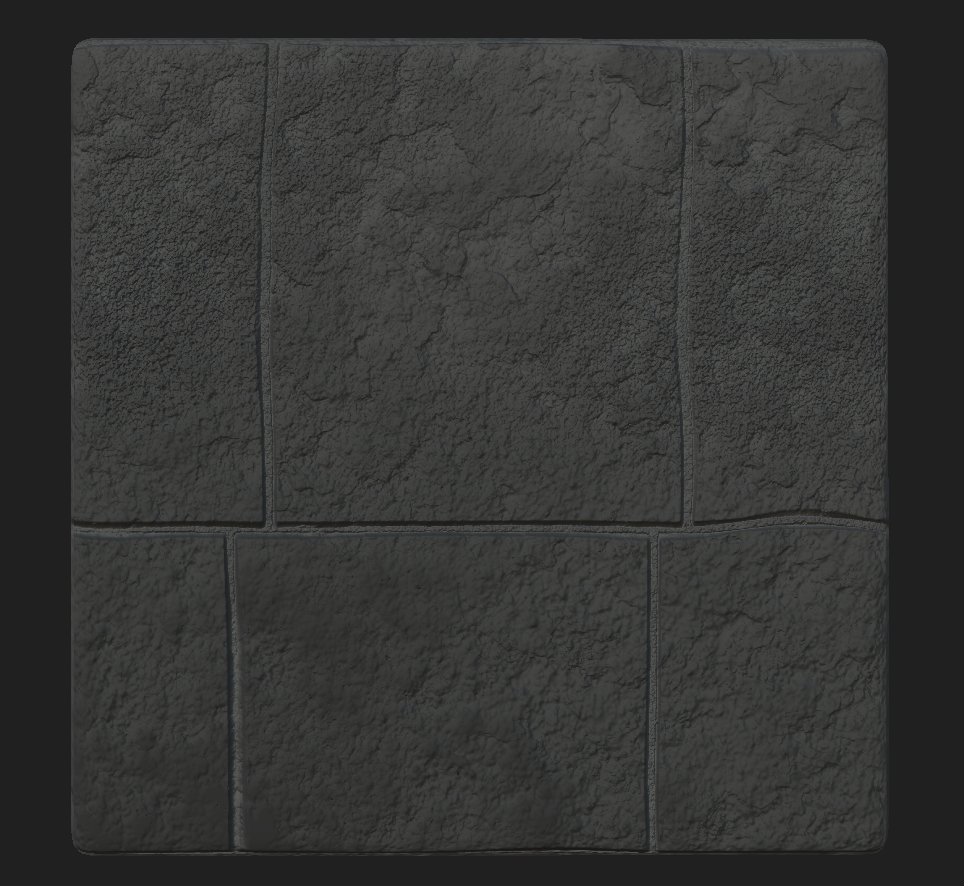
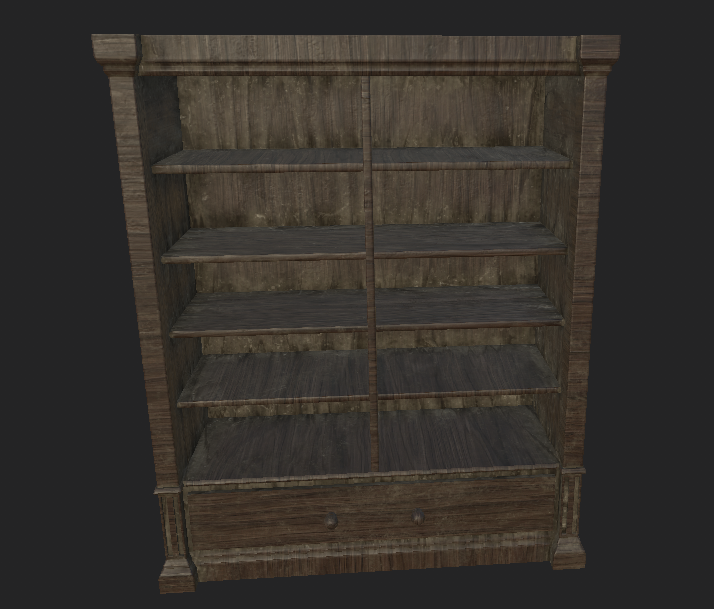
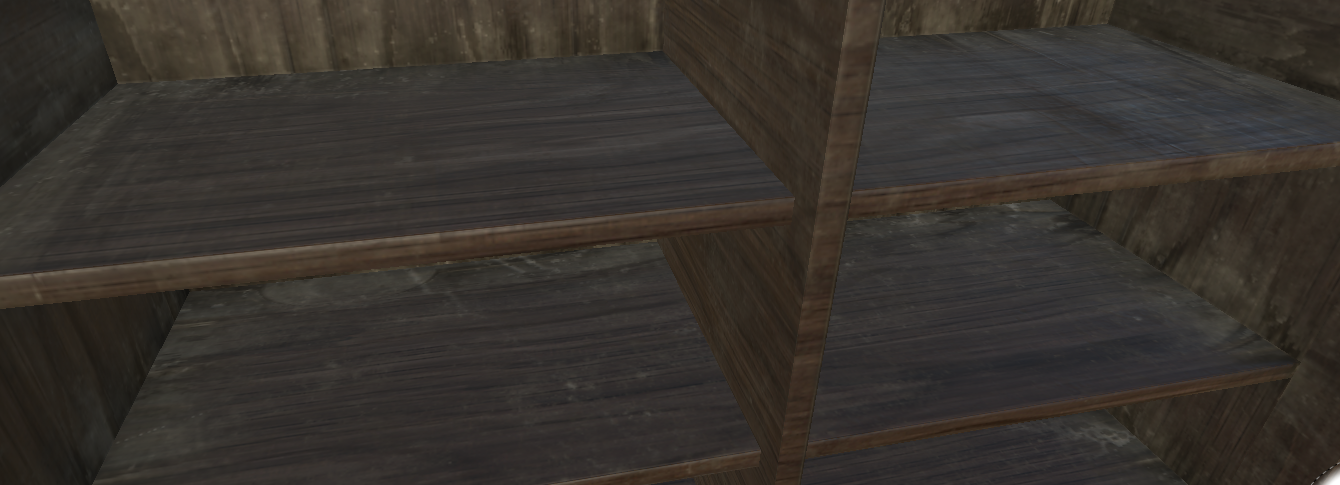
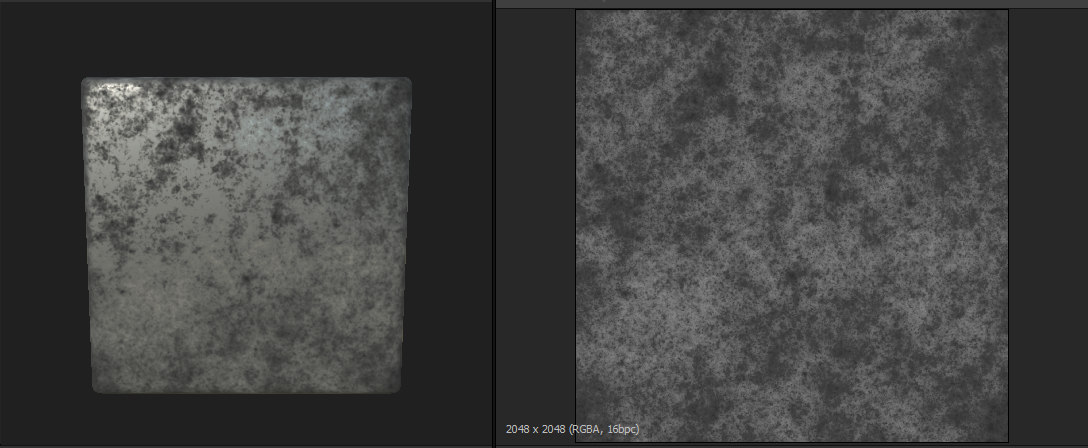
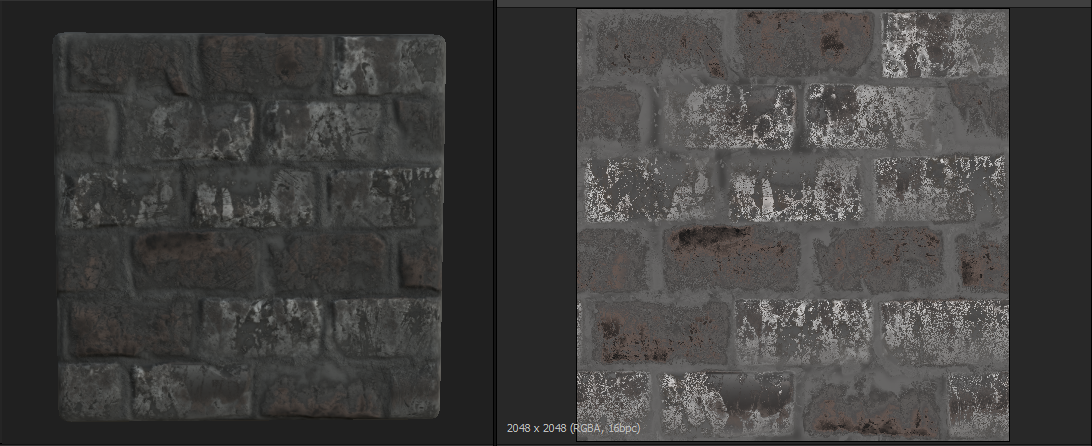
This is the texture used with the dirt generator to create the beaten up feel/used feel. Allowing for levels of realism, even though some parts will be covered up with book objs etc. it's nice to have the feel all over rather than in certain places as it doesn't use any more video memory in comparison. I will leave it up to the environmental artist to decide what resolution he wants, this was done in 2k and can be exported in any other lower level resolution. 4k is not a option on this piece.
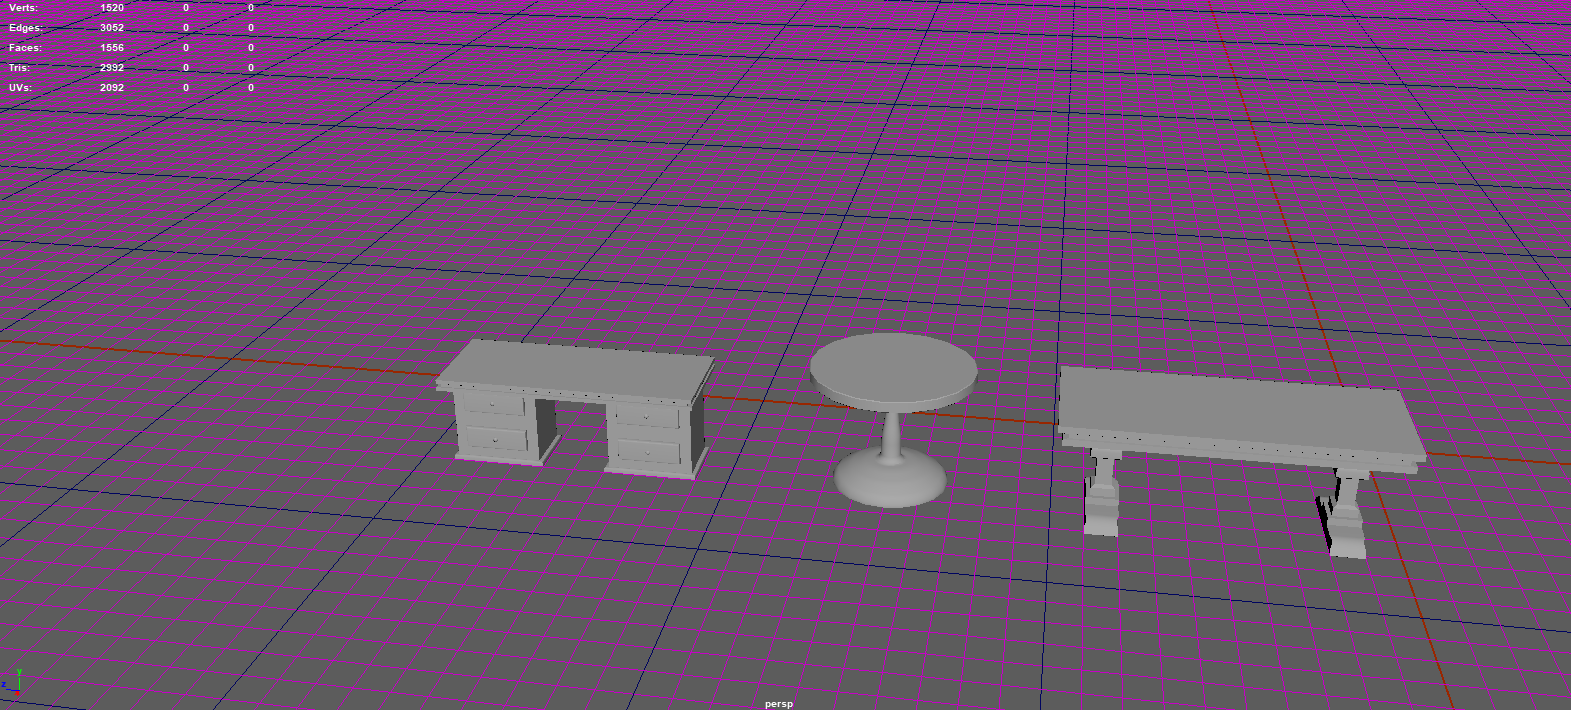
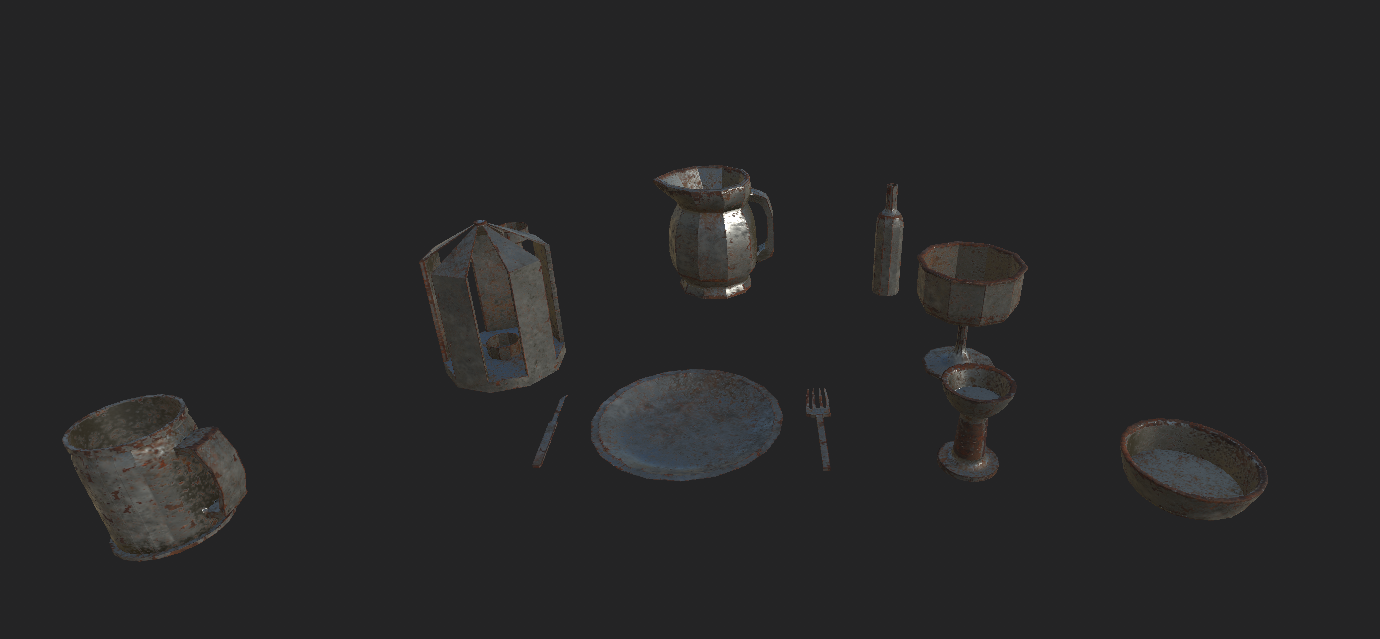
After completing this I decided to carry on with the 3D modelling that I was originally meant to complete. I decided on this one I was going to do two to three different variations on the matter seeing as the tables were something that were going to be used across the whole cathedral. My idea here was to do another asset sheet like the metallic one made before but instead for a wooden table type sheet. Filled with the same textures and texel density (TD) so that it saves again the texture amount and video memory. I will try to achieve at least 3 tables in this sheet, one rounded, one long table and one drawer set table. Shown below is all 3 tables all kept under 3k tri count for memory reasons as well as they don't need much to look like tables, the textures will do the work for them.
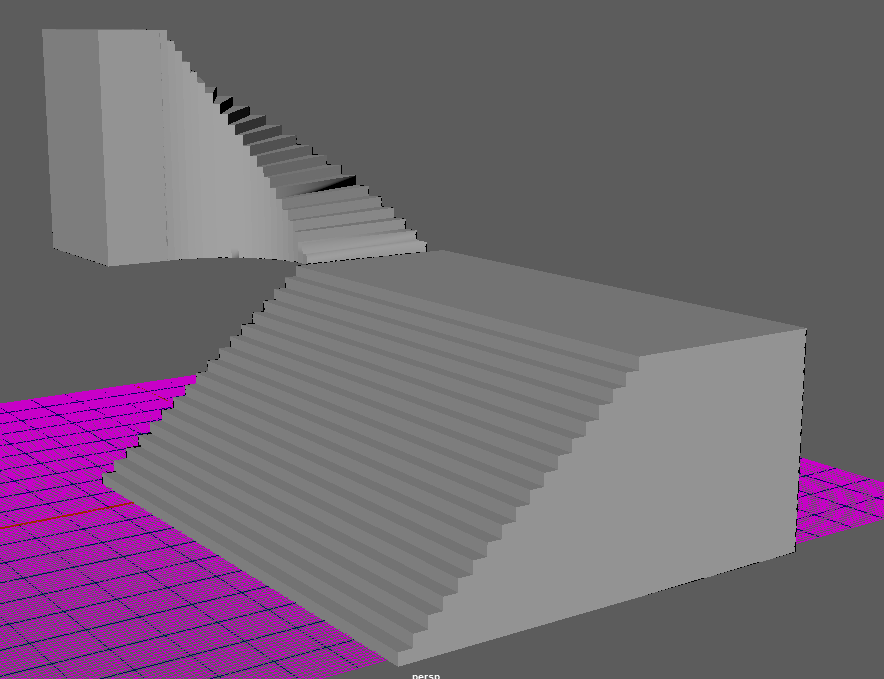
After this I was given the task of creating a stair set, due to the assets being less important than environmental pieces this took priority. I was firstly given a basic stair mesh used in the greyboxing to be able to use as reference for scale shown below.
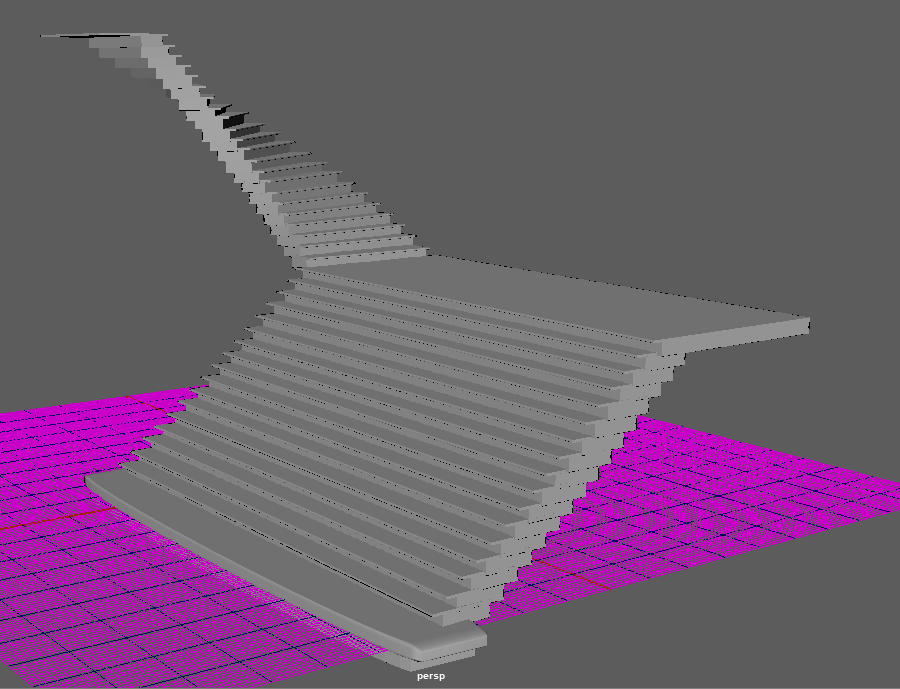
I then went over, created more marble-esk stairs and then decided to add a lip, some little additional details on top to create the steps. Removing the underneath allowing the player to walk under the model. Adding in more detail after this was necessary.
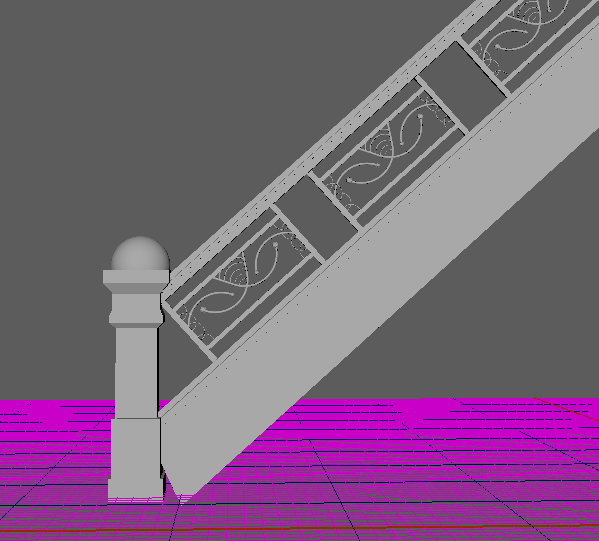
As an environmental piece I was allowed a lot of tri-count for this so I decided to go 'fancy' with the Bannister by creating a detailed print to go in between the rails.
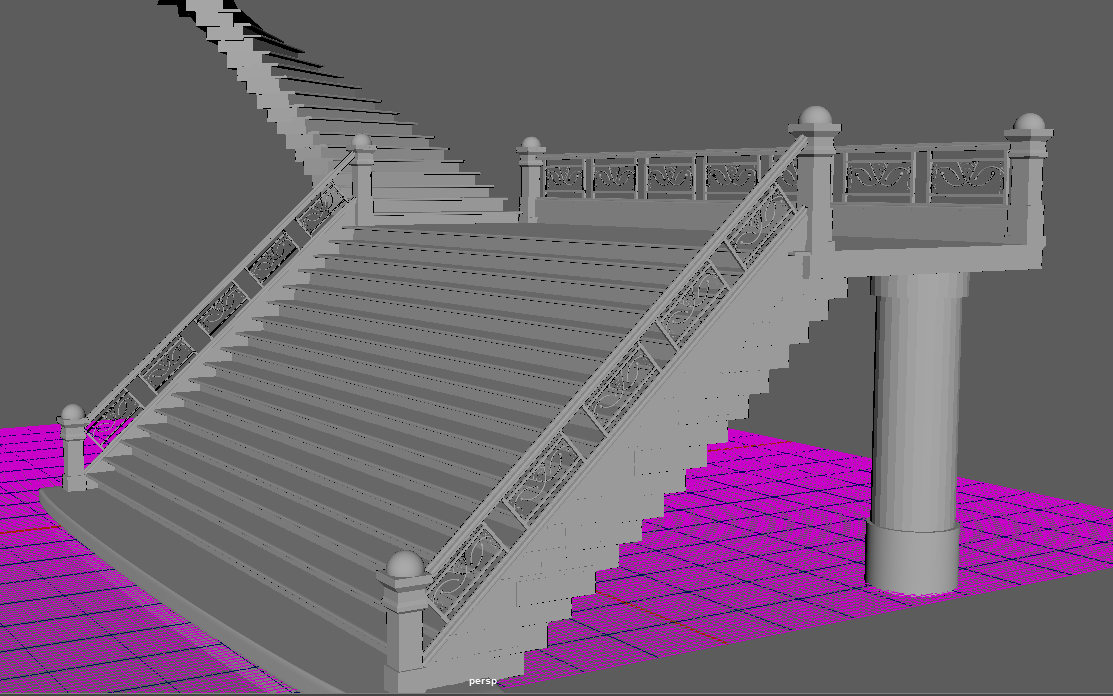
Putting it altogether was a must so here is the final itteration of the beginning of the stairs, I will be adding detail and more items to 'fill' the staircase and make it look 'fancy'. Meaning this will be my big piece for the game, all textured, UV'd and game ready by next week.
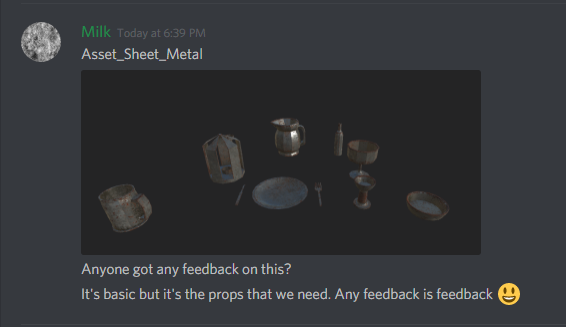
Taking a step away from work load I am also continuing my role as the project manager in seeing where people are at, leaving feedback and leaving reminders. I haven't documented much of this due to normally vocally telling people but seeing as this weeks team meeting was cut short due to peoples personal lives getting in the way I left open reminders. Also through this giving feedback and opinions through Discord. Shown below.
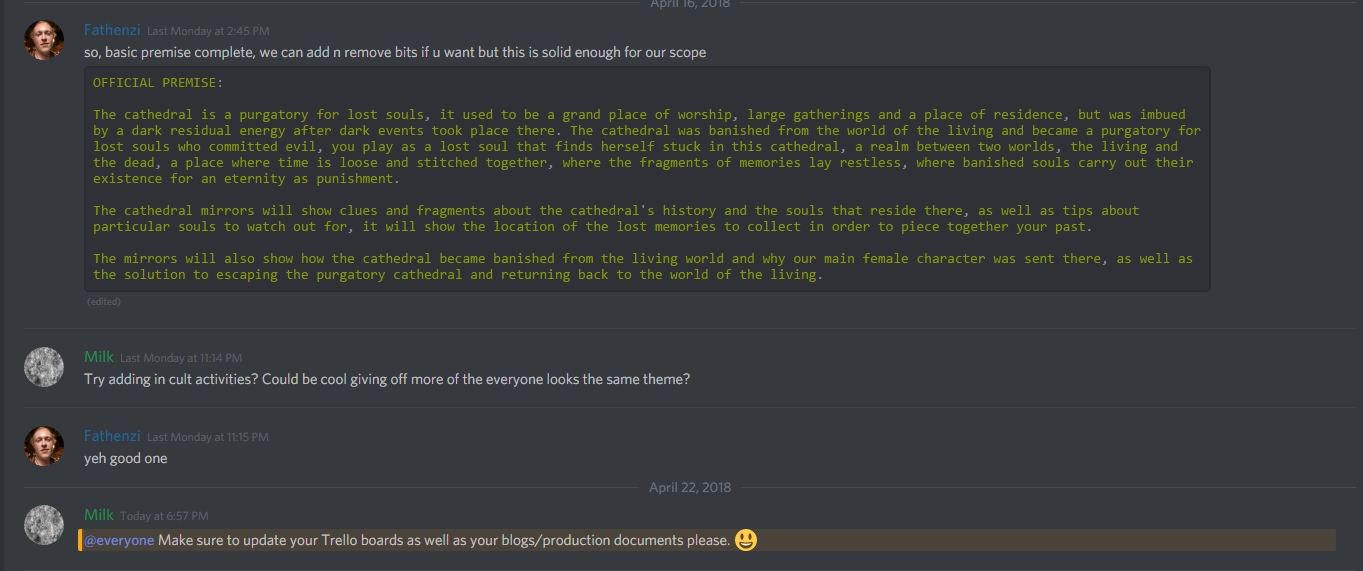
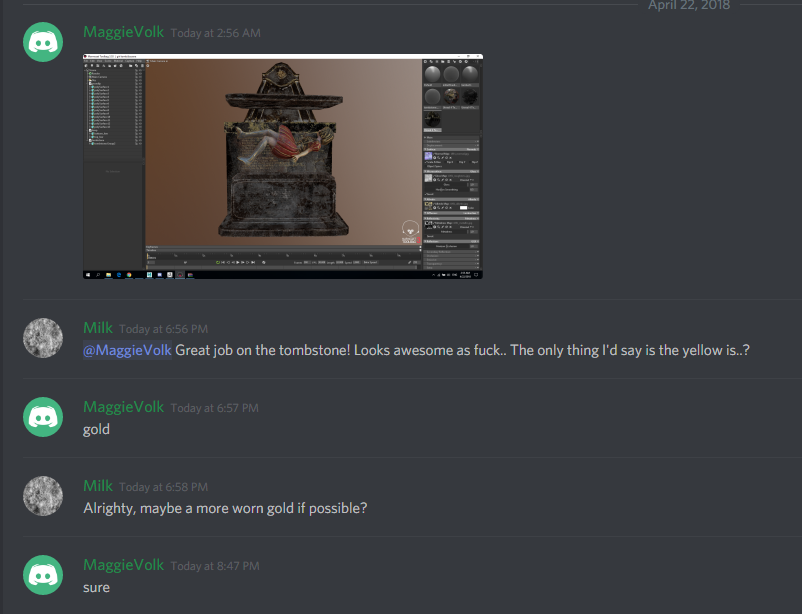
These are normally what would be vocally said but instead this time it was recorded in-text channels. As for this, I will continue working on these assets/textures and fill in next weeks blog with the updates.


 #
#