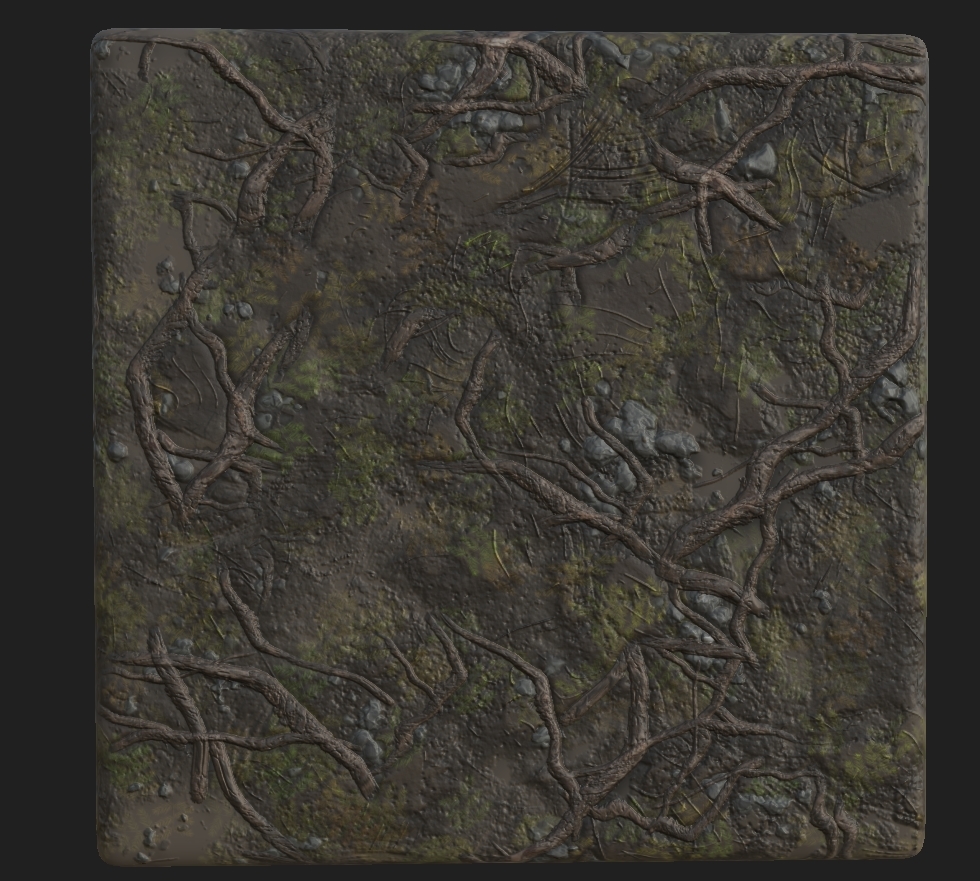
So after working by myself constantly using the references for feedback I then went and asked 4 different people on feedback, these all being industry workers (my lecturers). I showed them the base scene and asked how it could be fixed both texture wise and geometry. So to start off I chose to talk to my UE4 expert lecturer George who instantly sat down and told me what needs doing. He started off by saying that the normals on the wall recently made were too high and that I needed to bring it back a bit, I could either do this using the Flatternnormal node in UE4 but decided against that because it would be easier and more productive to do it in the texture itself, changing the texture to look like the image shown below.

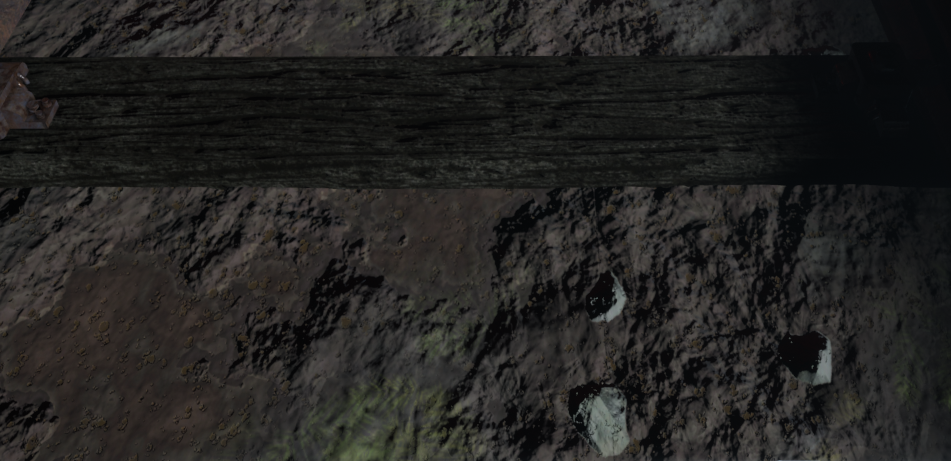
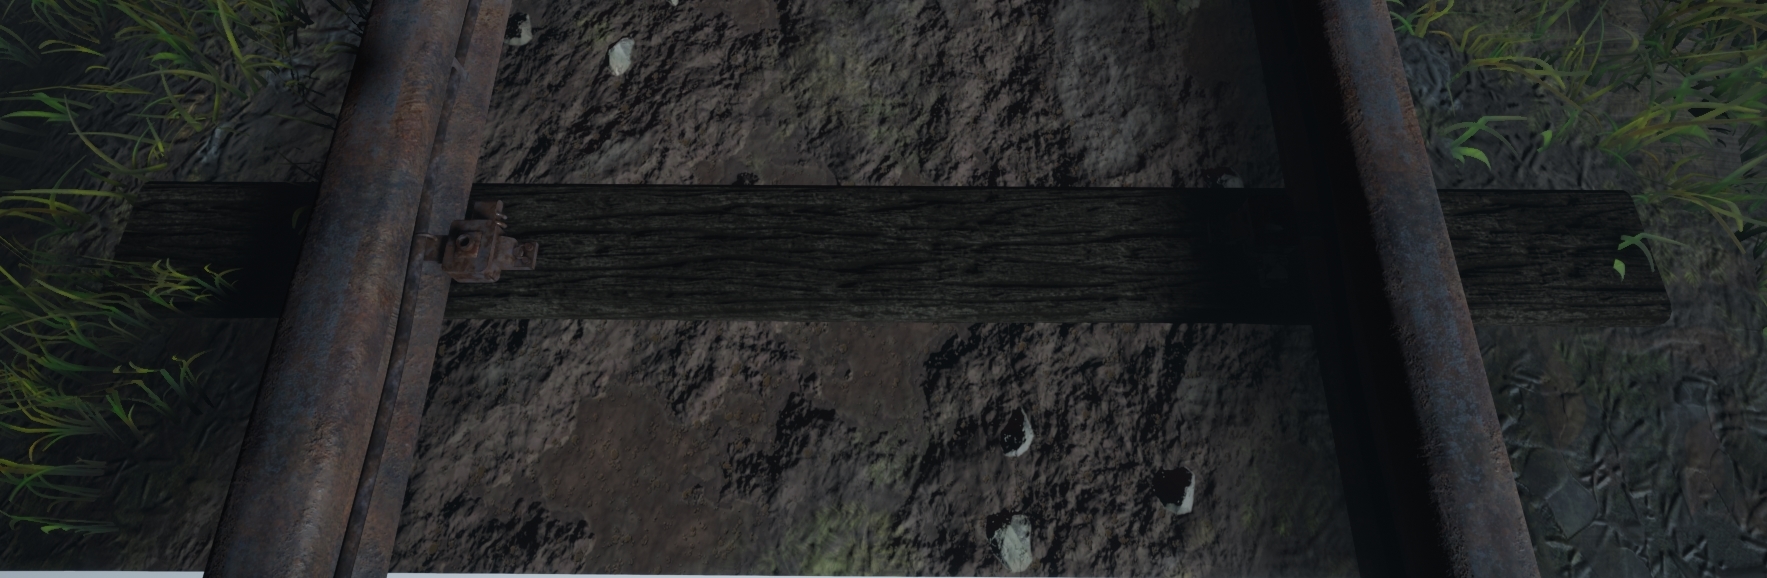
Next I was ordered to make the train track look more realistic, the colors were too bright for my scene (I also thought this but I didn't get round to changing it before the feedback session) alongside the sleepers which if you look at the Substance Designer part of my blog will see a lighter wood in comparison. I done this again but purely changing the texture colors as well as adding minor details to the wood as well as some form of train markings on the rail to showcase trains previously 'riding' the rail.
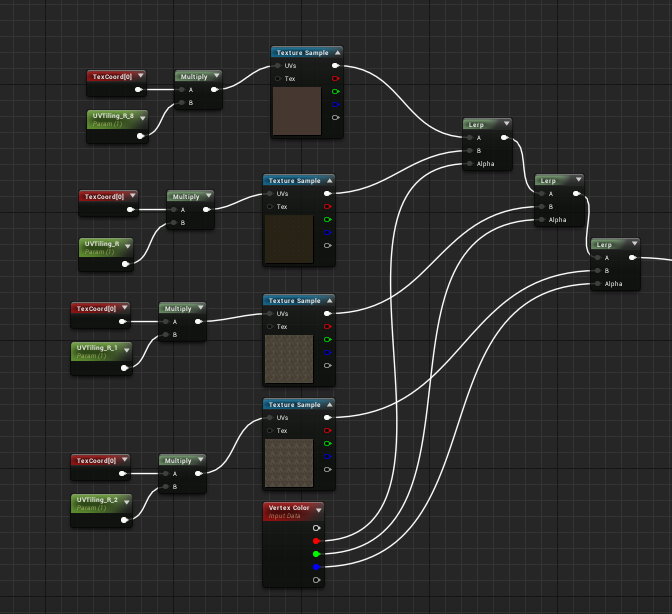
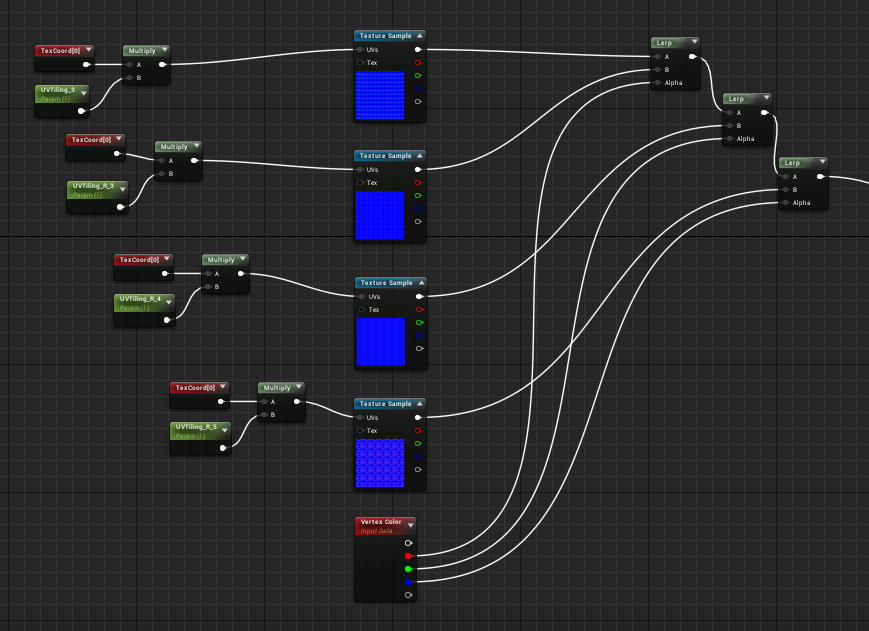
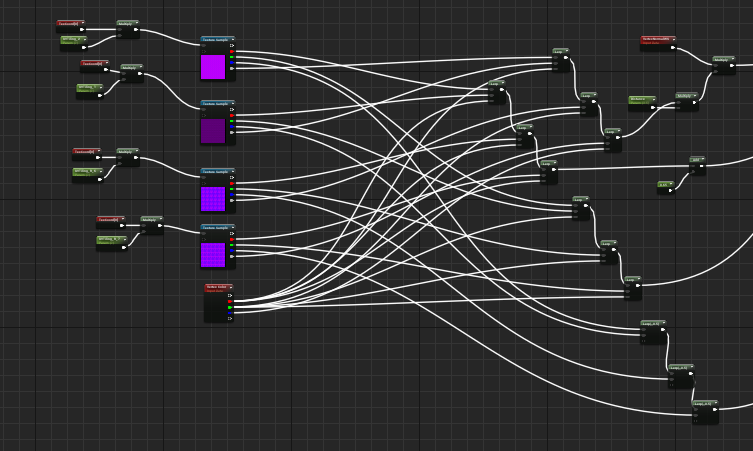
Lastly he helped me with the vertex painting graph which for some reason wasn't showing any of the white channel paint, he then explained to me that could would have to erase color rather than drawing over old colors for it to work letting me get a better understanding of how it works. This made me go back and work on the overall tiles that were needed as well as all the masked materials in there, redoing them and making them fit the scene better.
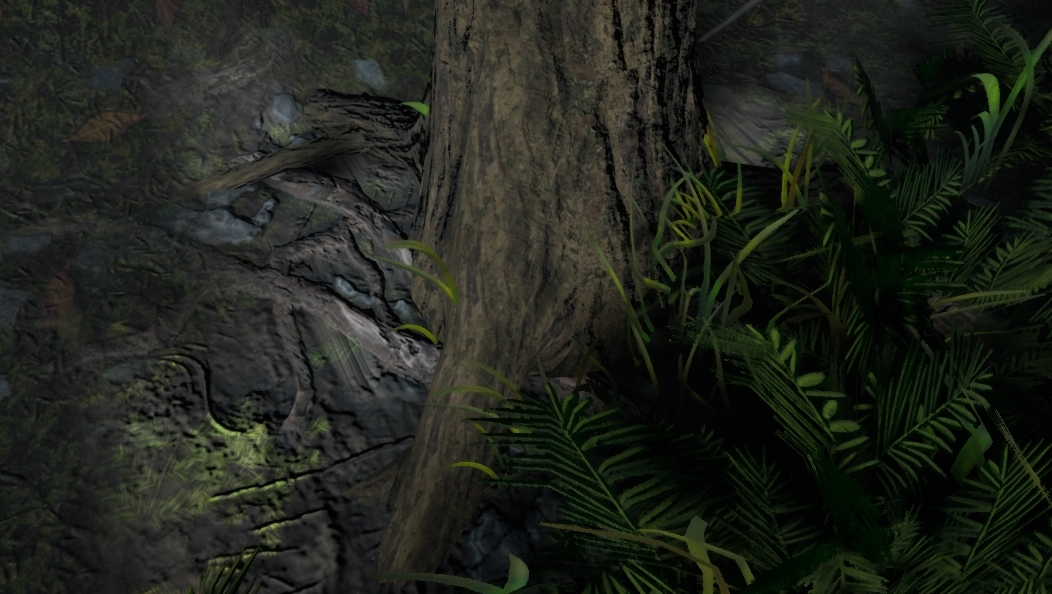
My next lecturer Roger who was the one which helped with lighting informed me that the older versions of lighting were making too much noise in the scene, meaning that I needed to turn down all the settings to make it work. The way I went about this was actually a smart but also risky way of doing it. I have fog in the scene which the light passes through, this meaning that they ray through the fog (image shown below of previous and new).
Old.

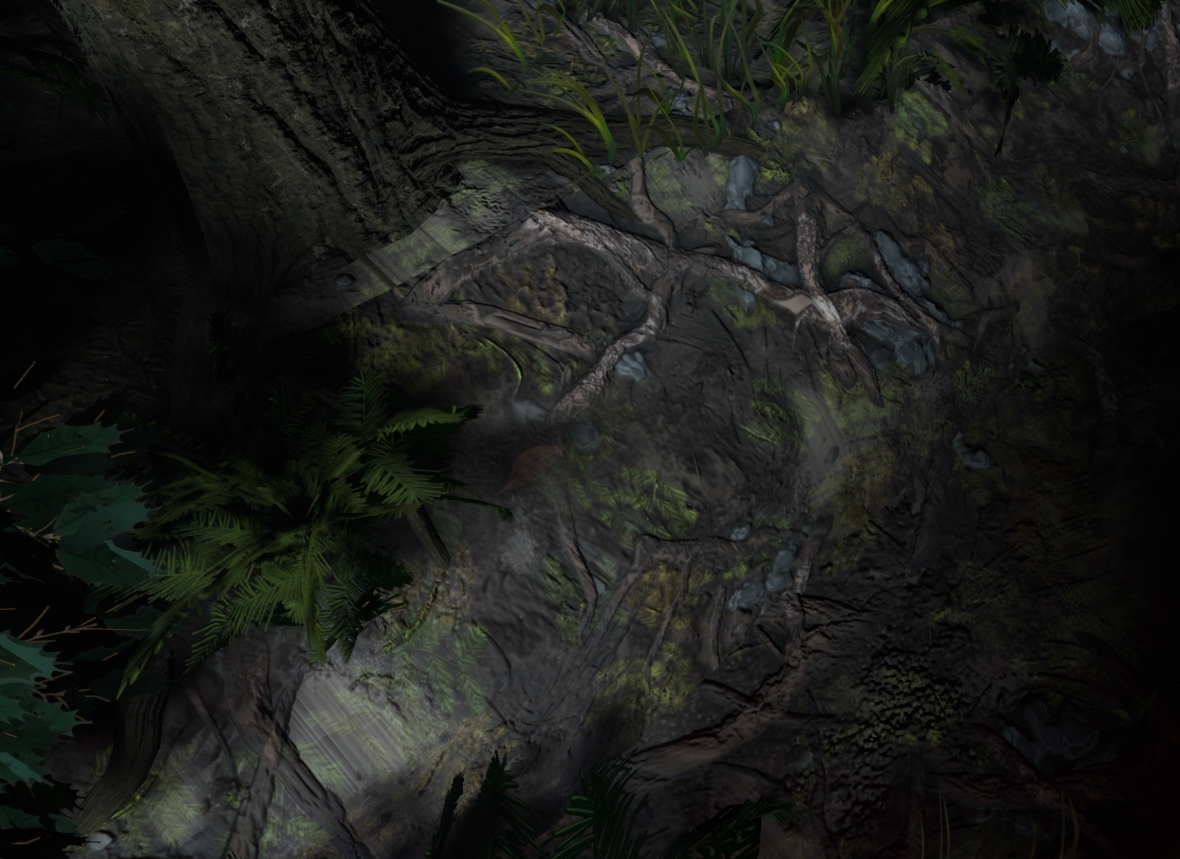
New.

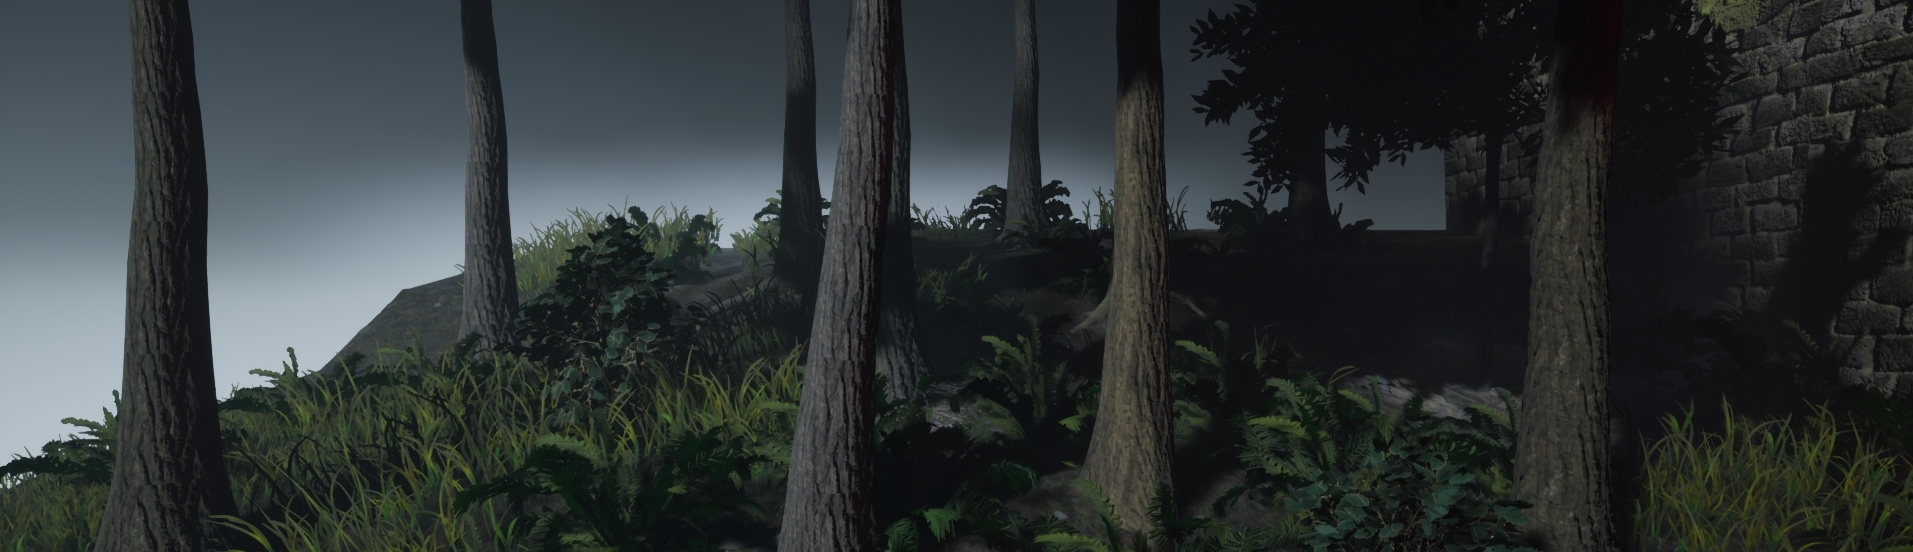
The idea behind it was to bring down the intensity of the light but also maintaining the rays as well as lit backgrounds and fog. I done this by actually creating a completely seperate fog material and changing the color to a darker grey which in turn shows less light coming through but also keeps the fog in place but instead with a grey contrast (the way fog would sit in darkness). As you can see in the image below, as the forest becomes more dense it becomes more of a grey color rather than white. This fix was simple and effective, this doesn't effect anything seeing as I already had the displacement fog already there just instead had it white meaning no performance was gained or lost.

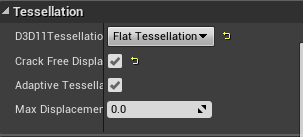
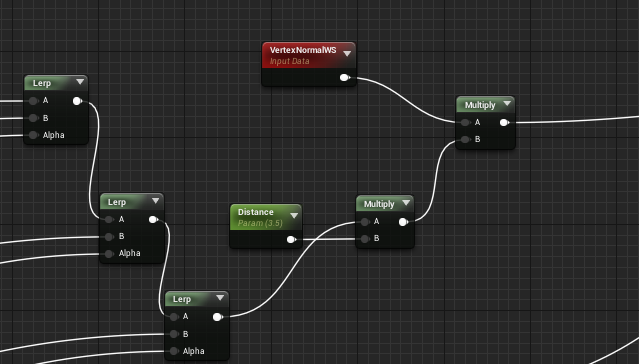
Aside from this he said that the shadows were too dark in places, this is where I found out about 'Subsurface scattering' or 'Translucency'. This is where you have a alpha card and have light travel through the card and scatter the light as if it were like light in real life. It uses the translucent object to grab the light and make it transferable through the object and emit light to where the light would normally bounce to. Shown below is a image of this.
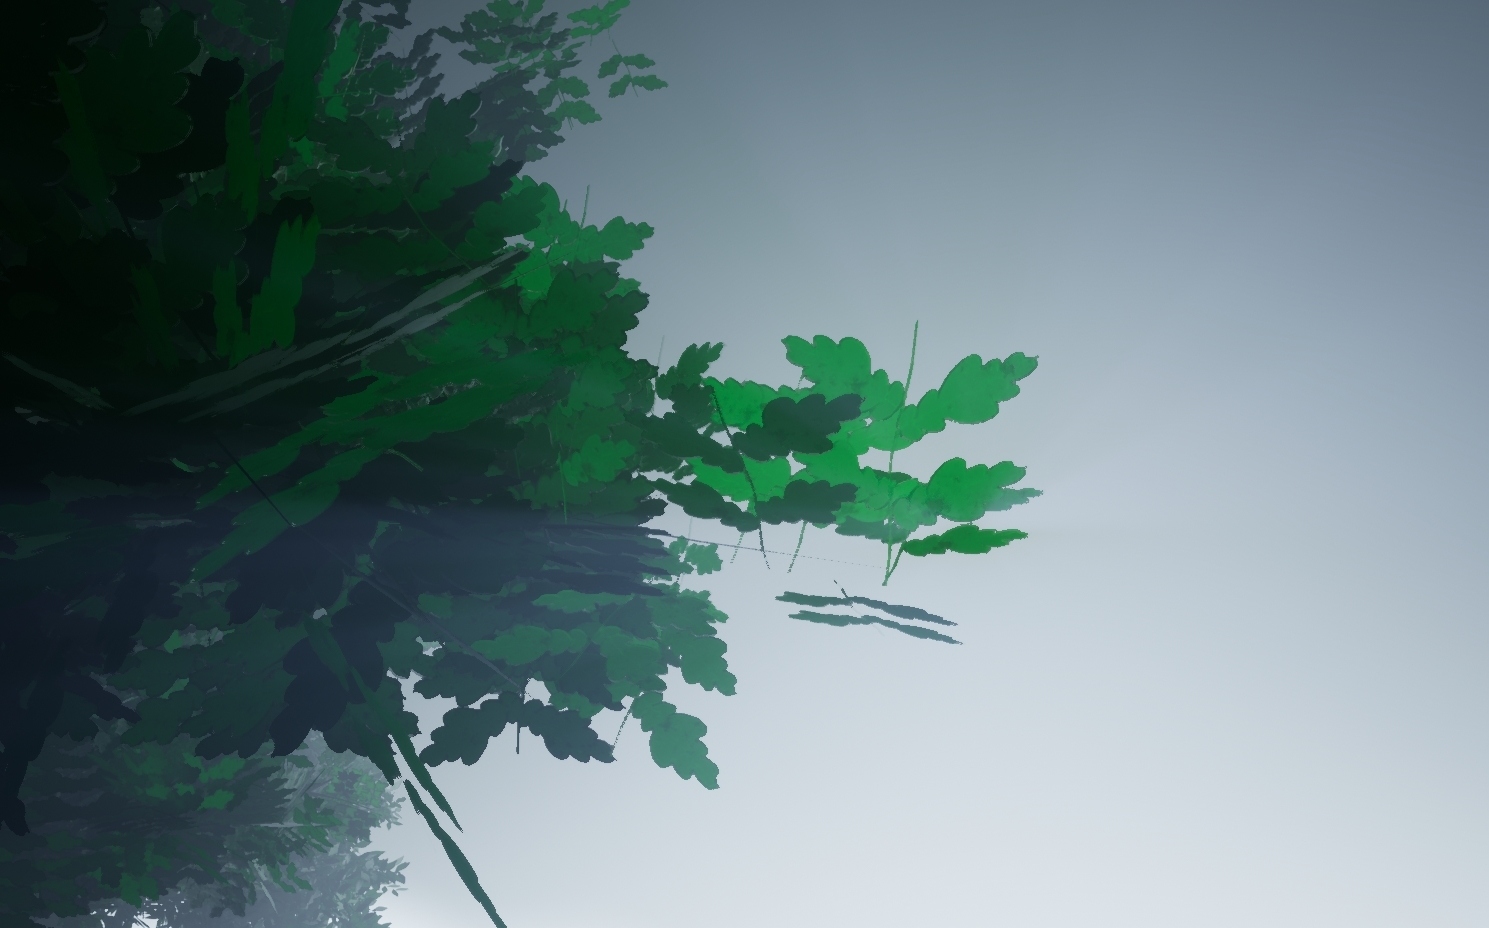
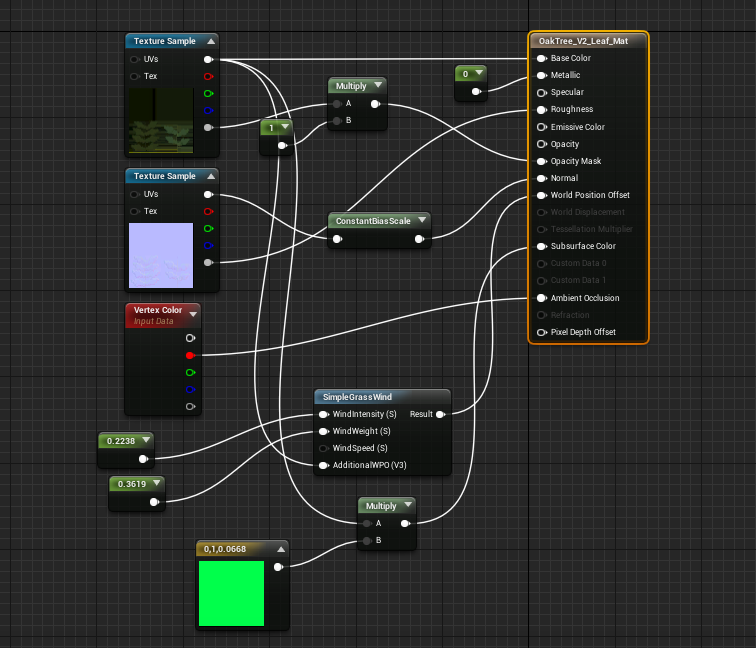
As you can see from the image, the more dense the tree becomes the less light travels through meaning that the shadows can have a blurred effect as well as more light in the scene. The way I managed to do this was through UE4 and using the settings in there to set it up as the SpeedTree version wasn't working in engine. Below is a image of how I set it up. I also changed the materials shading model to Two Sided Foliage so that way we can have more of a lit effect.
(This setup was shown in a previous blog post but knowing now that it helps lighting has increased my understanding of why it's used and how)
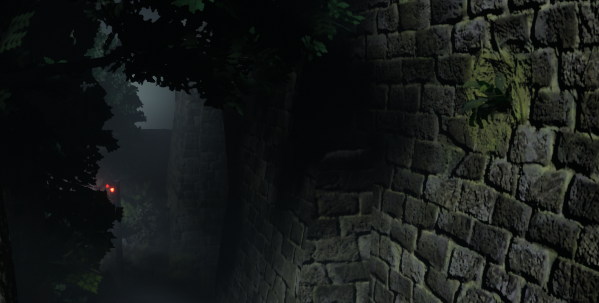
I then went to Chris who told me to break up the green and darker colors with something more colorful, although this is meant to be a rail road coming to a end I decided to have the final life of a light still running. This allowed me to mess with more lighting as well as different colors. Although you can see this previous in Rogers images it was done previous but I saw Roger first in terms of who gave me feedback and in what order. Some images are from being a week ahead of myself in terms of blog work. The reason I chose to have this light at the end of its life is because it would mean the bulb below it would be burning out as well as the intensity would still be quiet high (as it would have been maintained one last time before being condemned). The writing on it is from a link that Ronald (another lecturer of ours who was in the steel industry) had sent me about signs and what they mean on rail roads (https://www.rssb.co.uk/rgs/standards/gkrt0033%20iss%203.pdf). The first miniature sign means single rail road ahead and then the second sign is the license plate of that sign so if there was a fault they'd know how to locate it immediately. These minor details are the parts which bring the project together showing that it's soon to be a shut down rail road.
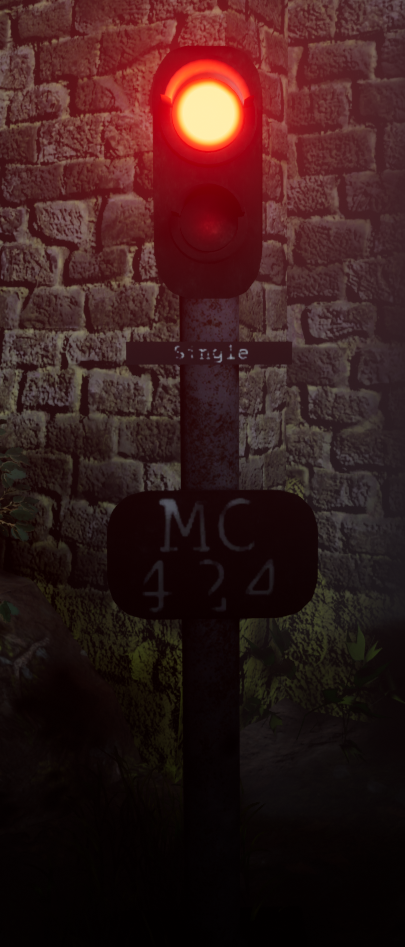
Other than this a few of the same things were said about the wall texture as well as adding some element of story which hopefully this brings. The way I went about making the light was using 3 point lights, one massive coned high intensity to make the red visible in the scene, one facing back onto the object and using my lightmap to block out the red from the wall behind and then a dim one for the bulb below the intense bulb.
Lastly Mark my final lecturer that I had asked feedback from was very helpful in terms of the overall scope and idea of things. He was the one to mention that fact that there was not much variation in terms of tree, grass and even shrubbery. This was the information I was looking for all along as in the back of my head I wasn't happy until I made these changed. This meant making more variations of the same textures/trees as well as height on some parts of the grass and variations of the ferns. After discovering the concept of hiding things within a scene I decided to add in major detail to take the eyes off of these parts. I decided to add in depth to the scene by adding foliage all the way across the scene as well as the amount of variations. I decided to do this and replace the assets already in place to bring more colors to the scene. The image below shows you the different colors made for the pine tree which dominates the left side of the scene, hopefully the light will work perfectly and fool the eye thinking that some of the distant trees are different colors rather than the same as the ones shown in the front.
I done the same with the ferns, some are a darker green than others. The reason for this is so there's a difference as well as different levels of light. As for the grass I just ended up changing the size around, with this the colors looked as if they were changing colors unless you were to look really close. These tactics have saved so much on performance but if I was to make this for a game it would be done differently dependent on how much performance I'm allowed to take up. Other than this, variations in the wall were made that aren't in the overall screenshot but for detail for other screen shots such as bricks missing with small plantations growing out shown below. This overall key feature allowed for my scene to have variation in the screen shots also. Shown below is imagery of that.
With all of this feedback I believe it has improved my scene 10x better than before. Especially because of the overall feel of the scene, I wouldn't of noticed much of it due to lack of experience which I've now developed across this project noticing that research is the key fundamental to forming a scene.
References:
Julie, T. (2018). Picalls.com | Fog in the Forest by Traveling Julie.. [online] Picalls. Available at: https://picalls.com/fog-in-the-forest-by-traveling-julie/ [Accessed 19 Dec. 2018].
 = A
= A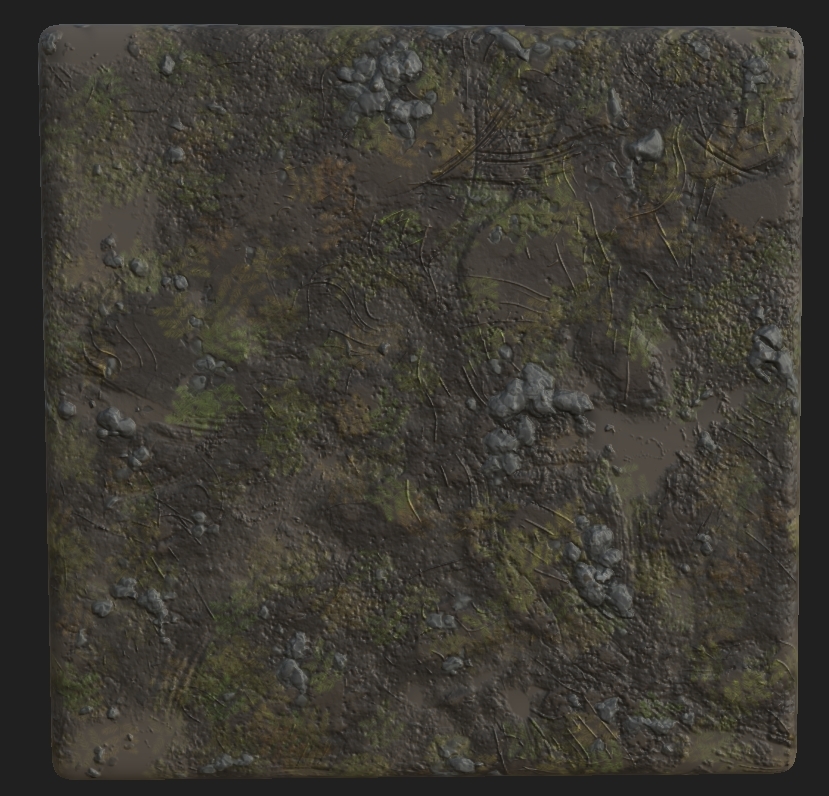 = B
= B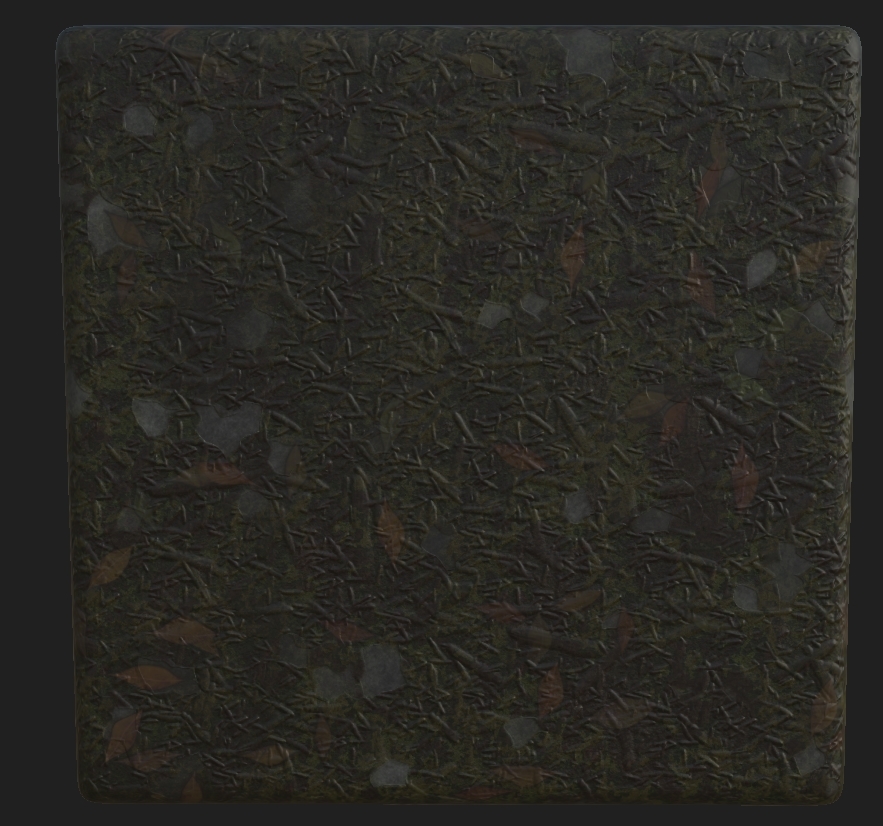 = G
= G = R
= R