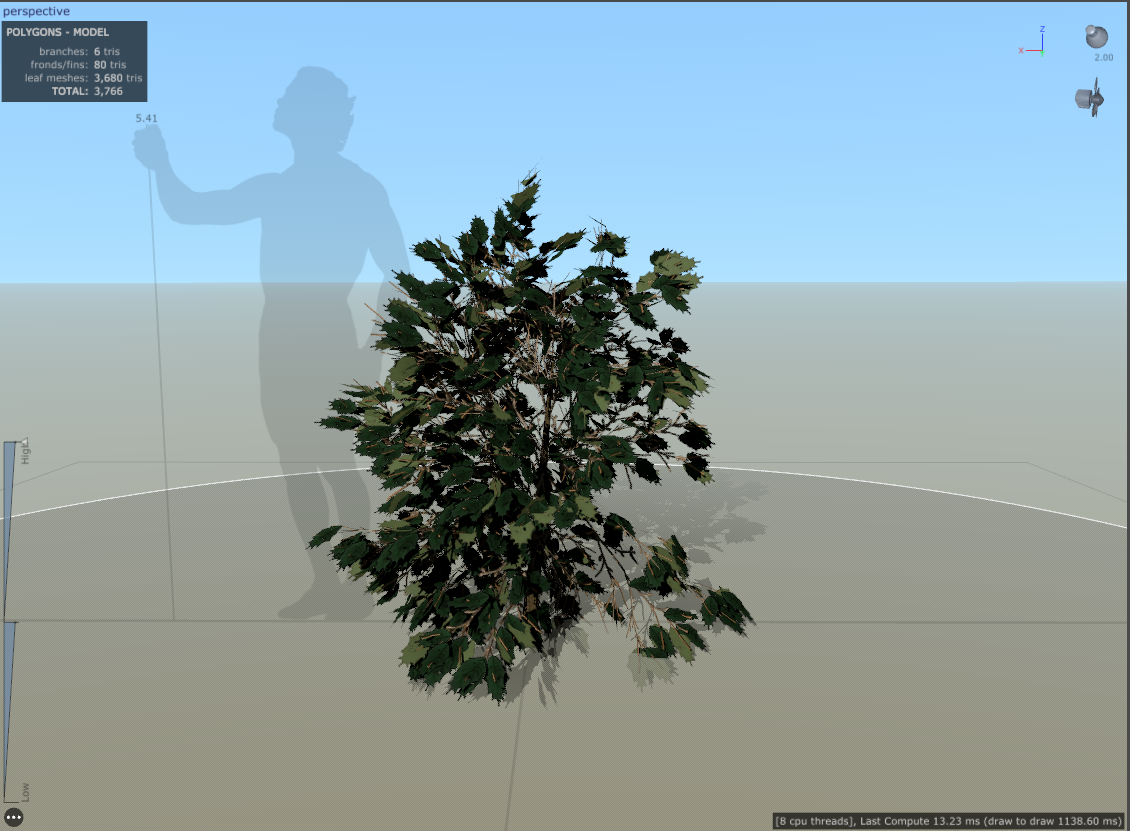
The concept for this blog post is going to be primarily all of my textures, how I break some down, explain them and how they are referenced. As shown before the texture for the tree was made that is quite a basic version of some of the graphs that I have created for this project, I will be primarily showcasing some of the workflows here rather than explaining every single node because that would take some serious time which I don't have on this project. There will be one or two which I will explain because of the amount of help they've given me but for most it will be a brief explanation and reference.
Note: The only textures I wont be talking about here are the ones explained in other blog posts (including: Bark see 'Substance Designer - My methods - Tree Texture', Floor textures see 'vertex painting')
First Graph - Leaf Generator
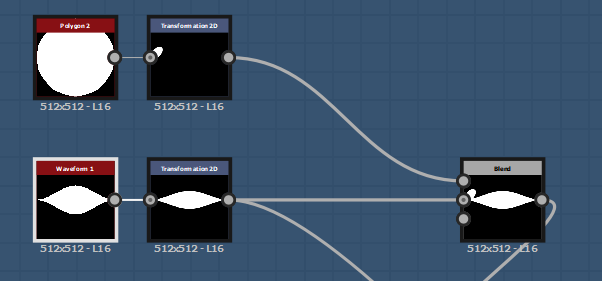
Start off I wanted to do the ones I wish to talk about first, this is my first ever leaf generator. You may have read previous that I have made a leaf in substance, this was good but I wanted to take it further and be able to make multiple leafs out of one graph. So what I thought about was shaping a leaf, the idea of a leaf shape was hard enough because in substance everything patterns itself. I then remembered how the transform 2D node allows you to turn of tiling as well as lets you size and shape anything you want, although this may not be the best way to do it I set it up like this. Using a waveform node and turning everything in the node options (aside samples) to 1 it gives you a generic leaf shape. I then thought why not do it like Photoshop and just pain over it a few times to create the basic shape you want, I then done this, both images below explain my process visually.
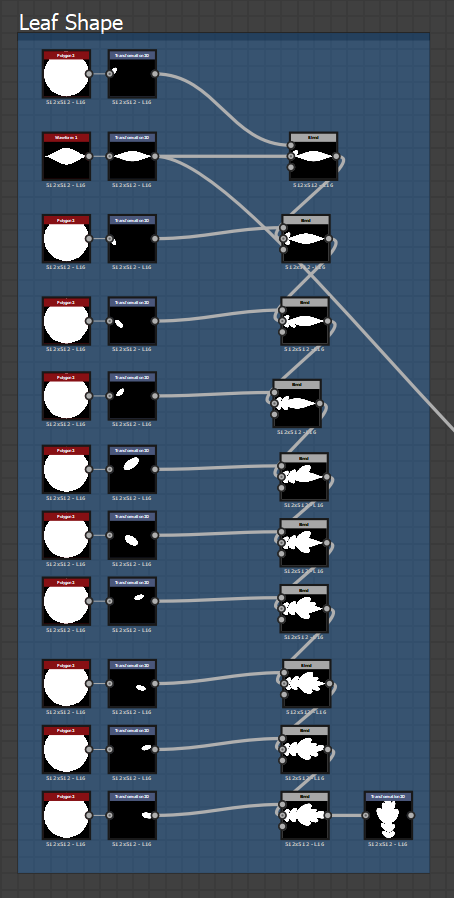
Although this is a long process you can see the difference in what I have made, going from a standard leaf shape to a oak leaf which was used in my scene. This again allows anyone to shape whatever they like and have it so that the shape immediately looks like a leaf with veins, a stem and anything else they wish to add like damage etc.
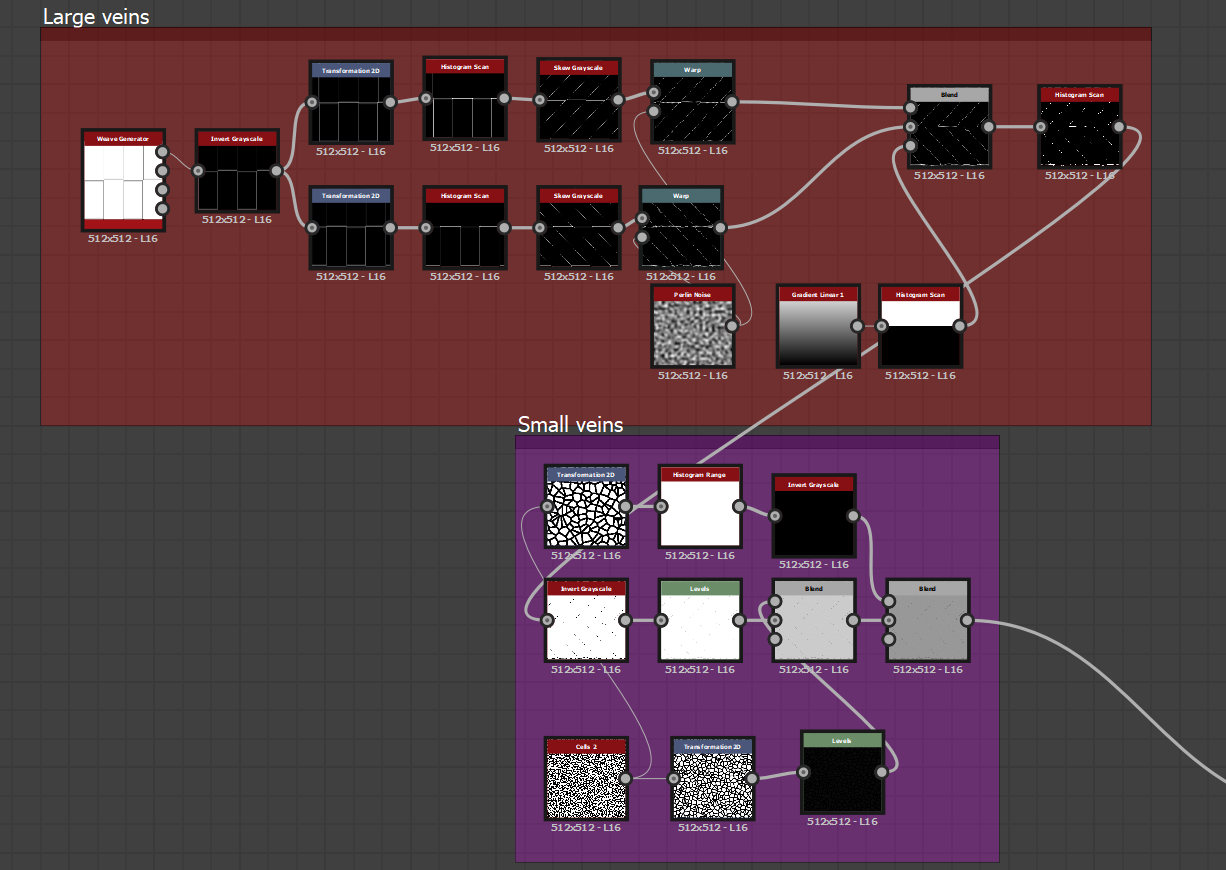
Second detail would be the veins, like I said before it is all completely adjustable and anyone with the graph has complete control over what they can make and with the layout of the grid hopefully it is simple and understanding. The veins themselves are easily manipulated and can be transformed, moved or even completely deleted if they want, intensity settings in the histogram scan as well as height mapping with the invert gray scale and histogram range.
Next the damage node, it is at the beginning of the graph because it is the base of color, scaling of the leaf, form as well as age. It is blended with the shape with Min (Darken) so the damage is just a background damage I'm yet to work out if anything else would be better here but this was taken from a previous guide (https://www.youtube.com/watch?v=_UeCIak8sBk) which shows you how to add small edge wear to the leaf itself. Although his isn't exactly like this it still works with the same concept in mind. Whether or not it is better or worse in some opinions it works, this can be completely manipulated so if you don't think it looks good you can completely rearrange it to your own liking.

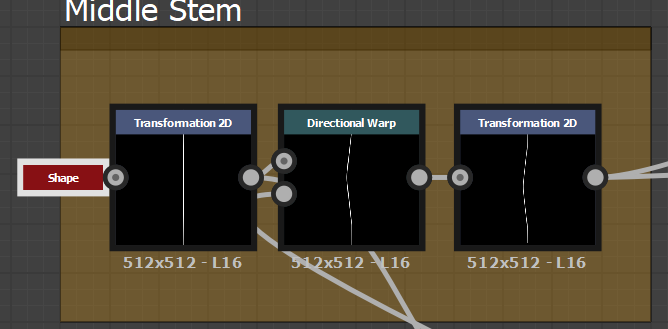
For the stem, the idea was to create literally a small stick going from top to bottom with a cut off point. Very simple, no need to explain this, if you want to change it you can easily because all it is is a shape, 2D transforms and a directional warp.
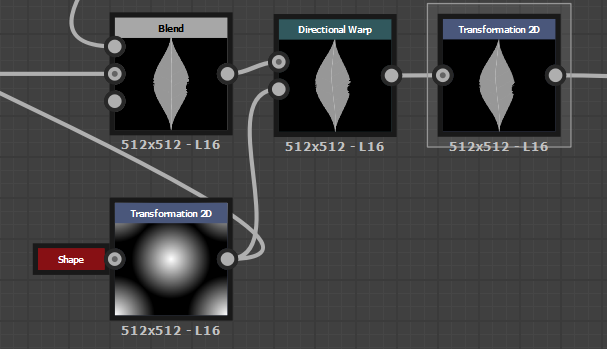
The curvature in the leaf is from a basic 2D transform with a shape put into the intensity of a directional warp. Normally people would use something like a cylinder or a circle to create this but I wanted it to be really intense and adjustable so what I done was added a cone with a tiling of 1 so that I can tile it in the 2D transform and make it completely adjustable.
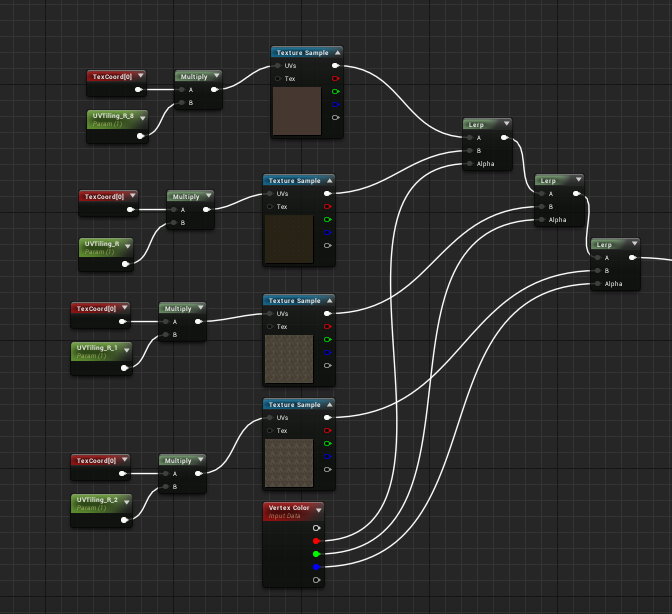
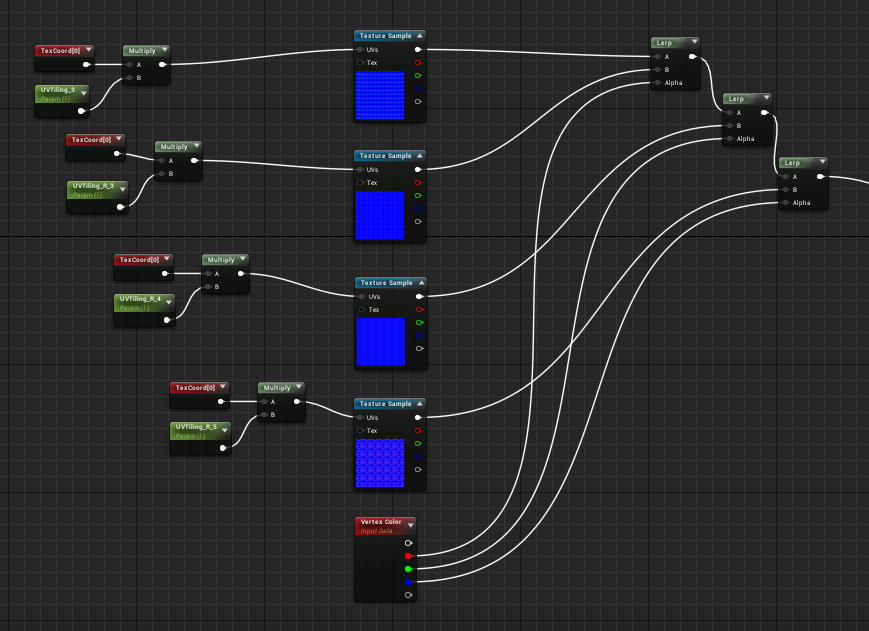
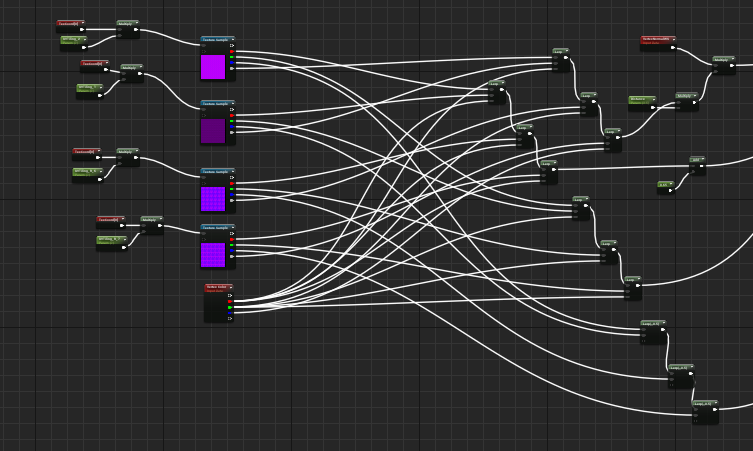
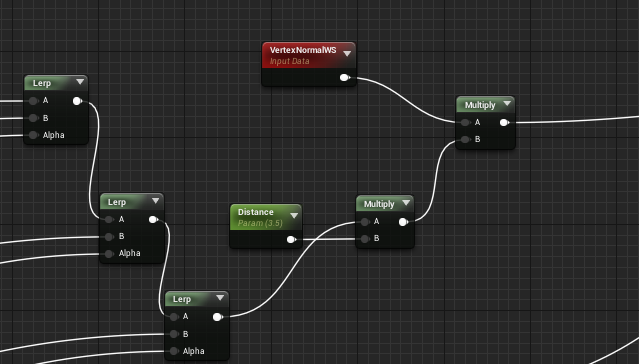
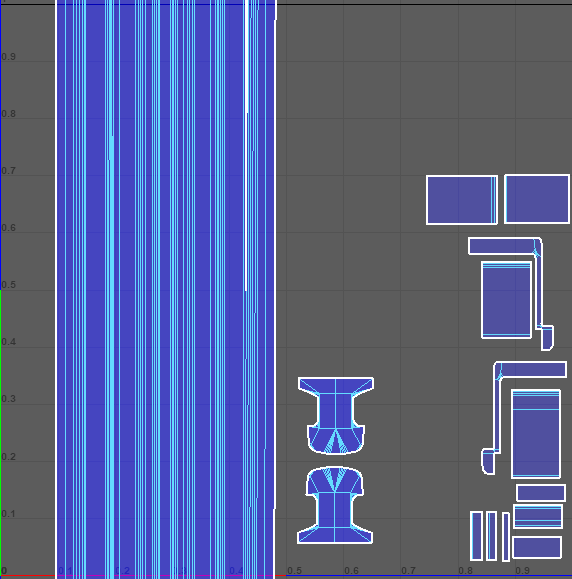
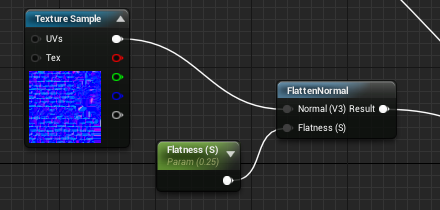
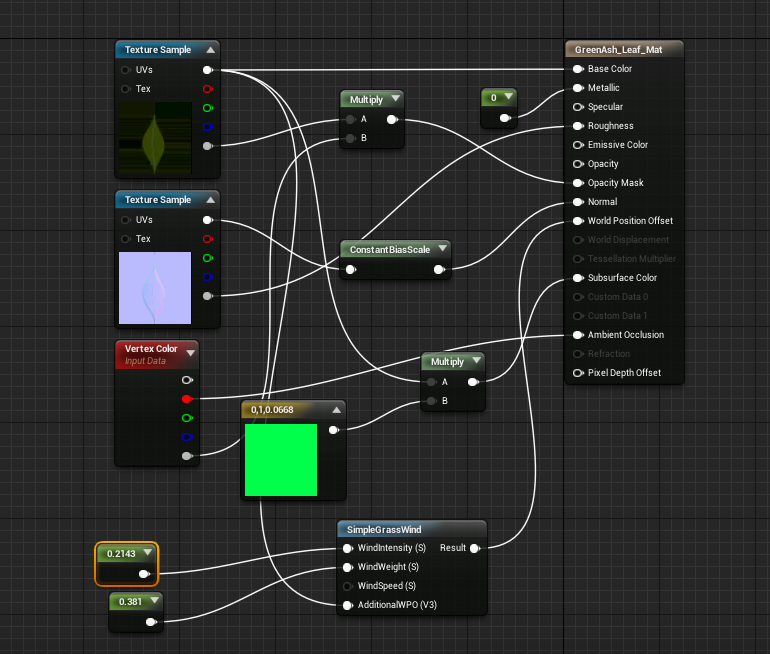
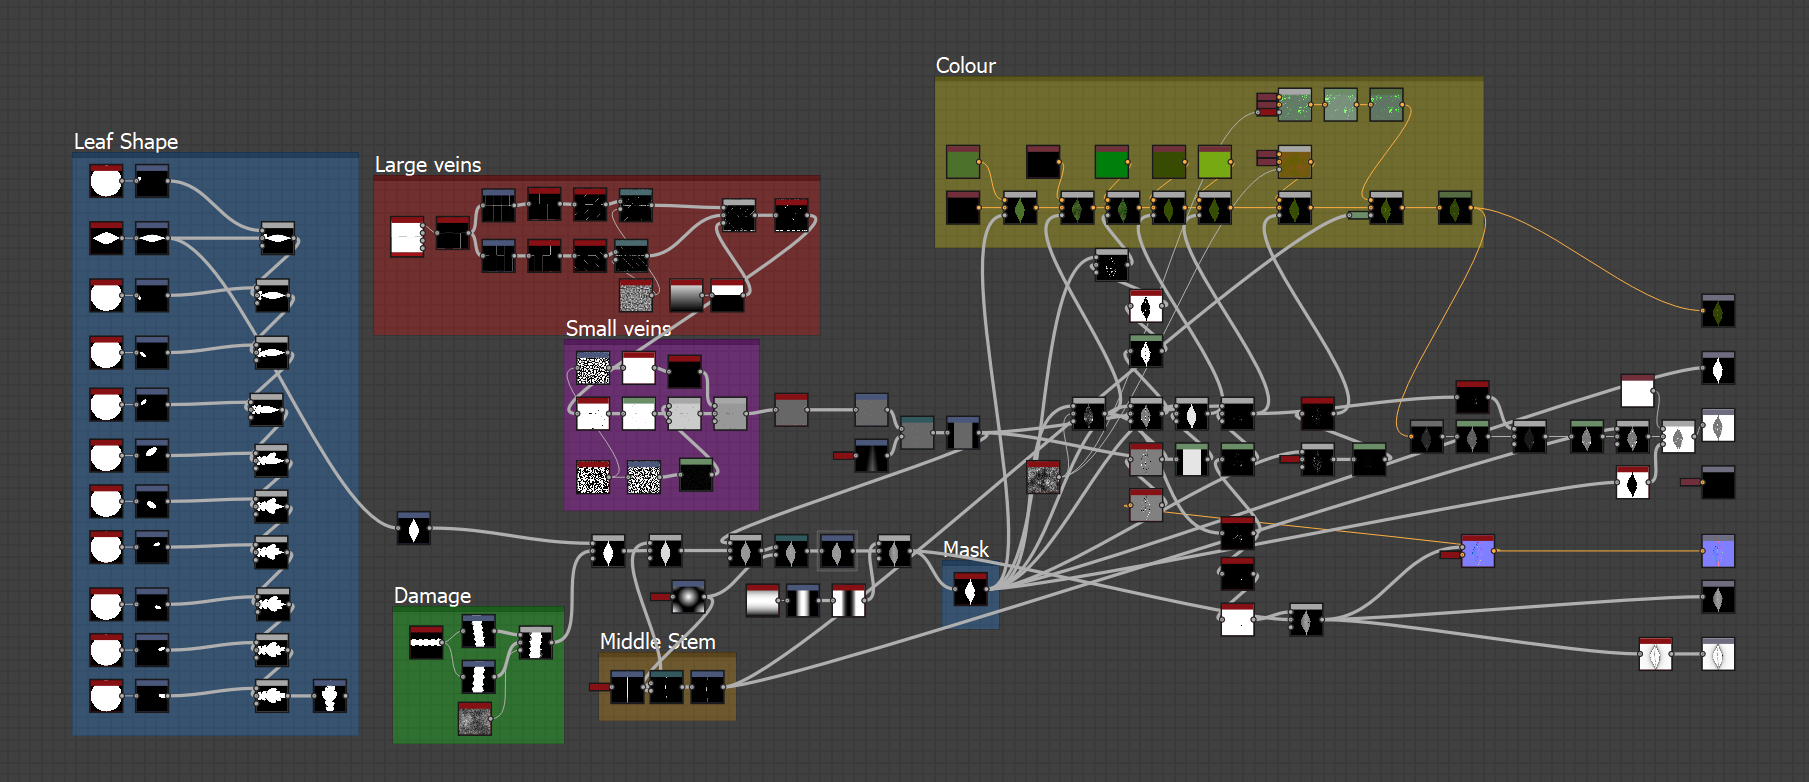
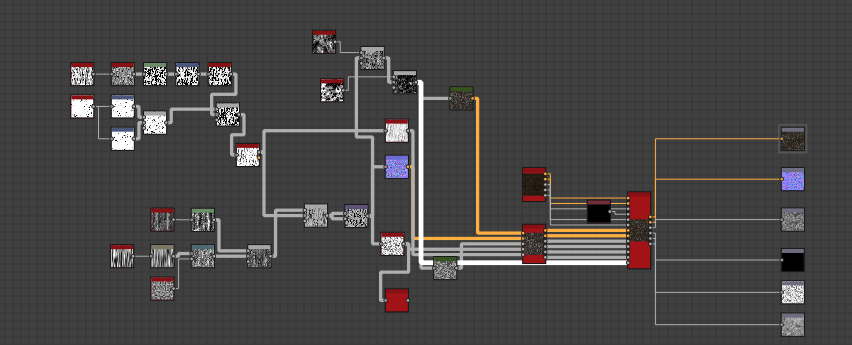
Other than this the basic shape has been made now it's just for the coloring which is again completely adjustable but with a few other bits thrown in to create height maps, ambient occlusion, normal, metallic, mask, roughness and the overall base color. I would explain the graph in more detail but it's minor details added in from here onward. Here is the overall graph for you to get a understanding of the layout and how I went about starting the graph all the way to the end.
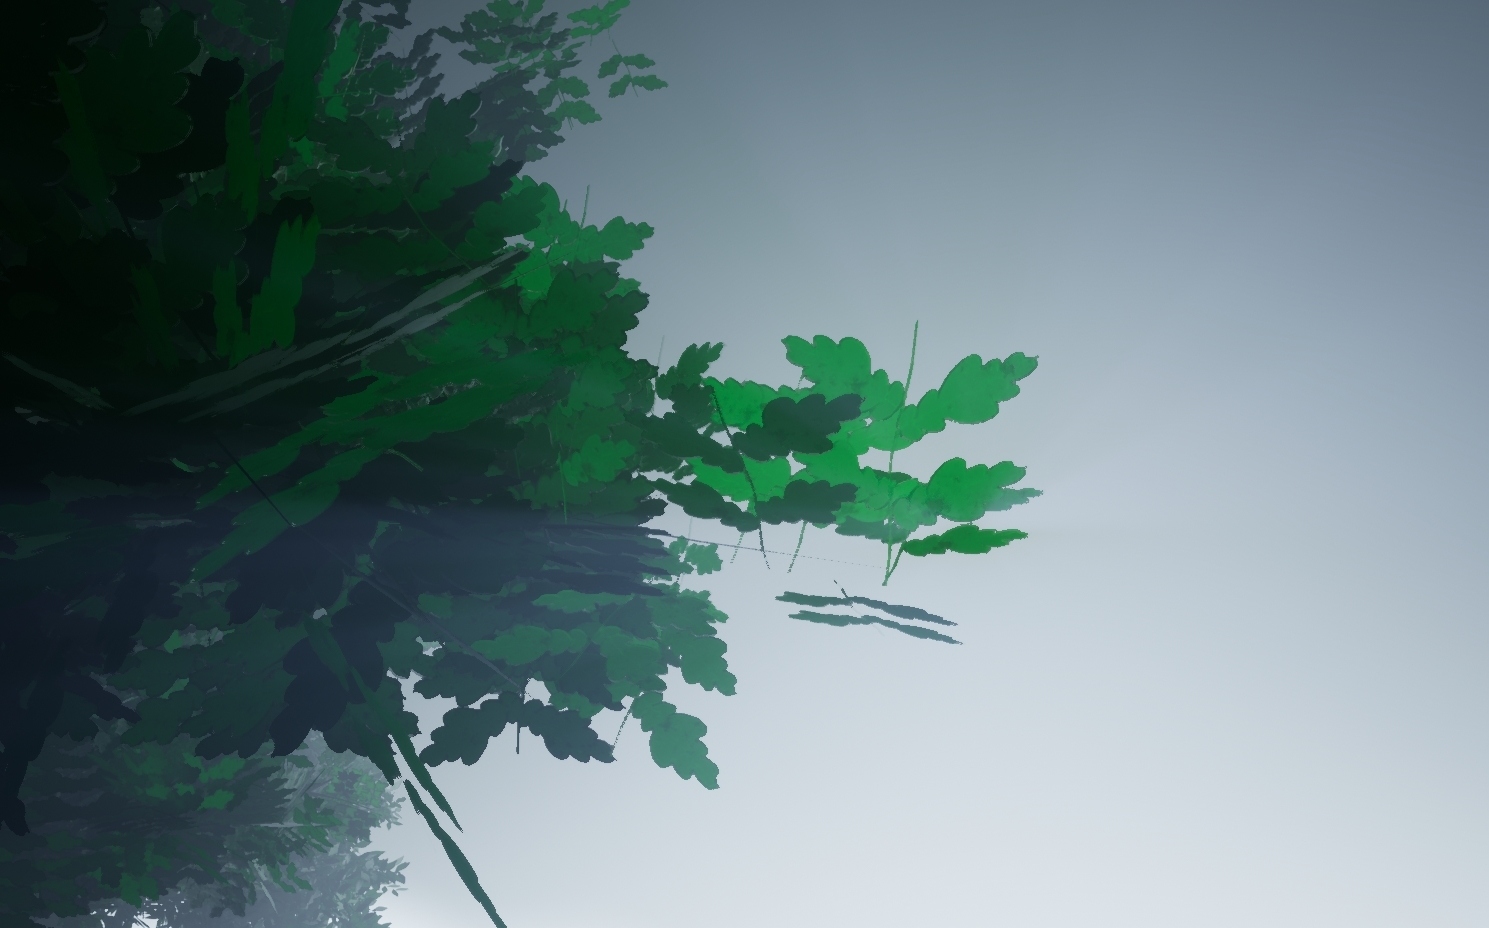
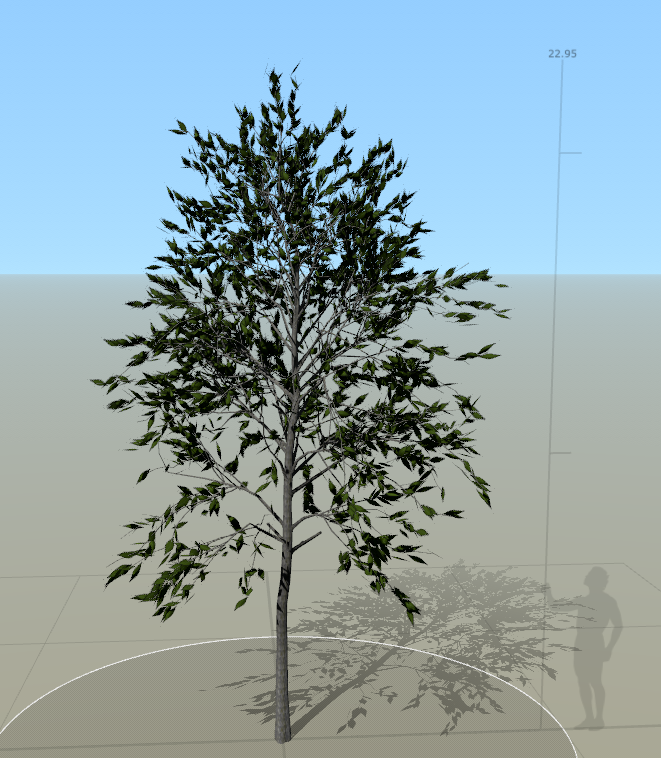
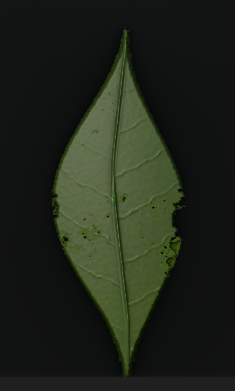
This in the end was how I made all of my leafs for my scene as it was quicker and easier than doing the version made by Paton Varney, although the results he gets are much more realistic I've had to devote my time elsewhere in terms of leafs so using the methodology had to be used due to time restrictions. I showcased the first leaf in this graph because it was the most basic to peoples understandings, it is a Green Ash (Fraxinus pennsylvanica) leaf shown below is the reference.
 (MDC Discover Nature, 2018)
-
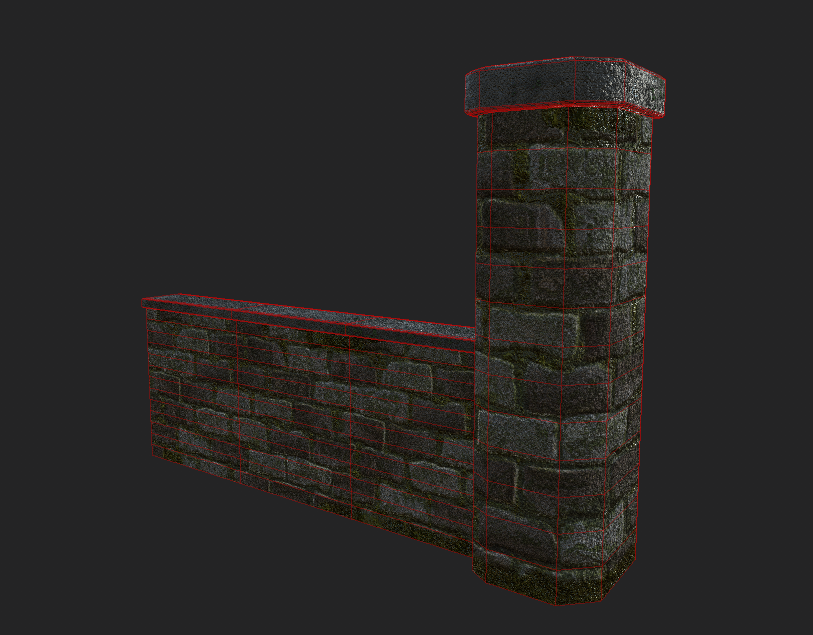
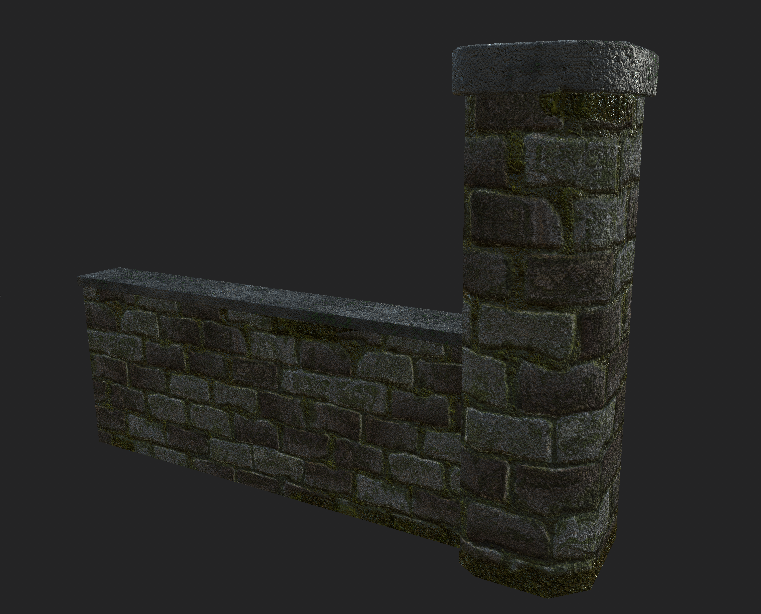
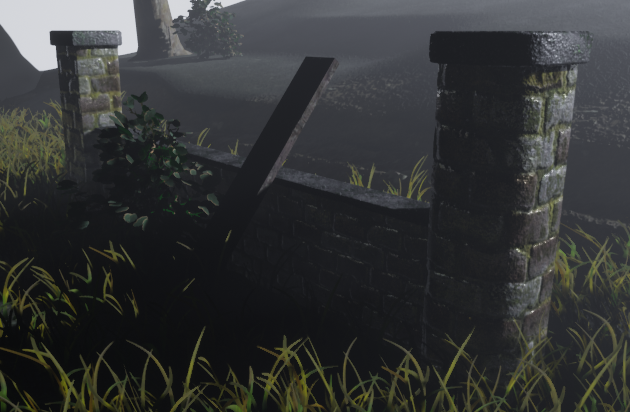
Brick Texture (St.Louis No.1)
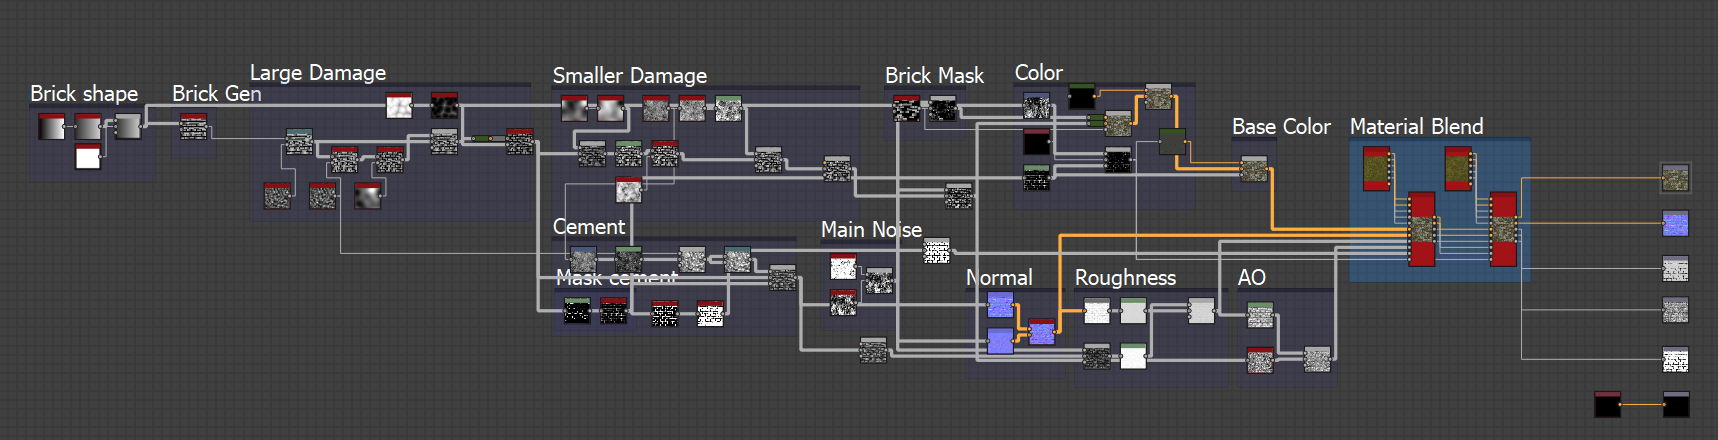
The concept behind my brick texture was to firstly get a understanding of what the brick is made out of and then secondly the color pattern, everything else would be irrelevant as most of these bricks will be covered in moss and damage. The reason I wanted to get as close to the materials and brick work as possible is so that it creates a sense of realism within the project even though the graphics wont be 100% realistic. I carried this over from my previous project and decided to work on the material some more. This will be the first time I'm using material blends so hopefully the outcome is suffice.
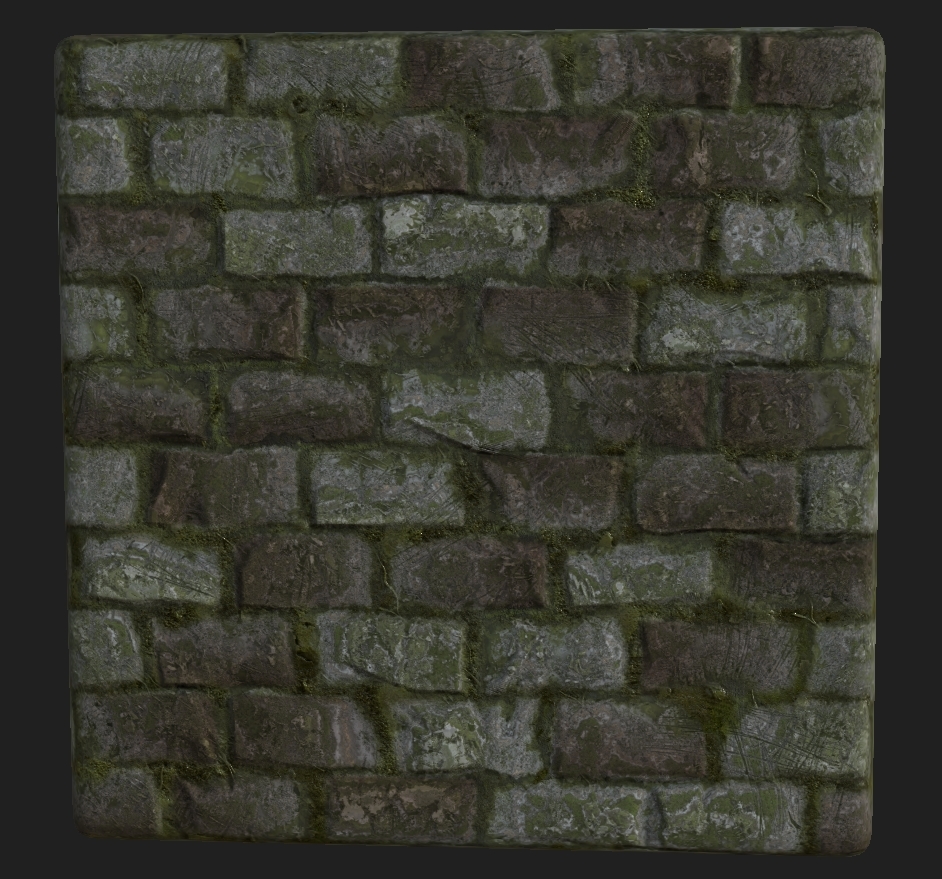
Again this graph is completely adjustable with a random modifier I added onto the graph allowing anyone to take it and have it instantly adjustable (Random seeding). The graph is laid out so that anyone can go in and understand what is going on and can easily adjust it to their own. I do this in case one day in the future someone has the file and I'm not there to explain it to them. (This was put into a RMA map for the project but the screen shot is out dated in terms of that).

(
Liz Hayden, 2014)
-
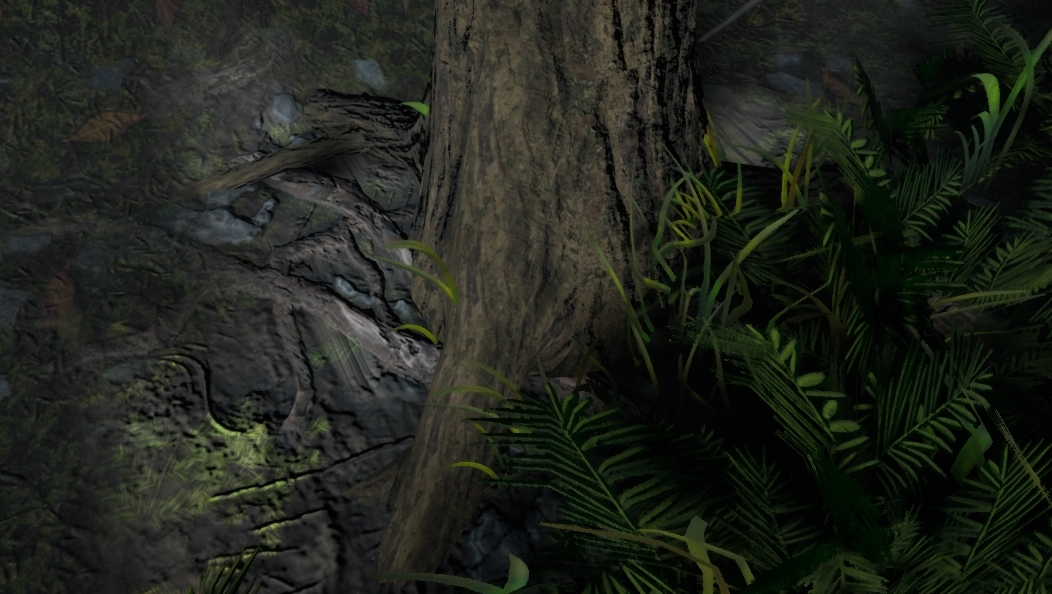
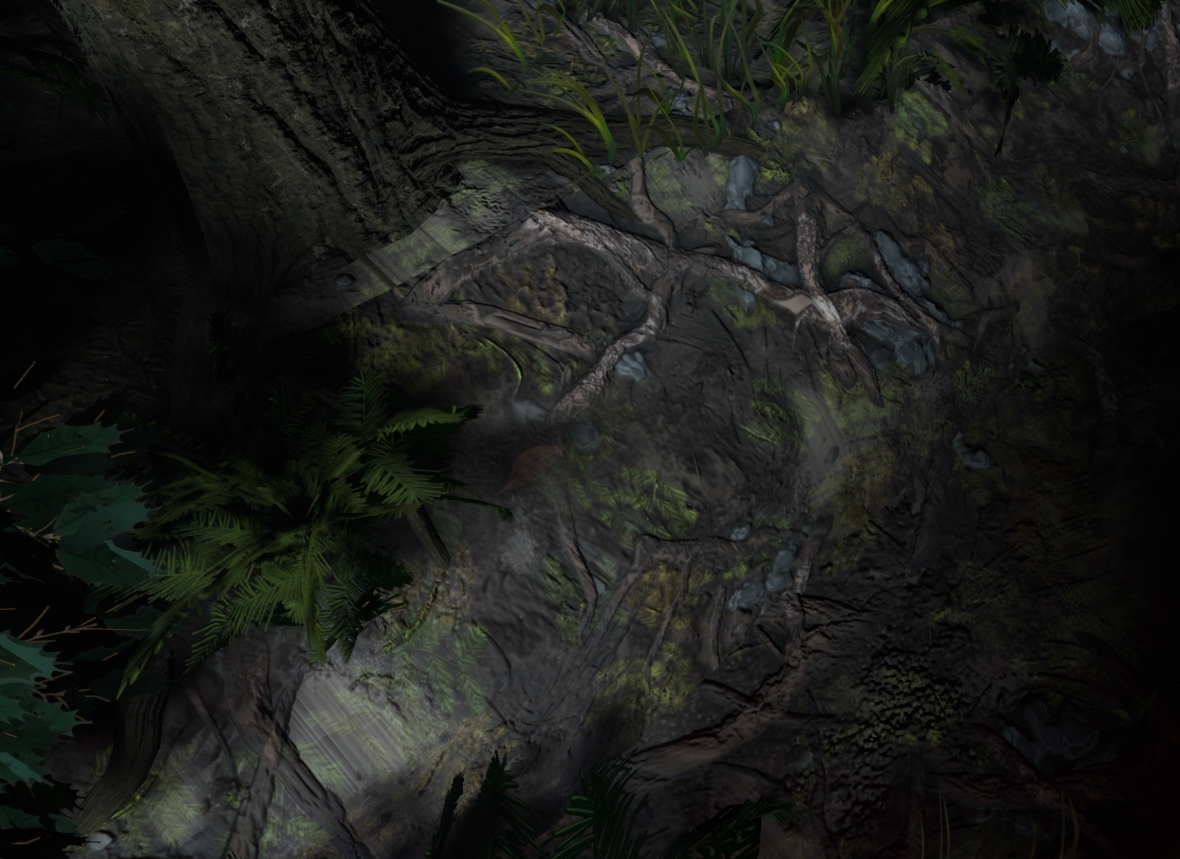
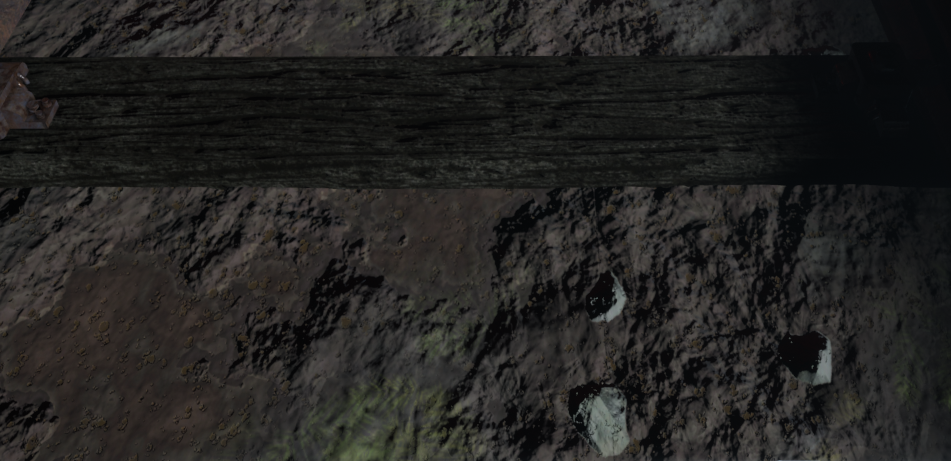
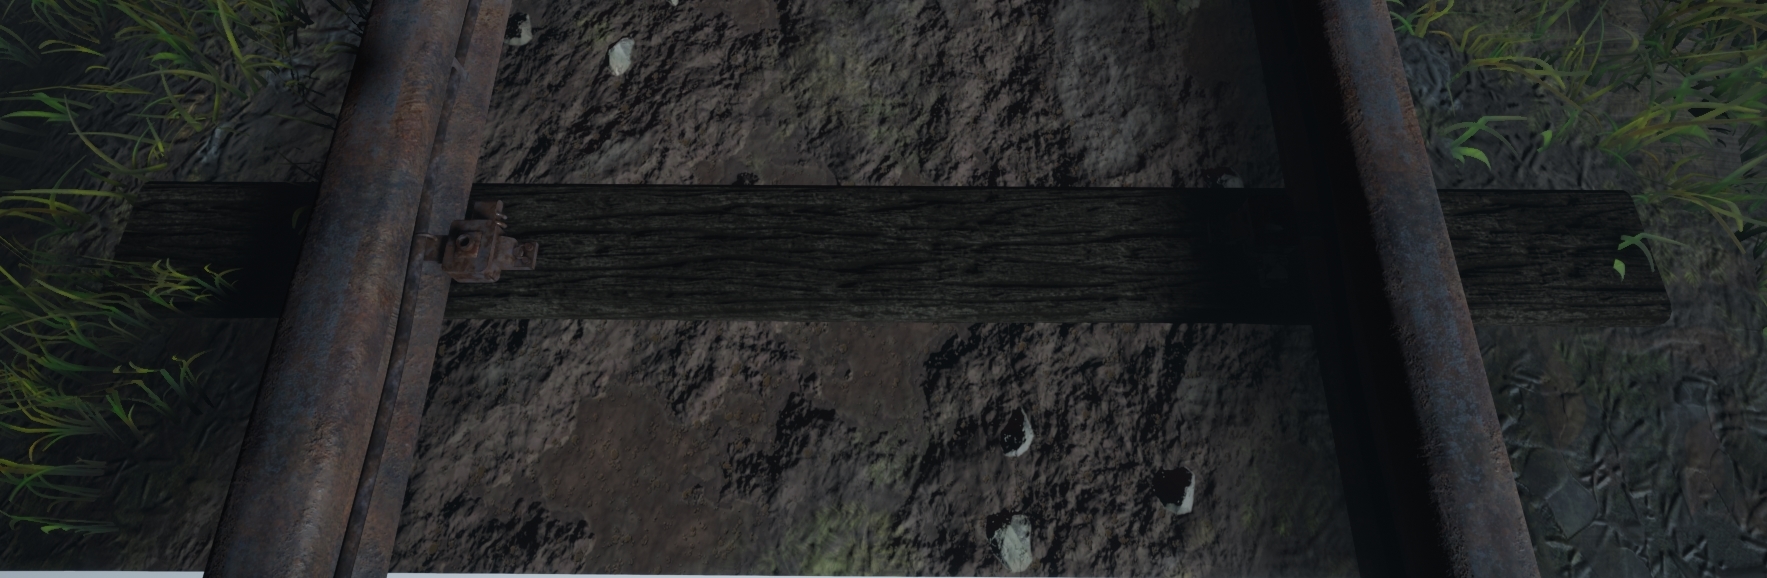
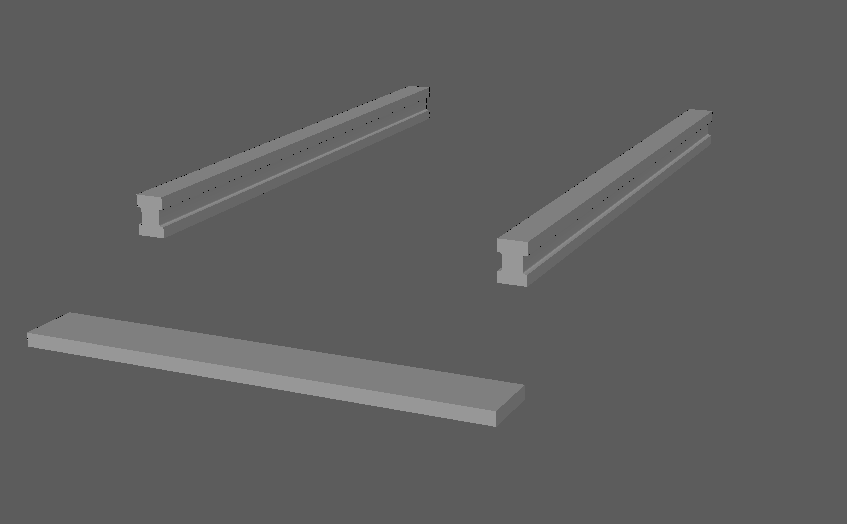
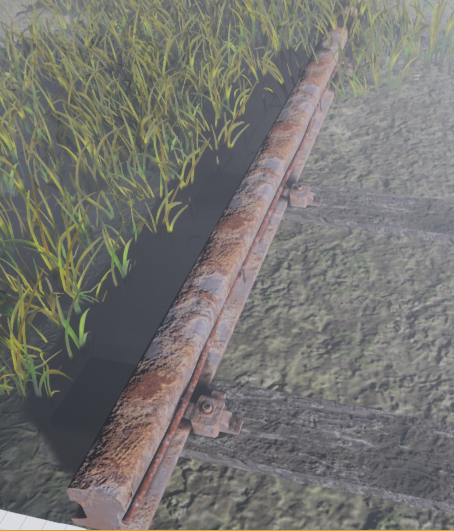
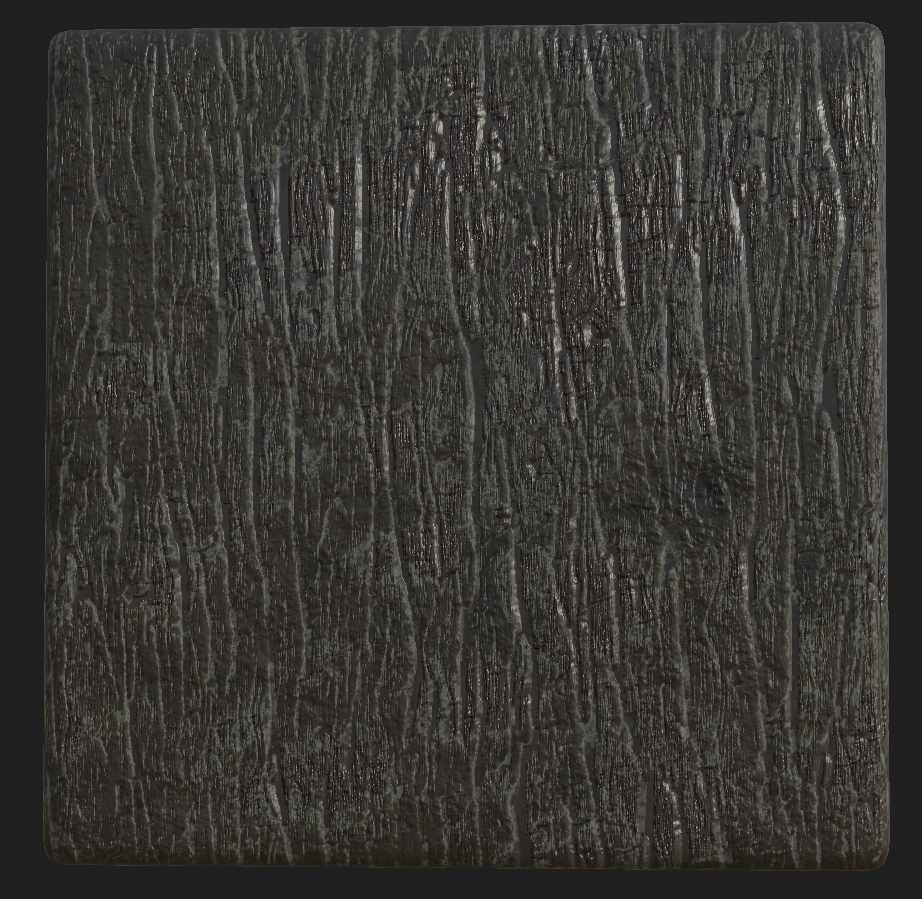
Wood texture (Rail wood)
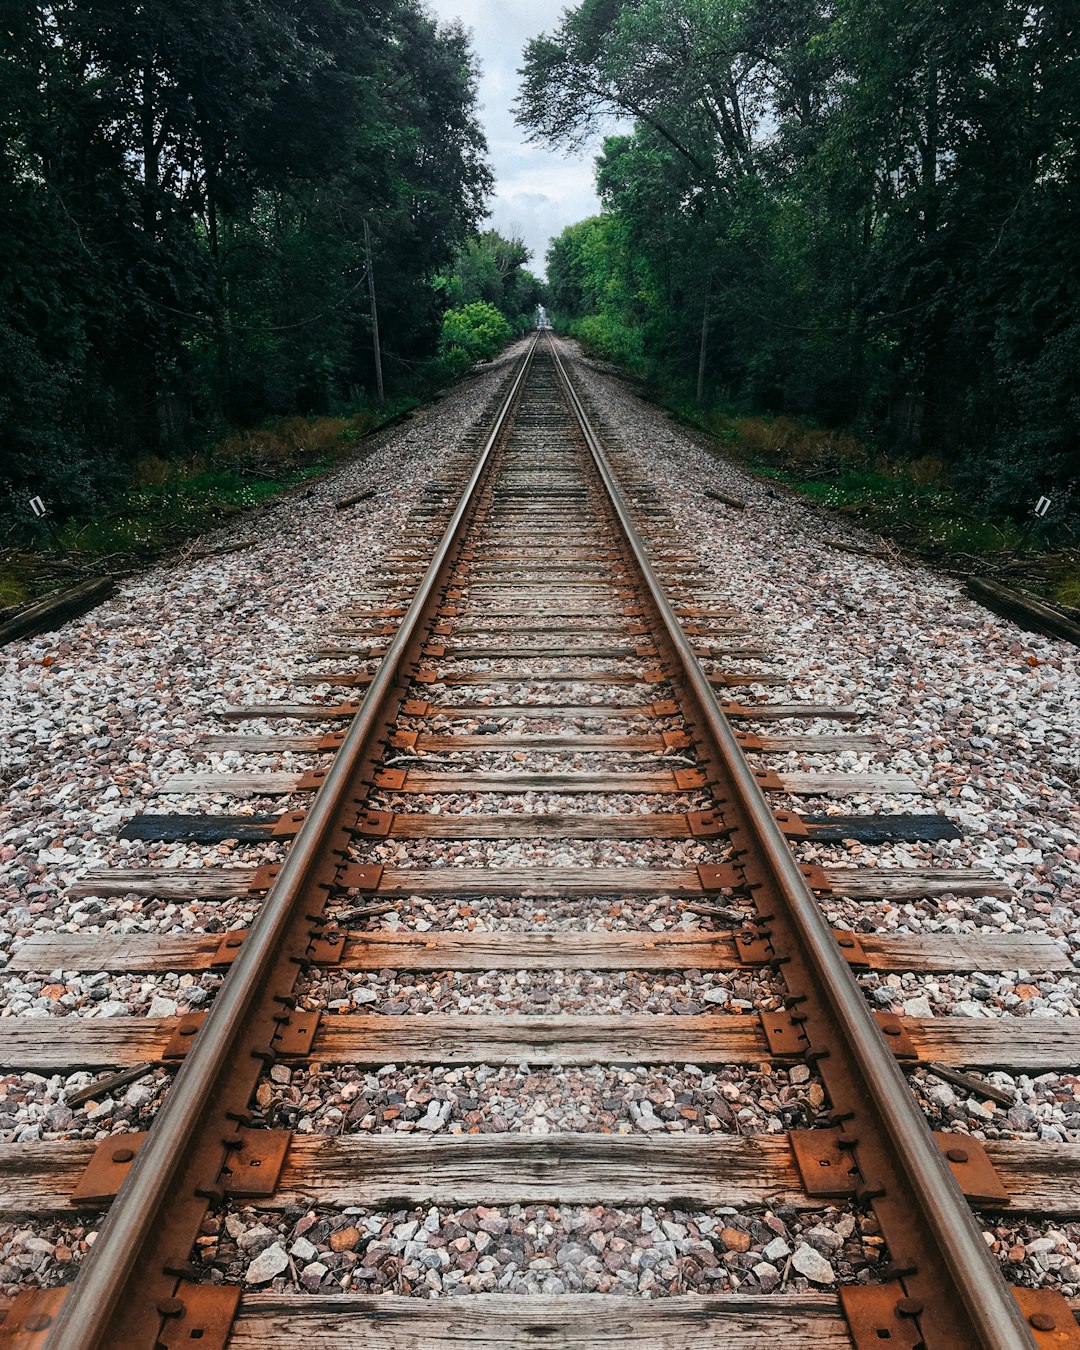
The good thing about having material blend is the ability to use textures already in the scene creating a more realistic vibe. The way I went about this was using the old wood texture from the first week blog post and changing the coloring around alongside a material blend which used a grunge blend as the mask creating a dirt wood. A very basic texture with a very powerful output. Shown below is the train track wood it was used on.
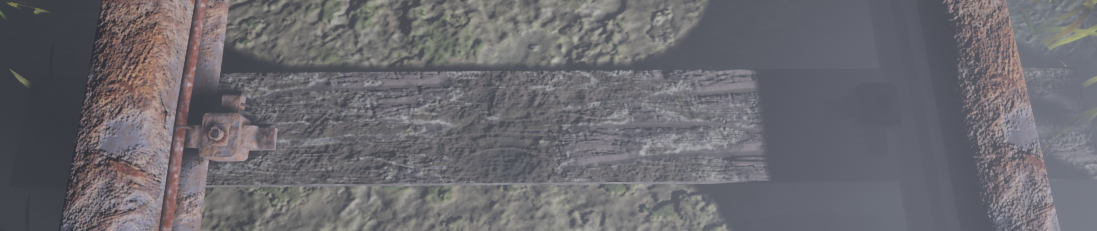
Although the grid isn't complex it works for what it's used for, again this was RMA packed for UE4.
This reference for the wood is from a olden rail road, although the color pattern doesn't match the overall concept does as it has masked damage/mud along with corrosion. The reason I chose a different color pallet is because in Missouri they have different types of wood they would of used.
(
Tom Barrett, 2016)
-
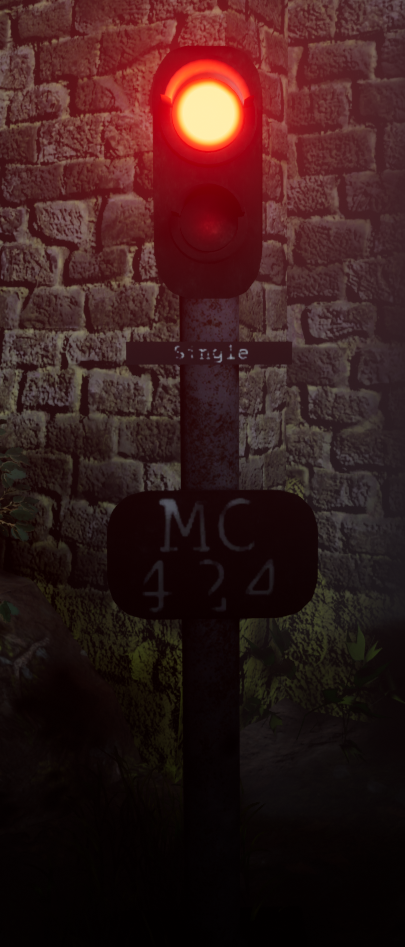
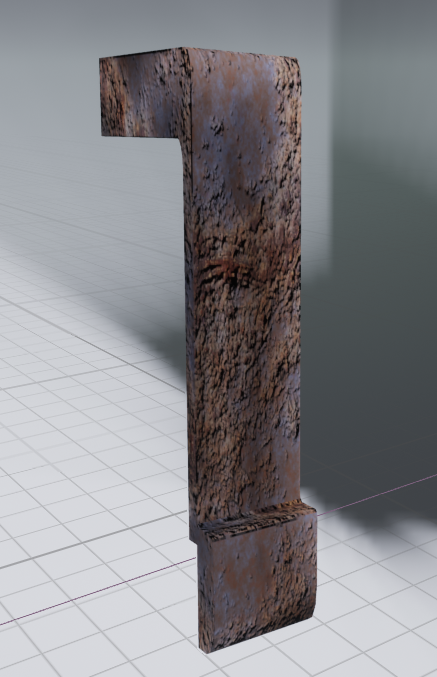
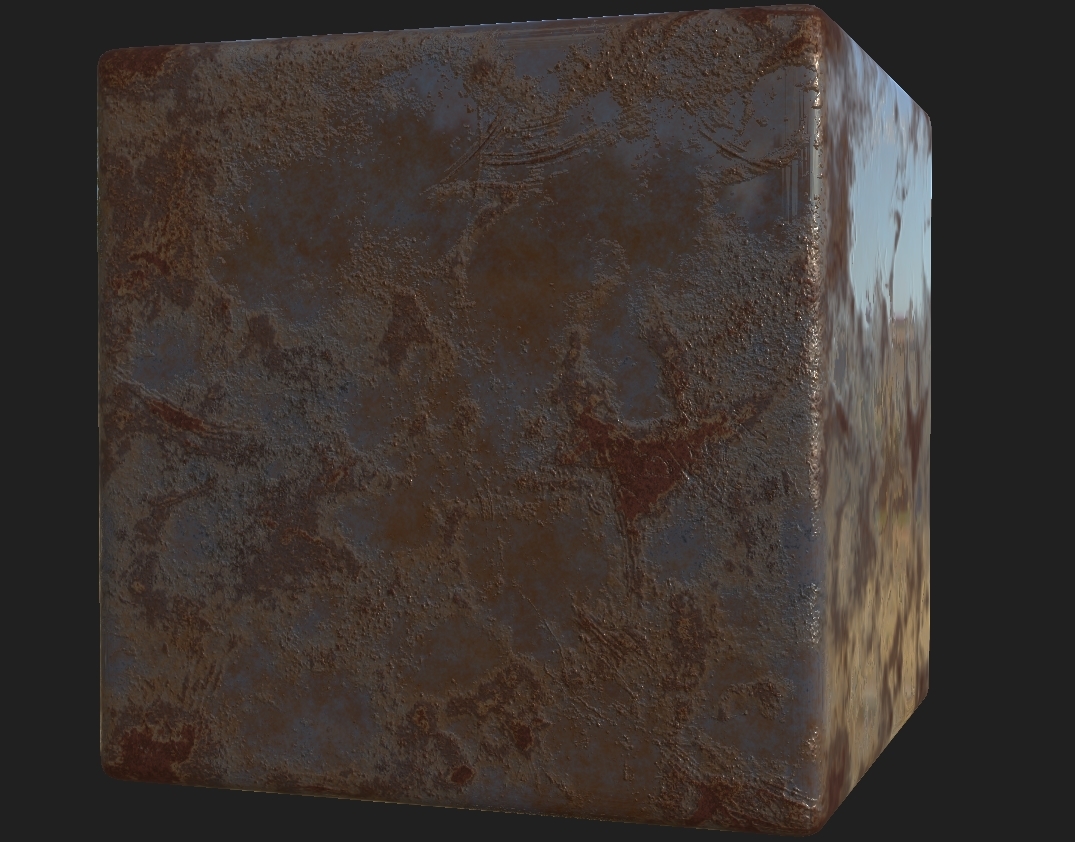
Metal Rust - Rail Road Track
This is one of the most basic textures in the entirety of the scene it is also the most used as it will be used on 3 different objects, the rail road track, the holders and also the wire holder. Its very basic nature being a metal with rust over it allows me to re-use it and also create texture sheets for it. I will be using the texture sheet for the rail road track as well as the wire holder whereas the holder itself will have its own sheet. As for this one, every single rail road you know of is made from Steel, there can be variants which use iron but that is a very rare case. Therefore referencing a image is kinda useless as the rust itself will never be the same as the image because of where the detail would normally lie. The only thing I used was the color dropped choosing the colors I wanted as the steel/rust other than that the texture is as simple as it looks.

The reason I only made a few textures like this is because they are completely repeatable and can be generated into many other concepts. The brick wall will help me to create the overall tunnel, the leaf generator will help create any tree I want (using the bark from the previous post as well) the rusty metal is completely changeable making it seem as if I've gone and made a bunch of textures when in reality I've just used the same ones over and over but change around the variables making them seem as if they're not the same texture. I learnt this process from Daniel Thiger the lead environment artist at Bungie who has made simple geometry look as realistic as possible (https://www.artstation.com/artwork/xzAB5E The artwork that uses bare minimum geometry) and made so optimized it can be used in a game. The inspiration taken from him has helped me to develop the whole of this project and hopefully my final scene will be game ready if not at least some level of start screen/render.
References:
MDC Discover Nature. (2018). Green Ash. [online] Available at: https://nature.mdc.mo.gov/discover-nature/field-guide/green-ash [Accessed 20 Oct. 2018].
Liz Hayden, (2014), St. Louis’ Brick Paradox [ONLINE]. Available at: http://www.urbanistdispatch.com/2019/st-louis-brick-paradox/ [Accessed 21 October 2018].
Tom Barrett, (2016), Divide [ONLINE]. Available at: https://unsplash.com/photos/wqQ4NNG_J28 [Accessed 21 October 2018].
 = A
= A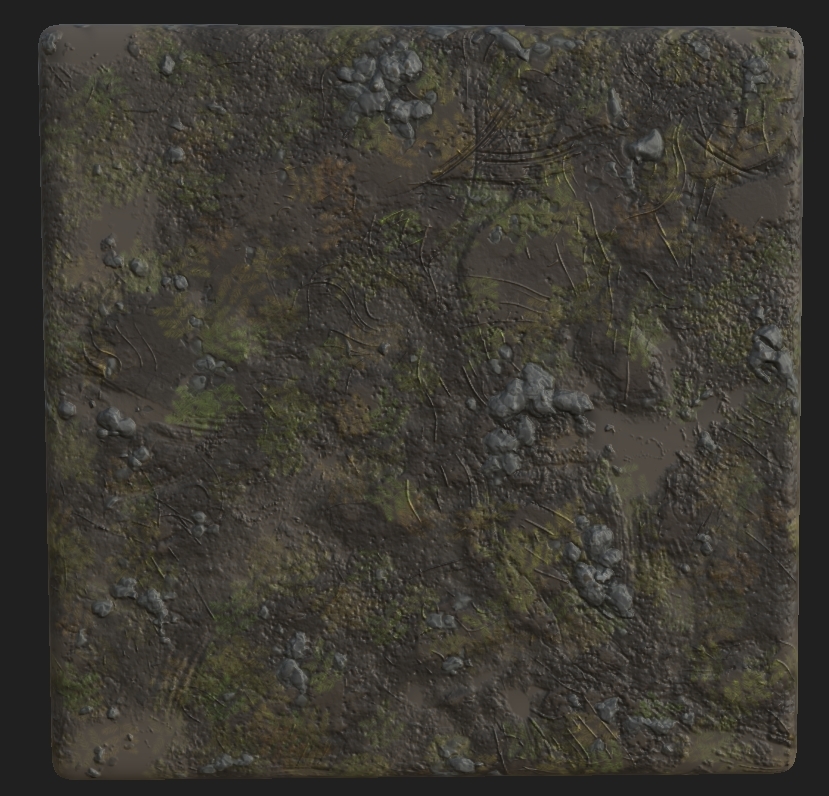 = B
= B = G
= G = R
= R